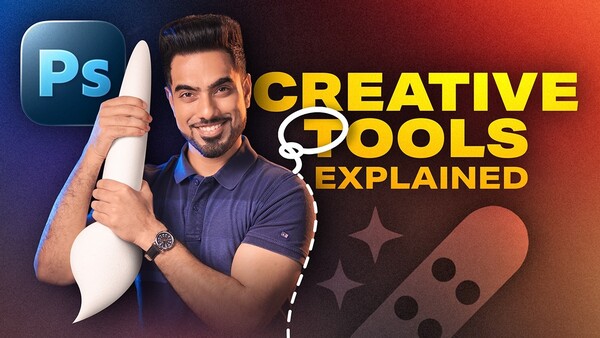
Photoshop has dozens of tools, but a handful of them do most of the heavy lifting in real editing work. Knowing how the brush, remove, and selection tools actually behave is the difference between fighting Photoshop and actually using it.
Coming to you from Unmesh Dinda PiXimperfect, this thorough beginner-to-intermediate video covers creative tools in Adobe Photoshop with the kind of depth that most tutorials skip. Dinda opens with a surprisingly useful trick: set your brush blend mode to Difference, paint white on white, and watch it generate an intricate repeating pattern you can use as a design element. It sounds like a throwaway tip, but it immediately illustrates something important: blend modes change how your brush interacts with what's beneath it, and forgetting to reset them is one of the most common sources of confusion when color stops behaving the way you expect. Dinda is direct about this: always reset blend mode to Normal when you're done experimenting.
The video draws a clear distinction between brush opacity and flow, which look similar in the options bar but behave very differently. Flow works like a dried-out marker: paint over the same area repeatedly without lifting, and the color builds. Opacity works like a sheet of semi-transparent paper: no matter how many strokes you layer without lifting, the intensity doesn't increase. Only lifting and repainting adds another "sheet." Dinda also covers the tilde key shortcut, which temporarily switches your brush to erase mode without touching the eraser tool, and the shift-click method for painting perfectly straight lines. That shift trick extends to the Remove tool as well, where you can click, shift-click, and define a straight selection path across wires, rods, or any linear distraction in a frame.
The Remove tool section gets into real-world use cases. Dinda demonstrates the "Find Distractions" feature, which can automatically detect and select people or wires and cables in an image. With generative AI on, the results for removing background figures from a complex scene are noticeably better than without it. He's candid that AI removal isn't perfect and that the Patch tool often produces cleaner, more controllable results for specific areas because you're manually telling Photoshop exactly what texture to borrow, rather than letting it guess. That tradeoff between automation and precision runs through the whole video and gives you a practical framework for deciding which tool to reach for.
The selection coverage is where things get genuinely impressive. Dinda shows the Object Selection tool with Object Finder enabled, which lets you hover over elements in a scene and click to select them. He also demonstrates selecting specific parts of a person and using that selection to drive a targeted brightness adjustment. The "Select Subject" feature, processed via Adobe's cloud, produces selections accurate enough to isolate racket netting and fine hair strands automatically. A year ago, Dinda says, a selection like that would have been impossible to make without manual work.
Check out the video above for the full rundown from Dinda, including the sticky shortcuts system, brush smoothing, how to restore deleted default brushes, and the complete walkthrough of content-aware fill with manual selections.




Join the Fstoppers community for free
-
Post comments and join in the discussions
-
Browse the site ad-free
-
Share your work and get featured in the community
-
Compete in the photo contests for fun and prizes
No comments yet