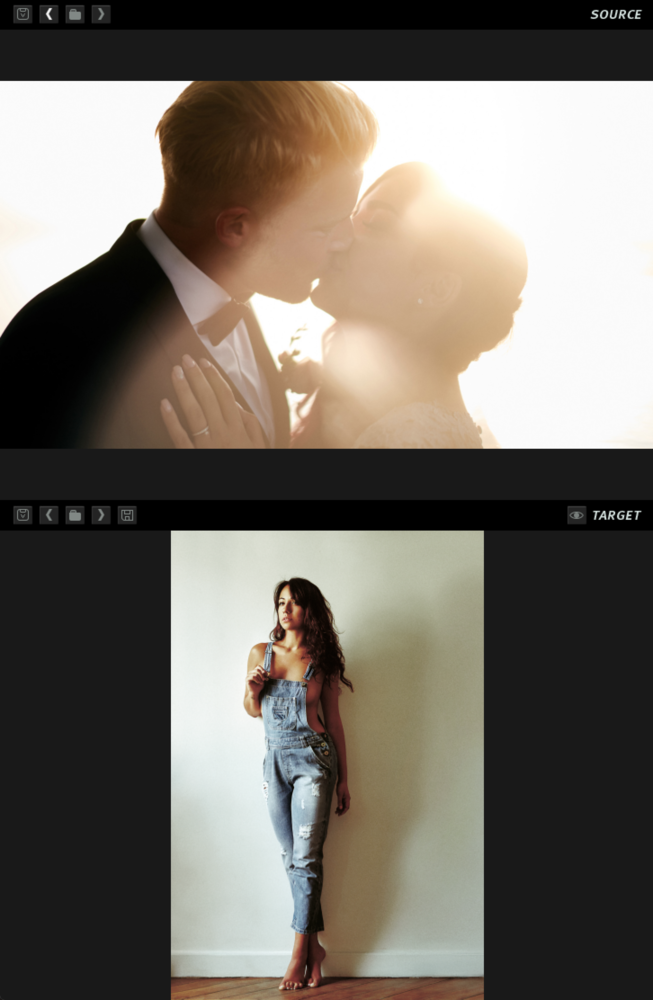
How often have you seen an image that you liked and wanted to copy the grading? It can quickly be done with Photoshop, but how about creating a LUT out of it so you can use it no matter what. That’s what Image2LUT is designed for.
Getting the perfect colors and contrast for an image is not always easy. It can take time, and for those who don’t have an eye trained enough, it can be next to impossible to obtain the desired look. There are tons of possibilities out there to give a specific feel to an image; from presets to actions to LUTs, the choice is vast. LUTs come in handy when working with multiple editing platforms or even when grading videos as well as stills. What Image2LUT by Picture Instruments offers is to create a LUT out of a source image to match target picture to it. Then you can save the LUT and reuse it in whichever app you prefer or for any future editing job you may have.
Easy to Use Interface
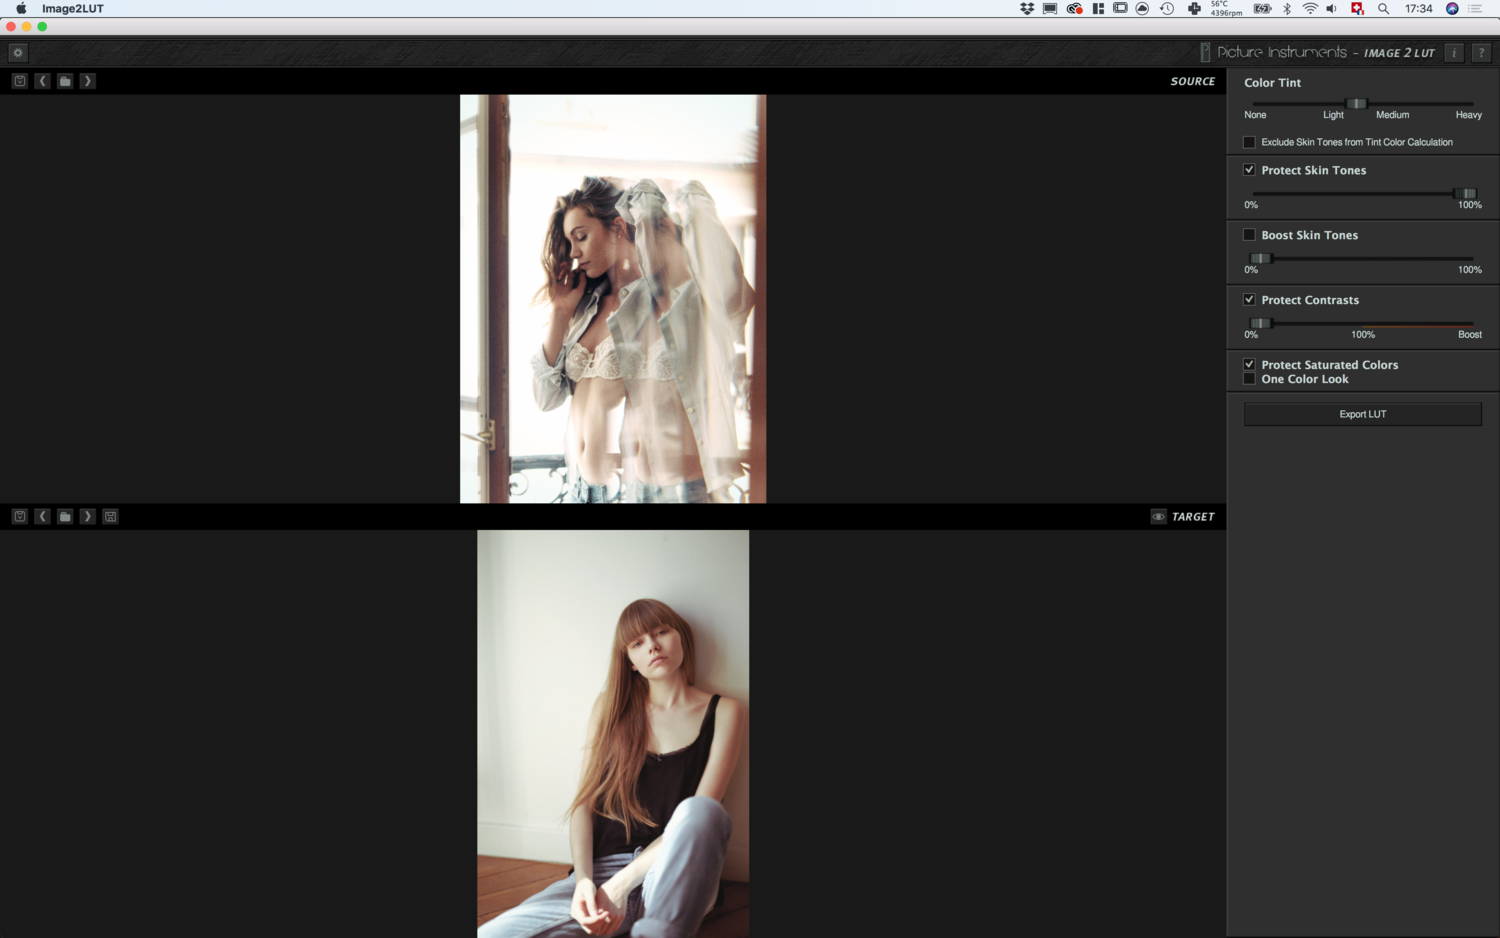
The interface is well designed making the user experience very easy. You don’t need advanced skills or knowledge to get around the app. The central space is divided in two, with one part for the source image and another for the target. If you have multiple shots to match, cycling through them is straightforward thanks to the button in the top left corner of each image. Loading the pictures is quite intuitive as well. It’s possible to drag and drop them into the interface, use the clipboard, or use the browse button of the app.

The color and luminosity matching happens automatically once both the source and target pictures are loaded. Then on the right of the screen, a few sliders are available to adjust the effect. Each option is explicitly named and you won’t find more choices than what’s needed. The first slider will help strengthen the color effect applied to the image. Light seems to work best from my experience, but it’s nice being able to push it a bit further to get a stronger look. The next two sliders are related to skin tones so that you can preserve the original ones and boost them, so they stand out more.
It’s also possible to avoid crushing the unique contrast of the target image thanks to the last slider called Protect Contrasts. It even works the opposite way around, meaning it can make the contrast of the target picture even stronger.
Last but not least, the two checkboxes found right above the Export LUT button will help preserve the highly saturated areas and make the image almost monochromatic.
How It Works
Like previously said, the color matching happens automatically, and all of the sliders are used to help get the desired result. A Bachelor of Arts isn’t required to understand how it works and a good eye either, even though the latter could probably help.
Once you’re done adjusting the different options, you’re given a choice to either export the LUT and then apply it on multiple images or in any app that supports LUTs (Photoshop, Premiere, DaVinci, and more), or to save the modified target image as a JPEG, TIFF, PNG, Bitmap, or Tagra file. The LUTs can be saved in most common formats including 3DL, CUBE 17, CUBE 32, MGA, and Unlimited Filter. No need to export each LUT type one after the other, you can just enable the LUT file types you want to get, and the app will save all of them at once.
Does It Indeed Color Match Images?
Now to the real question, does the app actually works? I’ve been using the color matching features of Photoshop and 3D LUT Creator for quite a while now. I love both of them, especially the latter which works incredibly well. Image2LUT is a great tool as well; it has given me good results most of the time. I say most of the time because for a good 10 to 15 percent of the cases it just couldn’t figure out how to match both images, or at least that’s what the result on the target picture looked like.

In this case for example, Image2LUT struggles to get it right despite trying to adjust every slider the best I could

With 3D LUT Creator it's not perfect either, however it's already looking better. With a bit of tweaking it could certainly be possible to get it right, but it requires more time than Image2LUT.
I tried the same scenarios in both Photoshop and 3D LUT Creator, and it worked. It required a bit more tweaking sometimes, but I could get something close enough to a solid match. It is where deciding on what solution is best for you can become difficult. Image2LUT is probably the most comfortable option to use, it’s as fast as Photoshop as well, and it’s only $47. 3D LUT Creator is the best tool of the three when it comes to color work, but it costs $249 to get all the options, including the pictures matching feature. Its interface is also a lot more challenging to learn and get around, plus not everyone may require all of its features. Then, comes Photoshop. You probably already have it installed on your computer, it works quite well, but you cannot protect the skin tones as quickly as with Image2LUT. The matching gives good results but often require a bit more manual work, and I haven’t found a solution to create a LUT out of the color match feature in Photoshop. The advantage of Image2LUT compared to Photoshop is the possibility to save the result as a LUT. It can be used to color match images shot from different cameras, it can prove very useful when editing videos, and it’s also great when editing a series of shots rather than a single image.
What I Liked
- Easy to use for anyone
- Affordable
- Can save the result as a LUT or image file
- Skin tones protection option
What Could Be Improved
- More advanced options would be nice
- I wish double-clicking on a slider would reset it to its initial position
- I don’t feel like the color matching is as good as what 3D LUT Creator offers but for a fifth of the price it’s a good alternative
Conclusion
Is it worth its price? I believe it is if you have tons of images to color match and want a fast and easy solution. If you only want to emulate a look once now and then, the color match found in Photoshop will be sufficient. And if you are looking for an option with the most features and advanced options available, then 3D LUT Creator will be the answer. Image2LUT fills the space between Photoshop and 3D LUT Creator quite nicely.


You're not kidding, WAY more affordable in price. Charge a lot, get a few purchases, charge reasonably, get all the purchases. Thanks for the article!