
Blackmagic Design has changed the post-production landscape once again. But this time, it's doing so with photographers in mind.
Okay, I know that, as a person who reviews tech, it's part of my job to be impartial. But there are just some companies that continue to amaze me and seem to be hell-bent on producing products in such a way that they constantly upgrade my workflow without simultaneously making me feel like they are bleeding my bank account.
On the software side of things, there are two tools that have fundamentally altered my approach to my work. Namely, DaVinci Resolve and Capture One. I work professionally in three areas. I am a narrative filmmaker, a commercial director/DP, and a professional photographer. Because both stills and motion for me are done within a team workflow, either a production crew or working in tandem with the client or ad agency creative team, there are certain standardized systems which I follow. Capture One, for instance, is the industry standard for tethered shooting and commercial advertising projects, which are my specialty.
On the video side, there are a few NLEs that could be considered "industry standard" depending on who you talk to, but my life simplified dramatically about a decade ago when I discovered DaVinci Resolve Studio. Since then, Resolve has become the single most used software tool on my computer. I use it for my entire video workflow from the rough cut, to the color, to effects, and even the majority of audio adjustments I make (just short of sending to the sound designer). In short, it is my do-everything tool.
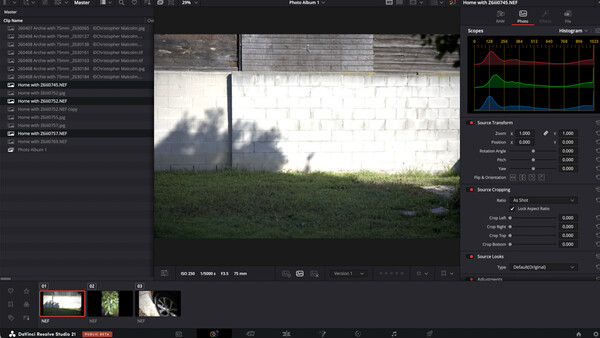
Well, almost everything. Up until yesterday, that "everything" only pertained to moving images. But then yesterday Blackmagic Design took the world by storm by announcing the beta version of DaVinci Resolve and DaVinci Resolve Studio 21. The familiar seven-page Resolve structure has grown by one. Welcome to the photo page.
Like previous versions of Resolve, there's a free version and a studio version. I've had the studio version of Resolve for over 10 years now. I won't do a whole sales pitch, but let's just say that upgrading to the paid version of Resolve isn't required, but spending the money to upgrade is kind of a no-brainer. Resolve's secret trick has always been that once you buy it, you own it forever. Anybody else remember a world where certain companies, ahem, I won't mention names, weren't forcing you into subscription plans so they could drain your bank account month after month? Well, with Resolve, you pay once and you own it forever. More importantly, at least for now, you get free upgrades. I bought the Studio version a decade ago and haven't paid for an upgrade since. You do the math.
The promise of potentially being able to do both my stills and video post-production work inside the same application was just too tempting to ignore. True, I love Capture One just as much as I love Resolve, so I don't think I'll be ditching it any time soon. But, because so much of my work these days is either hybrid based, or mainly video driven with a still component, I currently find myself needing to develop any color look for my projects twice. Once for the stills in Capture One. And once for the video in Resolve. Getting the looks to match exactly for a cohesive deliverable can sometimes be a challenge. Being able to do both still and motion in the same app using the exact same tools and being able to copy looks back and forth with the click of a button poses real pragmatic advantages.
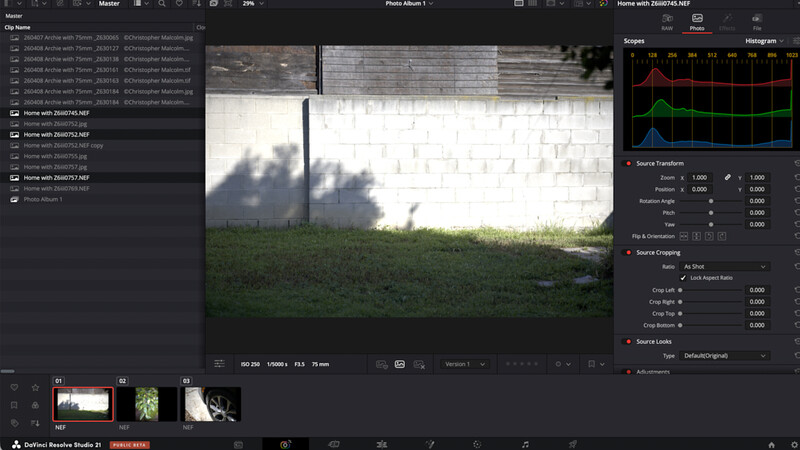
So how does it work? Well, once you download the beta software and load it onto your system, you'll be greeted now with eight pages to choose from instead of seven. If you click onto the photo page, you'll start with a blank slate. Like with the video workflow, you can left click in the media area and select Import Media. Navigate to your images and bring them in.
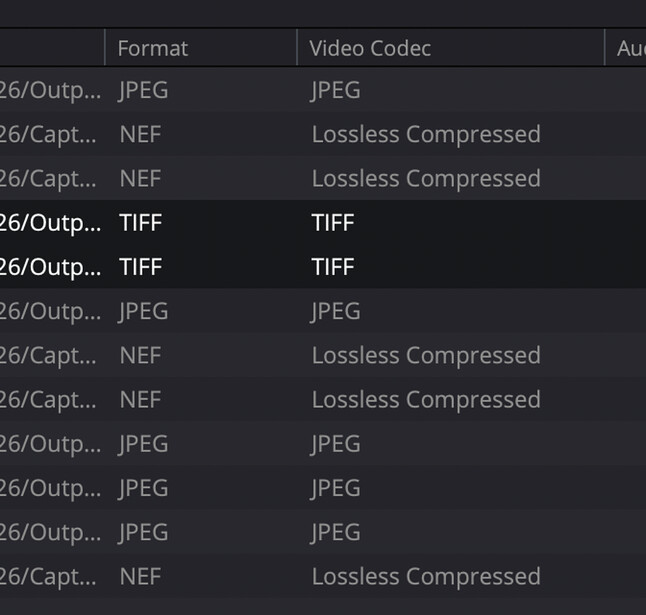
At launch, Resolve is able to read most types of files from the popular brands with others soon to come. To test this, I brought in raw images from the Nikon Z6 III as well as some JPEGs and TIFFs.
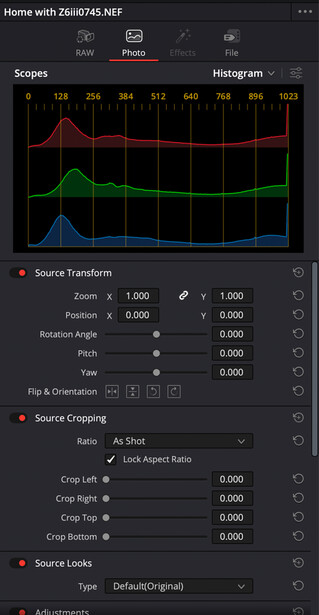
Right on the photo page, you can see basic adjustment sliders to the right. If you're familiar with Resolve, the layout is similar to the video setup where you have your inspector panel in the top right and can quickly adjust everything from crop to saturation.
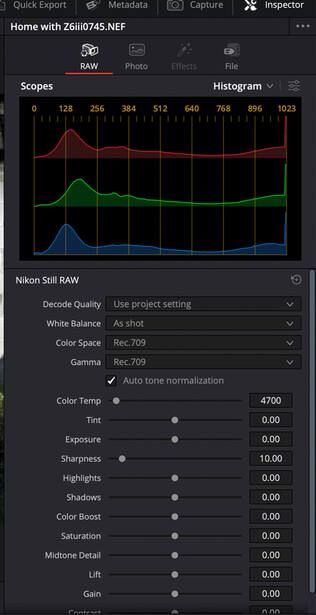
If you shot raw photos, you will also have access to the raw section of that inspector. You can adjust raw variables like color temperature the same way you would in other photo-centric raw editors.
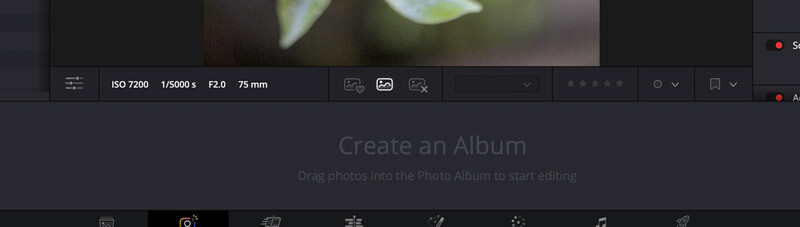
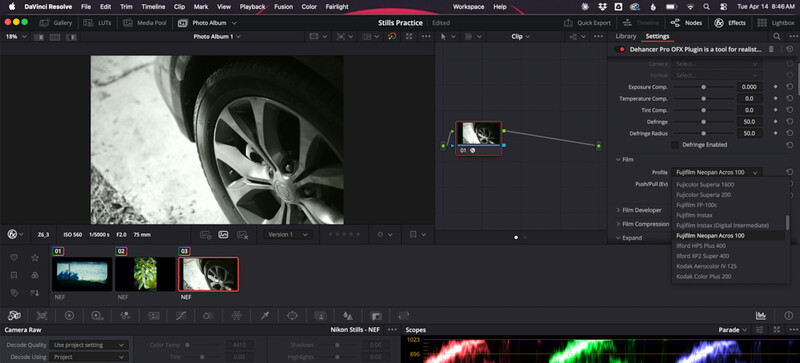
But the real power comes when you move those images down to the album panel at the bottom of the photo page. Once you've done this, you can now work on your images with the exact same tools on the color and fusion pages that you use to work on your videos. The node-based workflow is identical. So if you have PowerGrades or other working procedures already in place for your video and you'd like to match that to your stills, it's literally as easy as copying the adjustments over and "voila," you now have matching video and stills.
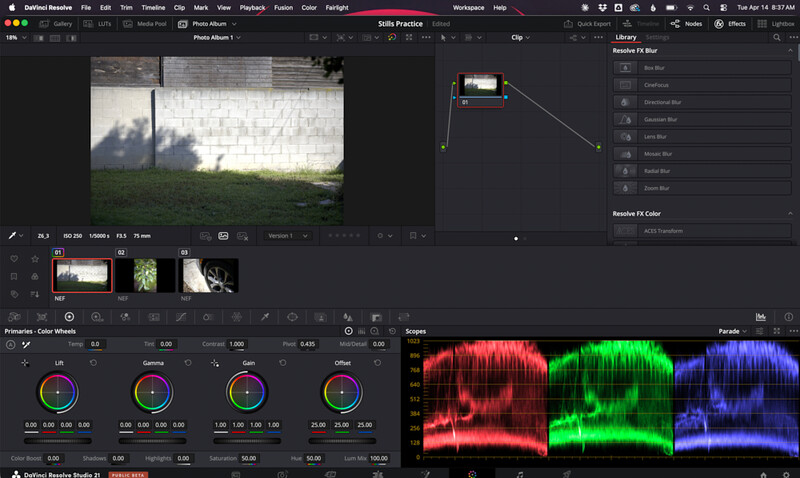
Moreover, because I am now able to utilize my video editing tools, it makes things easier to treat my still images in exactly the same way I would my film projects. If I want to adjust things like lift, gamma, or gain, I can do so in the same way. If I want to use plugins like Dehancer or build a look with DaVinci's own Film Look Creator, those all now interact with my stills identically to my video. It's like suddenly being given a perfect time machine to give my stills an analog flavor with very basic edits.
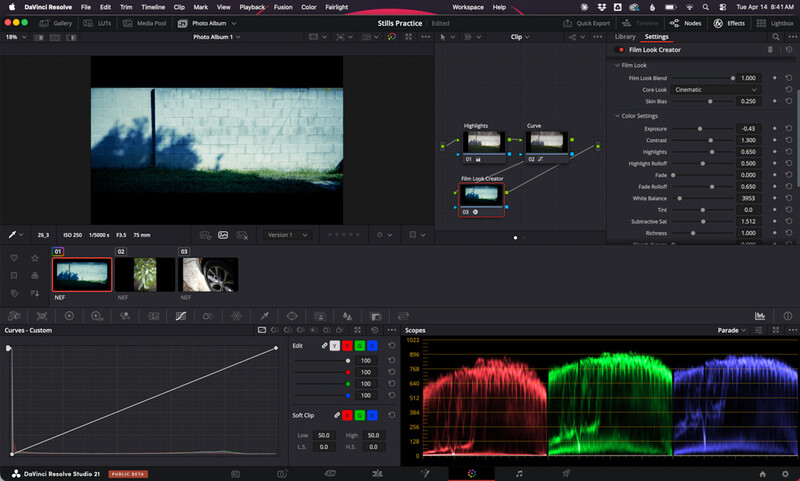
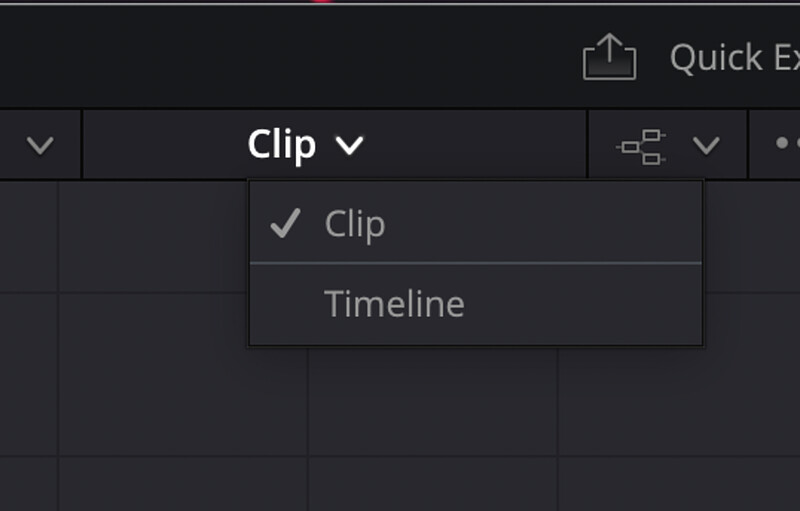
Like the video page, you can add nodes at both the timeline or clip level. So, with timeline, you could quickly apply the same look across hundreds of photos simultaneously just by adding one node.
It should be noted that while global and base adjustments are simple and more detailed adjustments are possible via the fusion page, I think this product is better suited to replace something like Lightroom as opposed to replacing Photoshop. For pixel-level adjustments, something like Photoshop or Affinity Photo will be far more efficient.
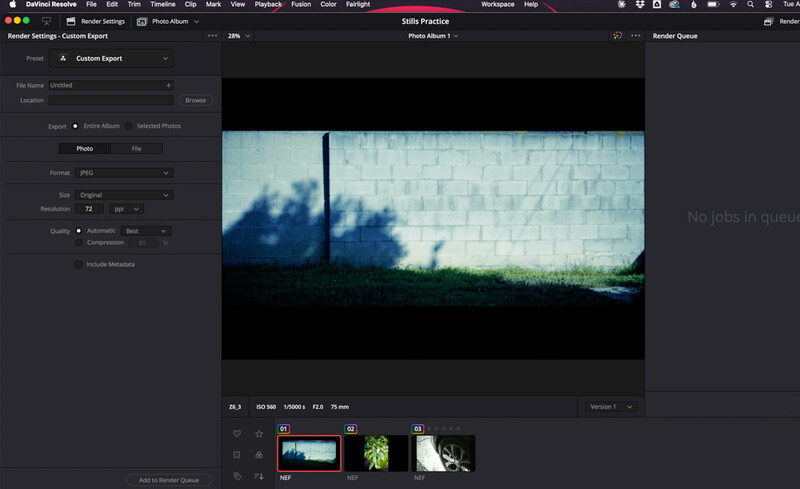
Spitting out the edited photos also resembles the video process. The images on the timeline go over to the deliver page where you can choose the format you'd like to export. Also, it's worth noting that you can use those still images that you've adjusted right there on a video timeline without needing to export the stills and reimport them. So if your project includes both stills and video incorporated into the same final export, this simplifies the process significantly.
As I said, this product has literally just been announced, so I've barely scratched the surface of what the new tool can do or potential pitfalls. Because I need Capture One to integrate with my existing client base, I'll continue to use it for those kinds of projects. But I can easily see DaVinci Resolve Studio taking on more of the workload for personal projects or jobs where stills are my add-on rather than the primary product I'm selling. And, if I didn't already have a certain requirement imposed by my client base, like, for instance, if I were a hobbyist or a video-first filmmaker just really needing stills to relate to video content, I could easily see trying this as my primary editor today. It's hard to argue, at $0 for the free version, that the price isn't right.
Where I'm still looking to see how DaVinci Resolve will develop this photo side will be in image management. If you're a photographer and you regularly shoot thousands of images per project, you'll know that organization can be just as important as image quality. Platforms like Capture One or Lightroom are no doubt miles ahead in that regard at the moment as they were purpose built for that process. But if having used Resolve for over a decade has taught me anything, it's that the company is constantly looking for ways to improve their product. And, if this is just their rough draft, I can't wait to see what else is soon to come.
No comments yet