
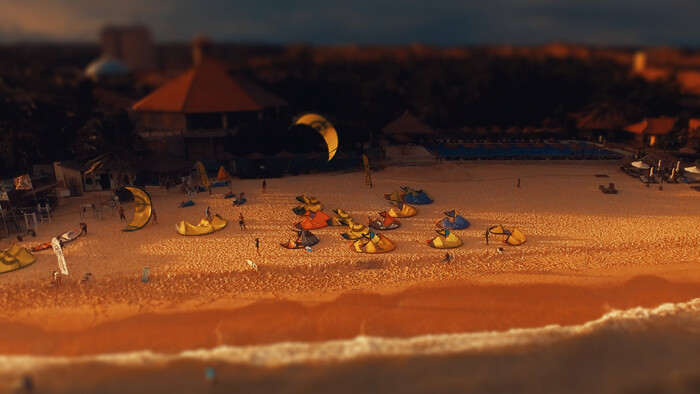
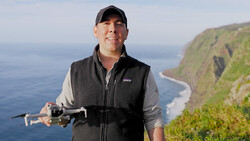
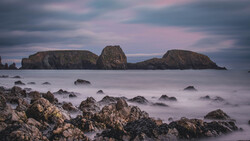
Last week I shared a video that used a couple of alternative techniques for aerial video, and coincidentally I was contacted shortly after to check out another video that had some unique drone video shots. In this kite surfing video, you'll see some interesting macro-style clips, speed ramps, zooms, and more. The fact is, all of this was done in post.
I got an email from Rufus Blackwell, who shared some insight into his techniques in postproduction for achieving some of these looks. Keep in mind that this was shot with a DJI Inspire 1 with X3 camera, so he wasn't working off of raw footage. First off, for speed ramps, the key is to get the right amount of motion blur. He didn't even film at speed, so while speeding up wasn't a problem, getting smooth slow motion meant having the right settings in camera and post.
When shooting with a normal video (or previously film) camera, you would normally shoot with what is described as a 180-degree shutter. In practice that means your exposure time should be half your interval time between frames. So for example, shooting at 25fps your interval time would be 1/25 of a second; therefore your exposure time/shutter speed should be 1/50 of a second. So when you speed up the video to create a time-lapse effect you should frame blend the source sequence to achieve the same effect as a 180-degree shutter. The resulting shot will then have a smooth motion blur effect that will look natural to the eye.
The slo-mo sequences are achieved using motion estimation software. The most well known plugin for this effect is called Twixtor, although I use the built-in motion estimation in my VFX program of choice, Autodesk Flame. The software intelligently recreates the frames between the existing frames that have been shot to recreate a slo motion effect. It is far from perfect, but used in the right situation it can be a great alternative to shooting with a high-speed camera.
The clips that showed a zoom effect could be easily done by using scale and position keyframes in post, but Blackwell prefers a different, more natural-looking method.
The zoom-ins are created by breaking up the image in to its constituent parts, recreating the image in 3D space, and then moving the camera within that space. The effect is that of a moving camera even when shot on a tripod. It's complicated, but a great effect.
I was mostly impressed by the macro images, which I haven't seen to often in aerial videos. Blackwell explained that this was one of the easier effects to achieve, as long as you're using a graduated depth of field effect.
This is actually quite easy if you have the right effects software. It is a case of using a mask to mask off the area you want in focus and then use a defocus effect to defocus the area not masked.
You can see more of Blackwell's work at Time-Lapse VFX.
Join the Fstoppers community for free
-
Post comments and join in the discussions
-
Browse the site ad-free
-
Share your work and get featured in the community
-
Compete in the photo contests for fun and prizes
5 Comments
This is fantastic!!
really cool look
That is awesome!! Never seen those effects done with aerial before!
The frozen zoom out/pan @0:22 was fantastic. Seeing that so early in the video made me hope for more like it. Unfortunately, they weren't to be found. I found the tilt/shift/macro effect to be distracting after awhile as it put most of the interesting subjects in a blur. Just my opinion, and likely different than yours.
This is stunning. Didn't know some of these we're possible.