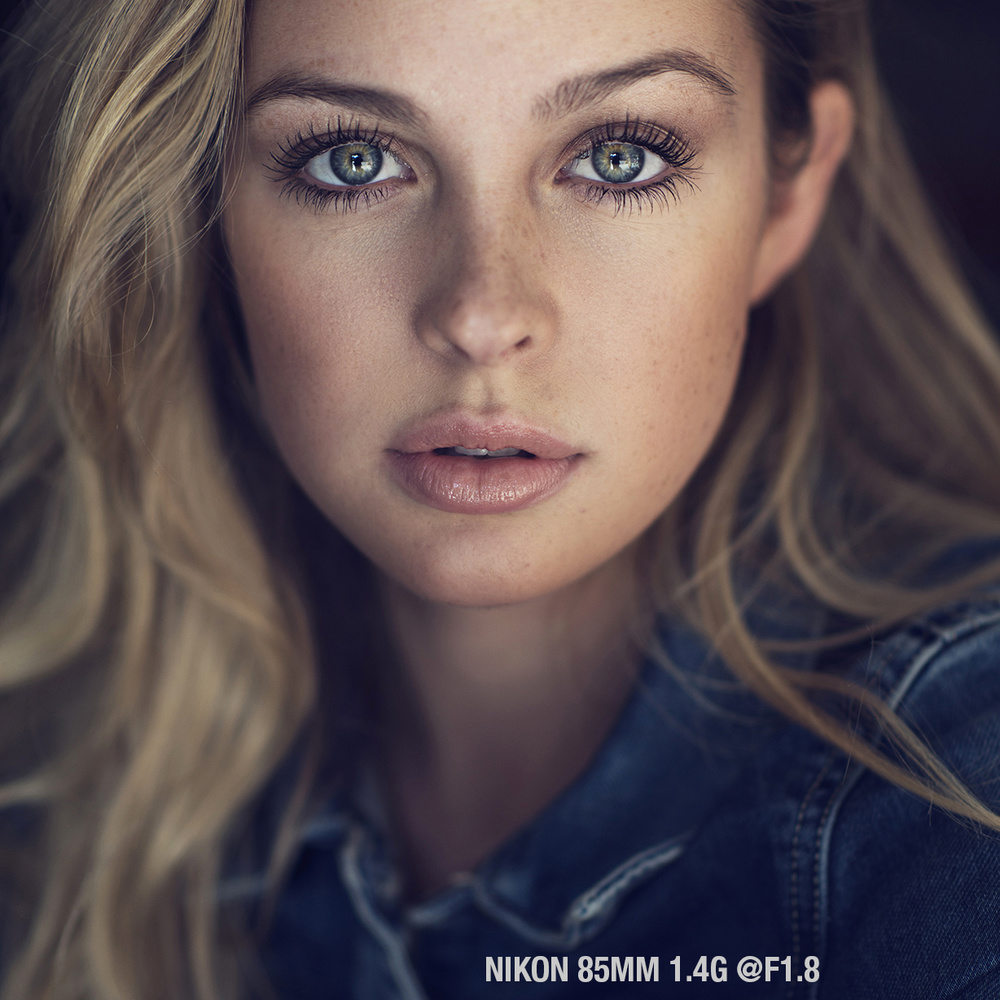
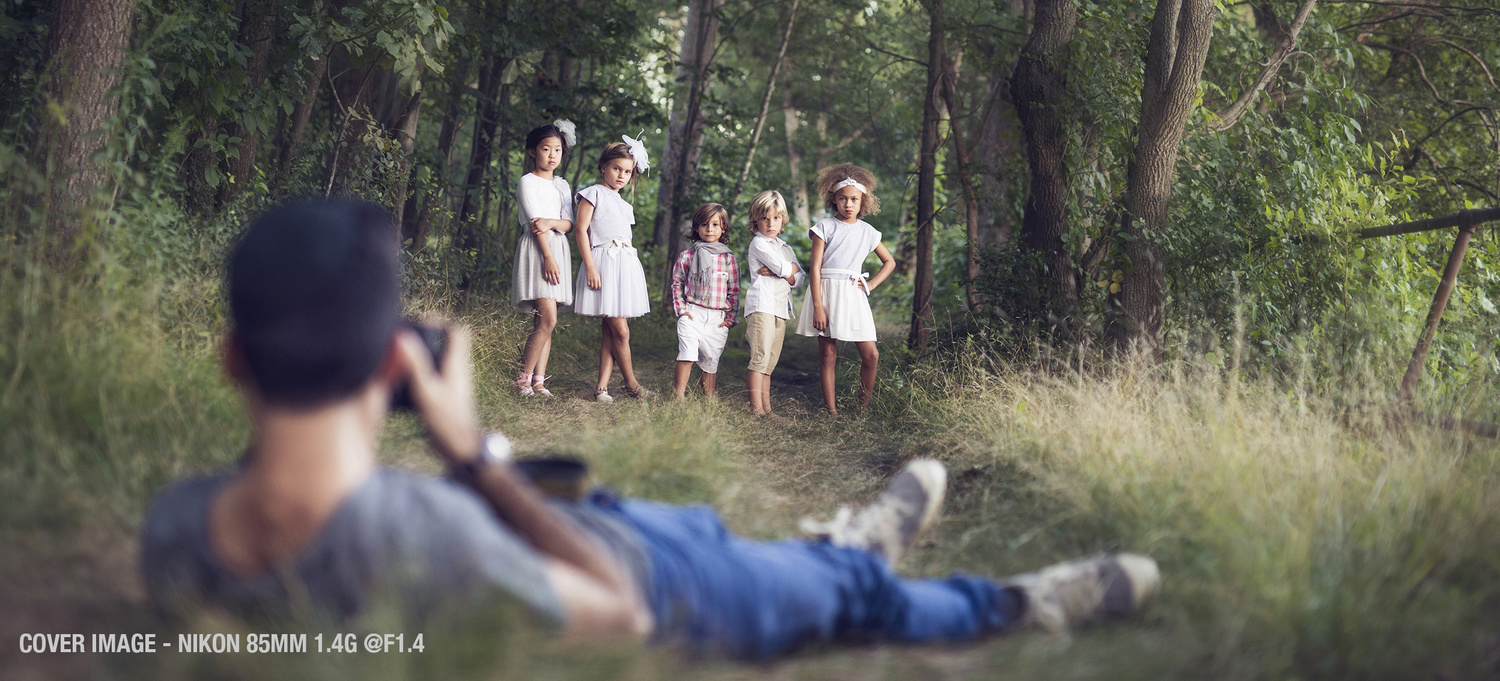
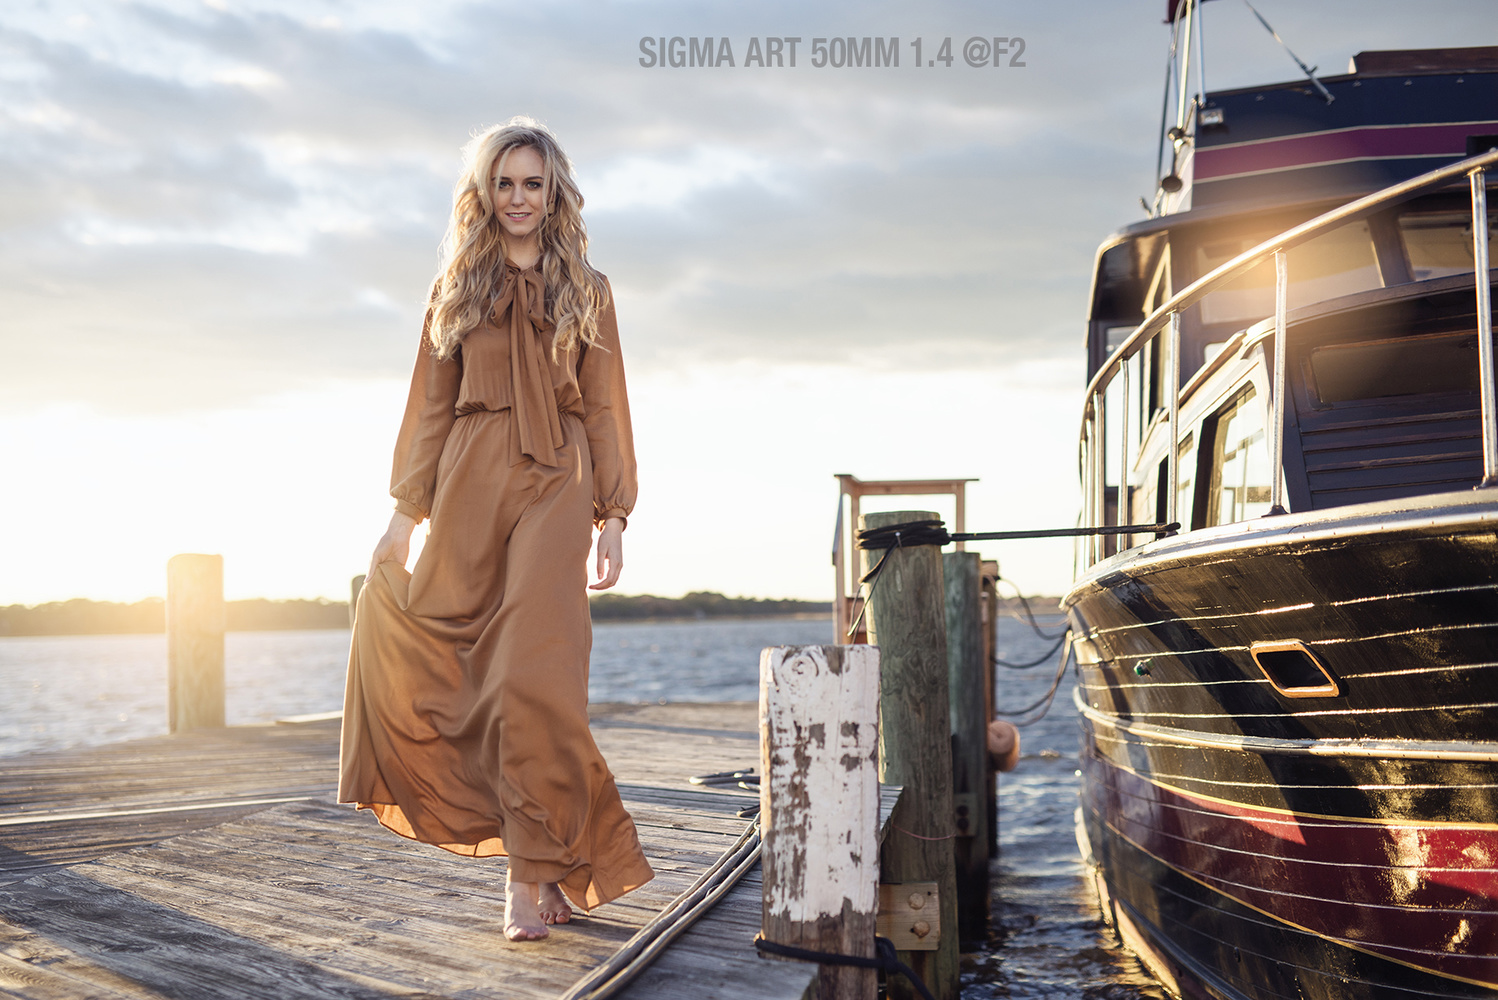
Taking portraits at wide apertures and consistently nailing focus is is not an easy task. In fact, it’s a skill that must be practiced in order to master it. However, an aspect not often discussed in regards to capturing sharp images has nothing to do with the lens used or the f-stop. Here is the ultimate guide to capturing tack sharp images at wide apertures.
GEAR
Since gear is the first thing that often comes to mind, I’d like to quickly take a moment to discuss it and get it out of the way. While this may seem contradictory to what I’ve said in the past, it’s important to make note of the fact that expensive gear does not mean creating amazing images. However, in the particular case of shooting wide, higher end gear is beneficial to achieving sharp results. The reason for this is, a lens like the Nikon 85mm 1.4g has better glass than the consumer version (85mm 1.8). Higher quality glass/elements produces higher quality/sharper images when shot with the widest f-stop. The focus on these $2k lenses are spot on and the fall off in focus will turn you on. With lower end lenses, the images will be slightly soft at the widest apertures. Cheaper glass will need to be stopped down to produce sharp images.

WHAT NEEDS TO BE IN FOCUS
When shooting, the subject’s eyes should be the primary focus. Use the single focus point setting and always place it on the eye closest to the camera. To reiterate, shoot only the eye closest to you, not the nose and definitely not the shirt. The reason why focusing on the eye is the most important is simply for the most cliche of reasons: the eyes are the window to the soul. When viewing an image, it is natural to hone in on the subject’s eyes. If that is not in focus, the power of the image is lessened.

Some people tend to focus and then recompose their image. This may work when shooting at f5.6+ but it definitely does not work when shooting at f1.6. Moving the camera even slightly at 1.6 will render the eyes out of focus. If the subject is moving and you are shooting super wide, I have found that the best thing to do is walk at the same pace as them. Granted, only 1/10 of the images captured will be useable. But the one solid image captured will be of epic proportions. It’s not easy but it’s worth it.
DEPTH OF FIELD
Understanding DOF is vital to shooting wide. The closer the camera is to the subject, the thinner the plane of focus will be (if you’re having trouble with this concept check it out on YouTube).The shallower the DOF, the more noticeable it is if the eye are not in focus. When shooting very closely to the subject, using the widest f-stop is not recommended since the DOF is so thin. Chances are, both eyes will not be in focus and it will be distracting. Being far enough away from the subject means shooting completely wide and having their entire body in focus. It’s important to keep in mind that focus works by how far the subject is from the sensor of the camera. With this knowledge, placing multiple people at an equal distance from the camera and have them all in focus.

THE ILLUSION OF SHARP IMAGES
For an image to be considered sharp, it needs to have contrast. Proper lighting leads to the contrast necessary for the illusion of “sharp” images. If the lighting is flat the subject will not look 3-dimensional and regardless of how perfect the focus is, the image won’t look sharp. This point cannot be stressed enough. With that in mind, post processing plays an integral role in this illusion. By enhancing the contrast in the skin, eyes and clothes the image will look 10x sharper. In my one on one online workshops I tackle this entire process and explain why and how to make your images pop. This is probably the most important aspect of portrait photography often not discussed and even more often over looked. All the settings and gear in the world will not substitute understanding the illusion behind a “sharp” looking image and being aware of this allows you to shoot with one lens and nothing else and still produce mind blowing work.
You see, you need to realize that the term “sharpness” has to be understood as an illusion. A person’s eye naturally detects edges to register sharpness, and shadows and highlights in order to record the depth in a subject. In laymen’s terms, what makes something sharp is when there is a light pixel next to a dark pixel and very little grey pixels in between. When using any method of sharpening in post process, in essence all that is being done is taking these edges (the dark pixels and the light pixels) and adding contrast to it. If you were to zoom into a photo at the pixel level and use a sharpening tool, the edges will display signs of higher levels of contrast.For a more indepth understanding on this topic: The Secret to Crafting Stunningly Sharp Images

AUTO FOCUSING ISSUES
Both a camera and lenses must be properly calibrated by manufacturers in order to yield sharp images. Various factors such as manufacturer defects, sample variation, insufficient quality assurance testing/tuning and improper shipping and handling can all negatively impact autofocus precision. A lot of photographers get frustrated after spending thousands of dollars on camera equipment and not being able to get anything in focus. This is a long topic and one I perfer not to have in this article. If you're experincing calibration issues, Nasim Mansurov has a fantastic article that will help you understand and calibrate your gear properly. It can be as easy as fine tuning a lens with a simple adjustment in your camera settings.

Keep in mind that even if you follow all the steps listed above, 25% of your images will likely miss focus. You must decide if it’s worth it to shoot wide. And yes, even those who’ve been shooting wide open every day for years still don’t nail focus for large percentage of their images.


Dani,
Do you have any tutorial videos or online workshops?
Thanks.
<3 Some day I will be at that caliber!
I enjoyed the article. I have a question. I currently shoot with a Crop body Nikon d5100. I have a 50mm 1.8 and I was considering a 85mm for portraits. I saw that you said the 85mm is better for full frames. Will I see any difference between the two? I really want a 70-200 and 24-70 but it is not in the budget yet.
Gonna have to go out and practice the above methods.
Love your articles Dani! Keep them coming :)
The Nikkor 85mm f/1.8G is actually sharper @ f/1.8 than the 1.4G is at f/1.8. Price doesn't always have anything to do with sharpness. And sharpness is totally overrated anyway. The Nikkor 58mm f/1.4G is one of the softest high-end modern lenses made and it's super, super expensive. But it produces beautiful "3D" renderings.
I shoot my 85 1.4G @ 1.4 all day every day. I don't even care about sucking up that little bit of extra sharpness @ 1.8G. Besides, if you buy a 1.4 lens to shoot @ 1.8... but the 1.8 lens is actually sharper anyway... aren't you just wasting your money?
This: "Taking portraits at wide apertures and consistently nailing focus is is not an easy task. In fact, it’s a skill that must be practiced in order to master it." Totally. Hahahaha. When I am shooting wide open people are always trying to get their shot. Im just trying to get mine and they cannot understand why I wont just take that group shot they want.
And what do you suggest doing then? If you can't recompose because the focal plane shifts, but also can't use any other focus point than the center one, how do you get your compositions to work then? I have an entry level camera and the autofocus system is horrible. Not a single picture is in focus using focus and recompose. Not even using the center focus point will produce a pleasing result when using apertures below 2.8.
Dani,
thank you so much for this article even if I read it with 2 years delay! I would have read it immediately to avoid many paranoia moments!
Can I ask you just 2 things:
- without recompose in a portrait , since the central focus should be between the eyes, do you crop the image or do you use another focus point (I noticed that the other are not reliable like the central one)
- to shoot a vertical picture of a person at f/1.6 for example, do you suggest to use the highest focus points on the top?
Thank you again for this super useful article!
Yes Dani, I too appreciate that you acknowledge you don't get all shots "right". That is the thrill of digital. The freedom to try. As an enthusiast and not a pro I have much to learn. But I have come to learn the value of "working hard" to get a shot and not getting discouraged. Many techniques must be employed and tried and worked. But when I get it "right", as in your pic of Kim, it takes your breath away. Great article.