
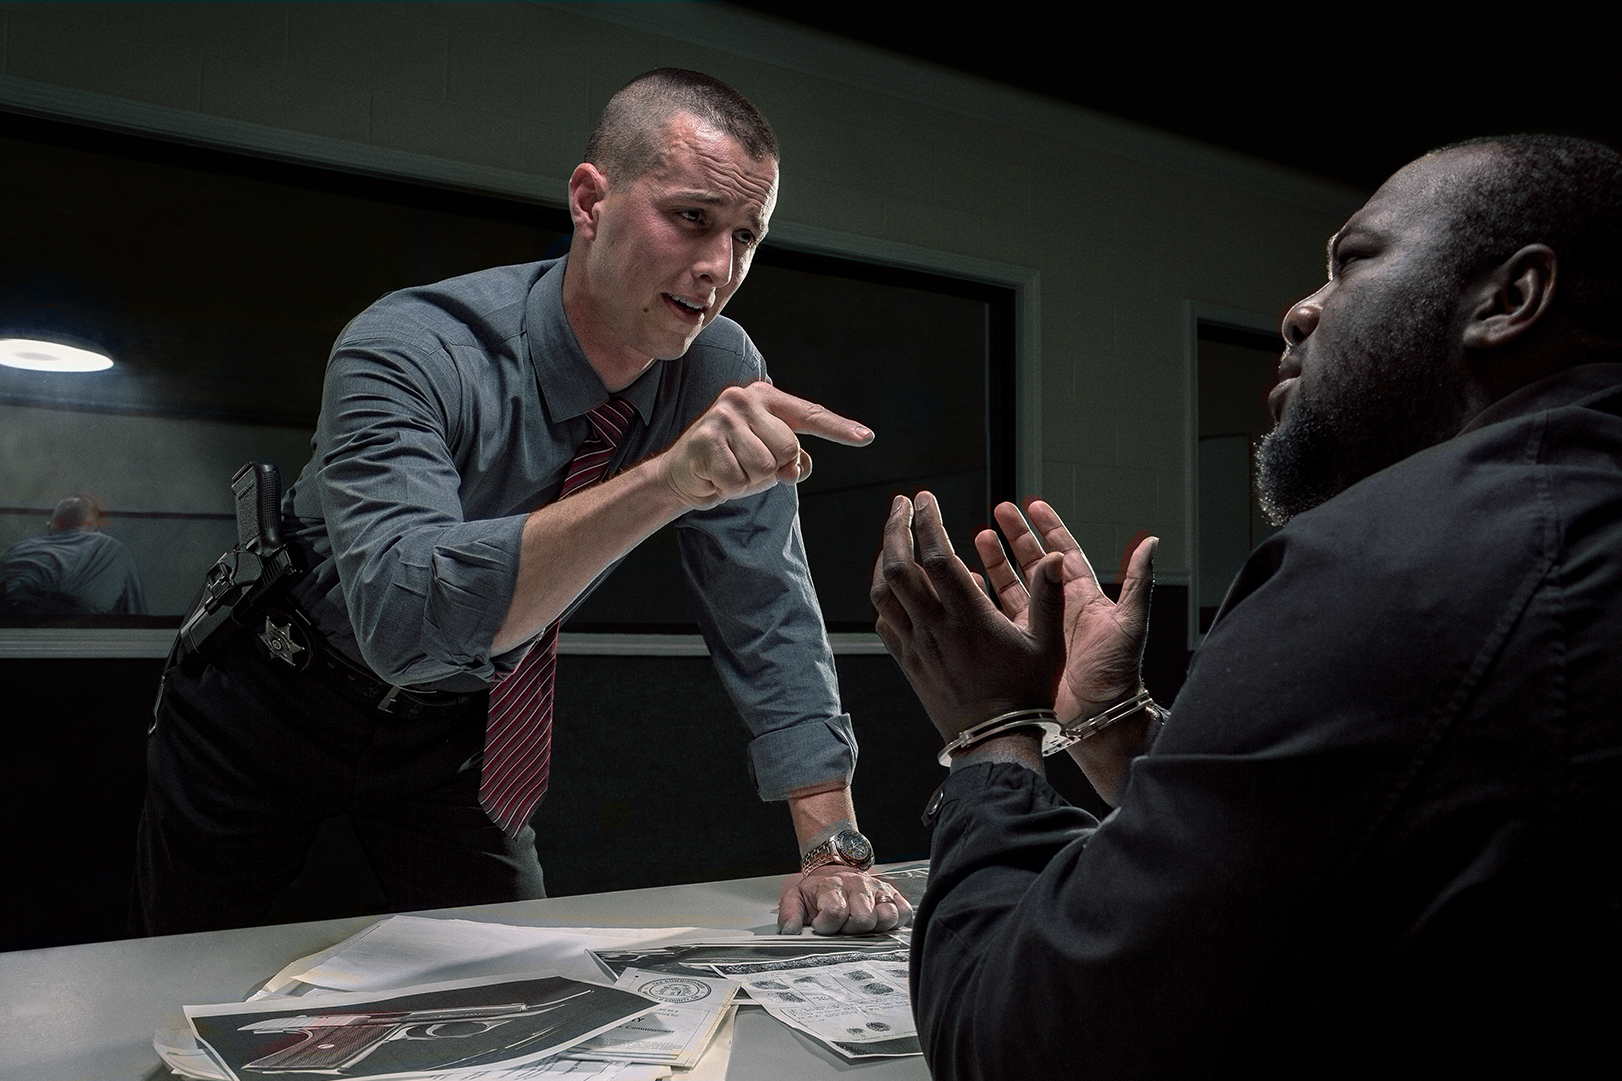
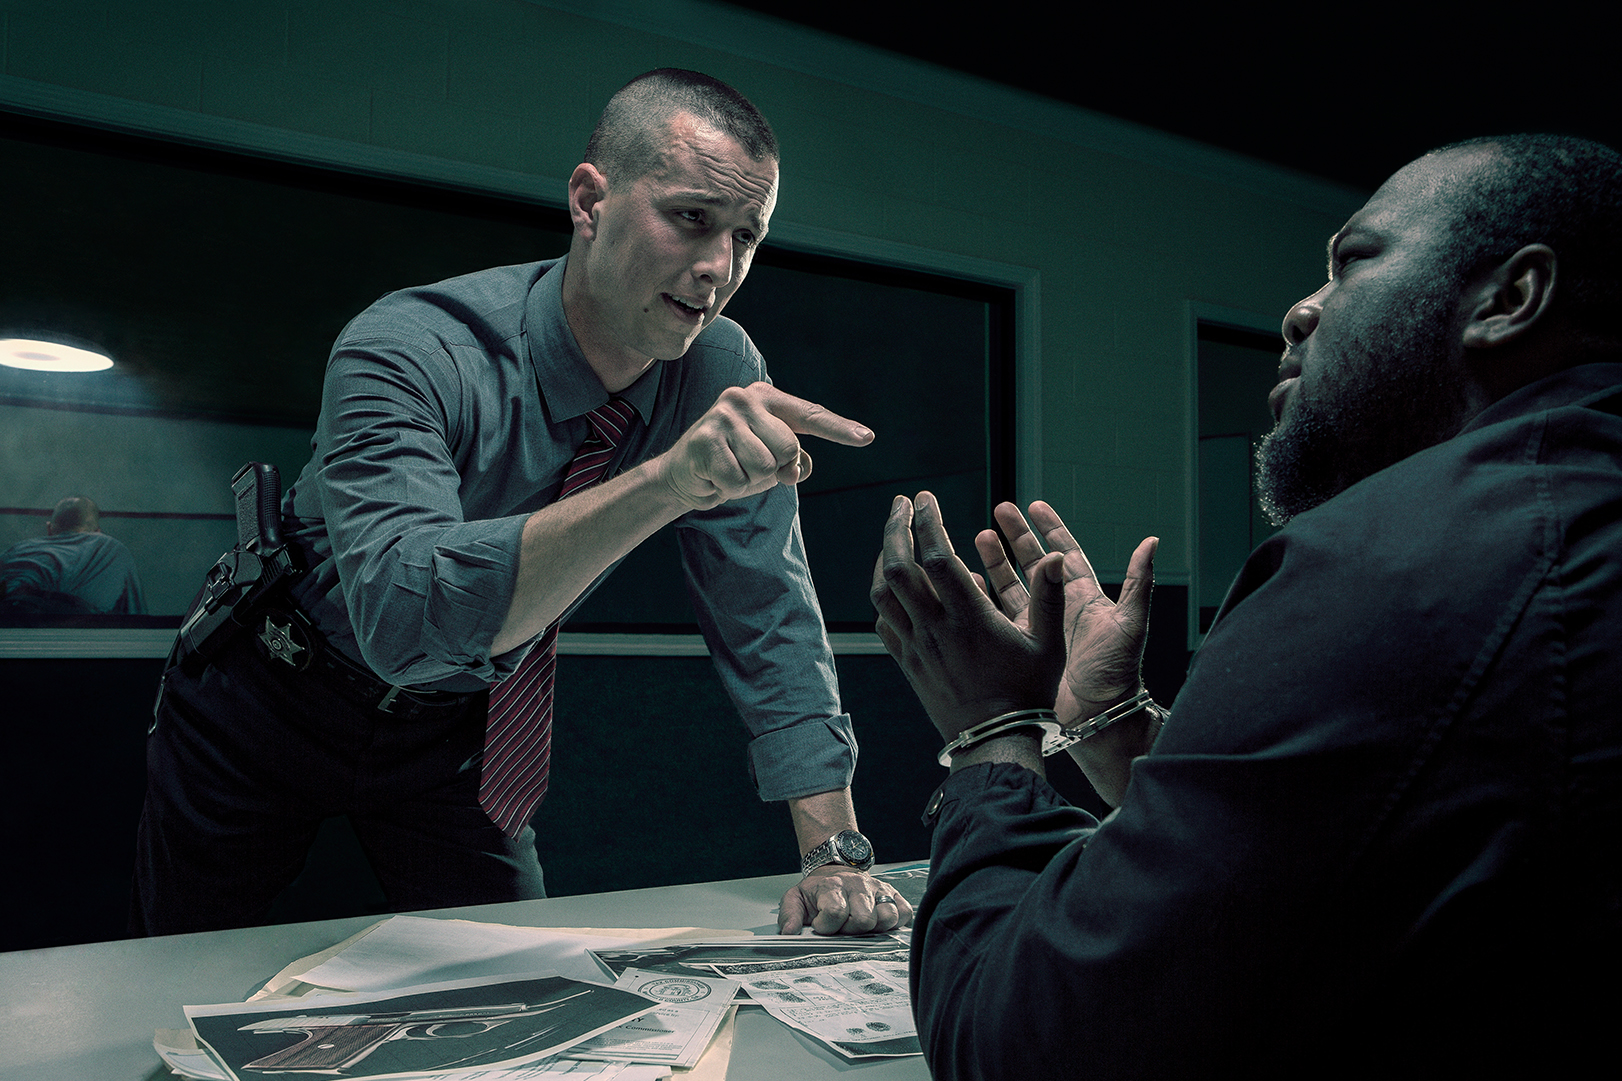
In this video, I show you you to use complementary colors to create a cinematic color grading feel for your photos. This technique is quick and easy and can usually be done in less than five minutes!
This is the second lesson in my new video tutorial series. You can see the first one here. My goal is to give everyone simple and easy tips that can make a large impacts to their final images! By merely using a channel mixer adjustment layer as well as a color balance adjustment layer, you are able to quickly and effectively give your images a teal/orange cinematic look. You can also use the same concept to create other color grades with other complimentary colors! Play around with this concept and see what you can come up with for your images! As always, I'd love to hear your feedback below!


Join the Fstoppers community for free
-
Post comments and join in the discussions
-
Browse the site ad-free
-
Share your work and get featured in the community
-
Compete in the photo contests for fun and prizes
8 Comments
Good straight to the point tutorial! Thanks Brandon, I've been looking around for a simple color grading tutorial, and you have delivered.
I'd like to see a tutorial similar to the one about embers and sparks, but with lights, like your picture of the K9 jumping out of the police cruiser, the car's lights and such
How can I now apply this look into premiere pro as an adjustment layer for all my footage is the key! I would love to see integration of being able to take a clip into photoshop make a look save just the look to like am XMP then apply it to my footage in premiere pro, then use the tools in premiere for quick tweaks. I personally use Resolve but there is a number of times I will make a cool look in photoshop and not know how to recreate it in those color grading programs to the tee.
Photoshop CC has an export option for Color Lookup Tables. Once you export your LUT from there you should be able to add a Lumetri effect in Premiere and load that LUT. (example tutorial: https://www.youtube.com/watch?v=9WvooahtThc)
Excellent tutorial. I would love to see more videos. Your images are incredible.
Thanks, honestly this is so practical - I love it.
Great tutorial. Thanks for sharing.
Nice tutorial! I do it the long way... this would be a quick way to do my fun friends shots... At first I thought it was a colorgrading class for video still looking for that.
Thanks for the tutorial Brandon. Great work!