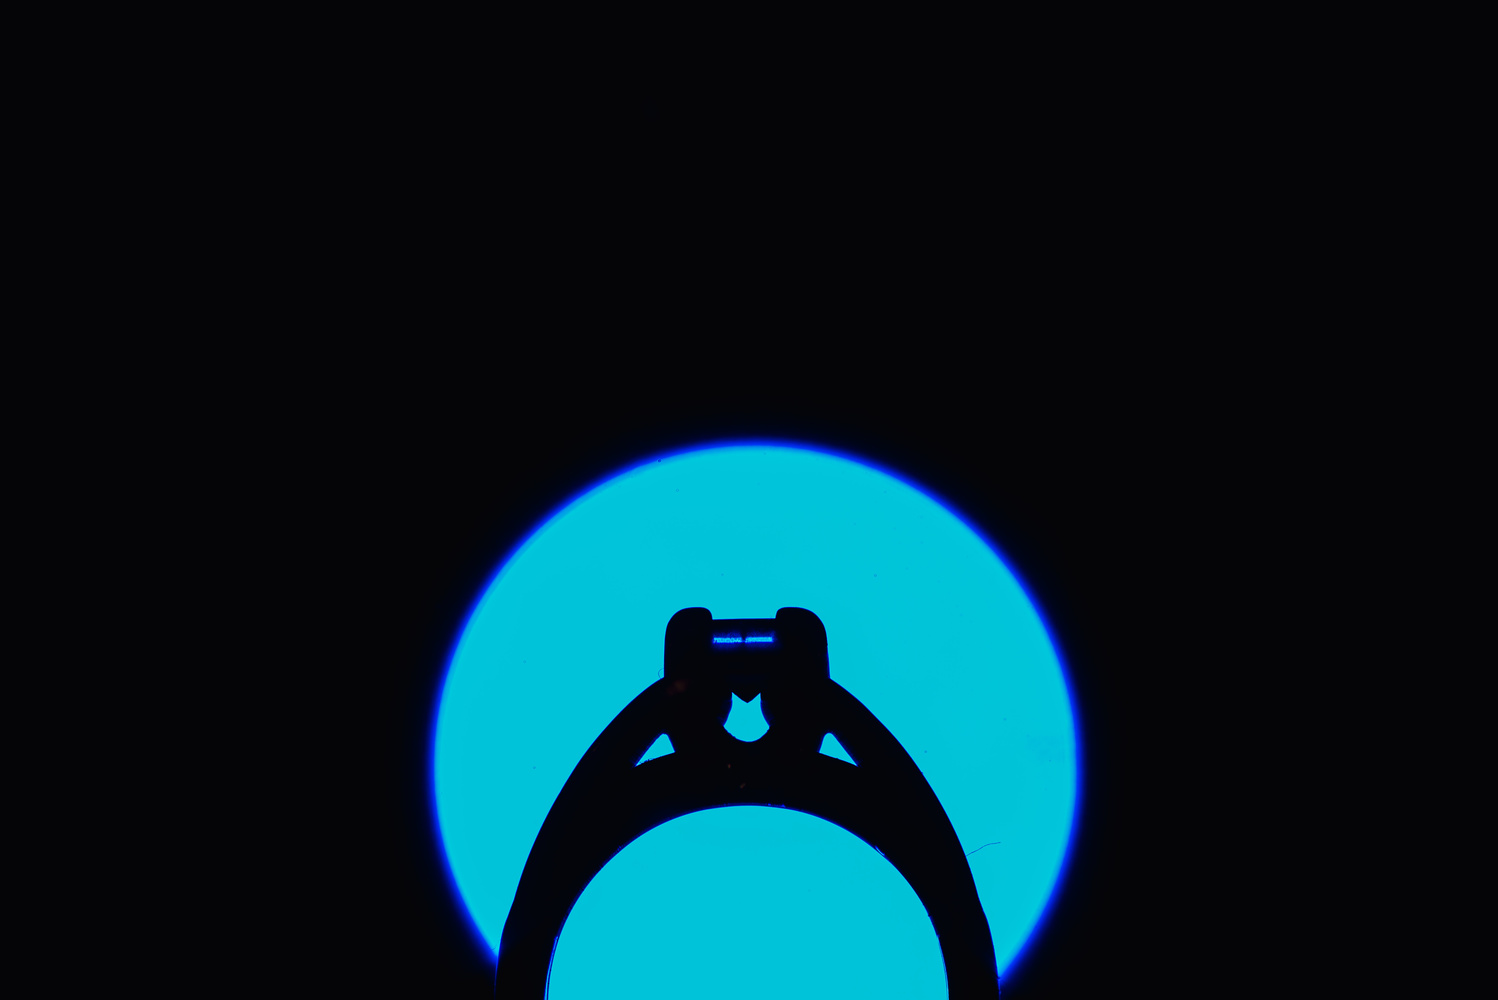
I love taking ring shots. I usually take them during a slow time on the wedding day when there isn’t a lot going on. I have full control of where I put the ring, how I light it, how I pose it, and how I frame it. This leaves a ton of options to really get creative. So it confuses me when people just place the ring on a bouquet of flowers and call it done. These shots are not bad, but they are average. I already did an article on how to get away from the average ring shot, but I didn’t explain how to take one of my favorite ring shots. The ring silhouette.
Finding Your Bokeh
The first thing to know when trying to create this type of image is that bokeh is effected by a number of variables: Aperture, focal length, focus distance, the relative size of the light source, etc. In order to control all these variables with as little hassle as possible, I follow a few key steps. If you point your camera at a light source and turn your focus ring from one extreme to the other, you will see that the size of bokeh will change. Likewise, if you point your camera at a light source and walk toward or away from a light source, the size of the bokeh will change. So the first thing I do is figure out how large I want the ring to be within the frame and make sure it’s in focus at that size. Now that I have my focus locked in, I now turn on live view and start looking for bokeh patterns that I like. When doing this, I can move in any direction I want, but I cannot move the focus ring. If you move the focus ring to change the bokeh, then you are essentially changing the size of the ring at the same time. So if you need to change the size of the bokeh, the best option is to move the camera toward or away from the lights you want to use.

The Set Up
After you find the bokeh you want to use, we now need to lock the camera down from moving. To do this, simply attach the camera to a tripod and adjust everything so that the camera is held in place at the exact position needed to get the bokeh patterns you’re wanting to use.
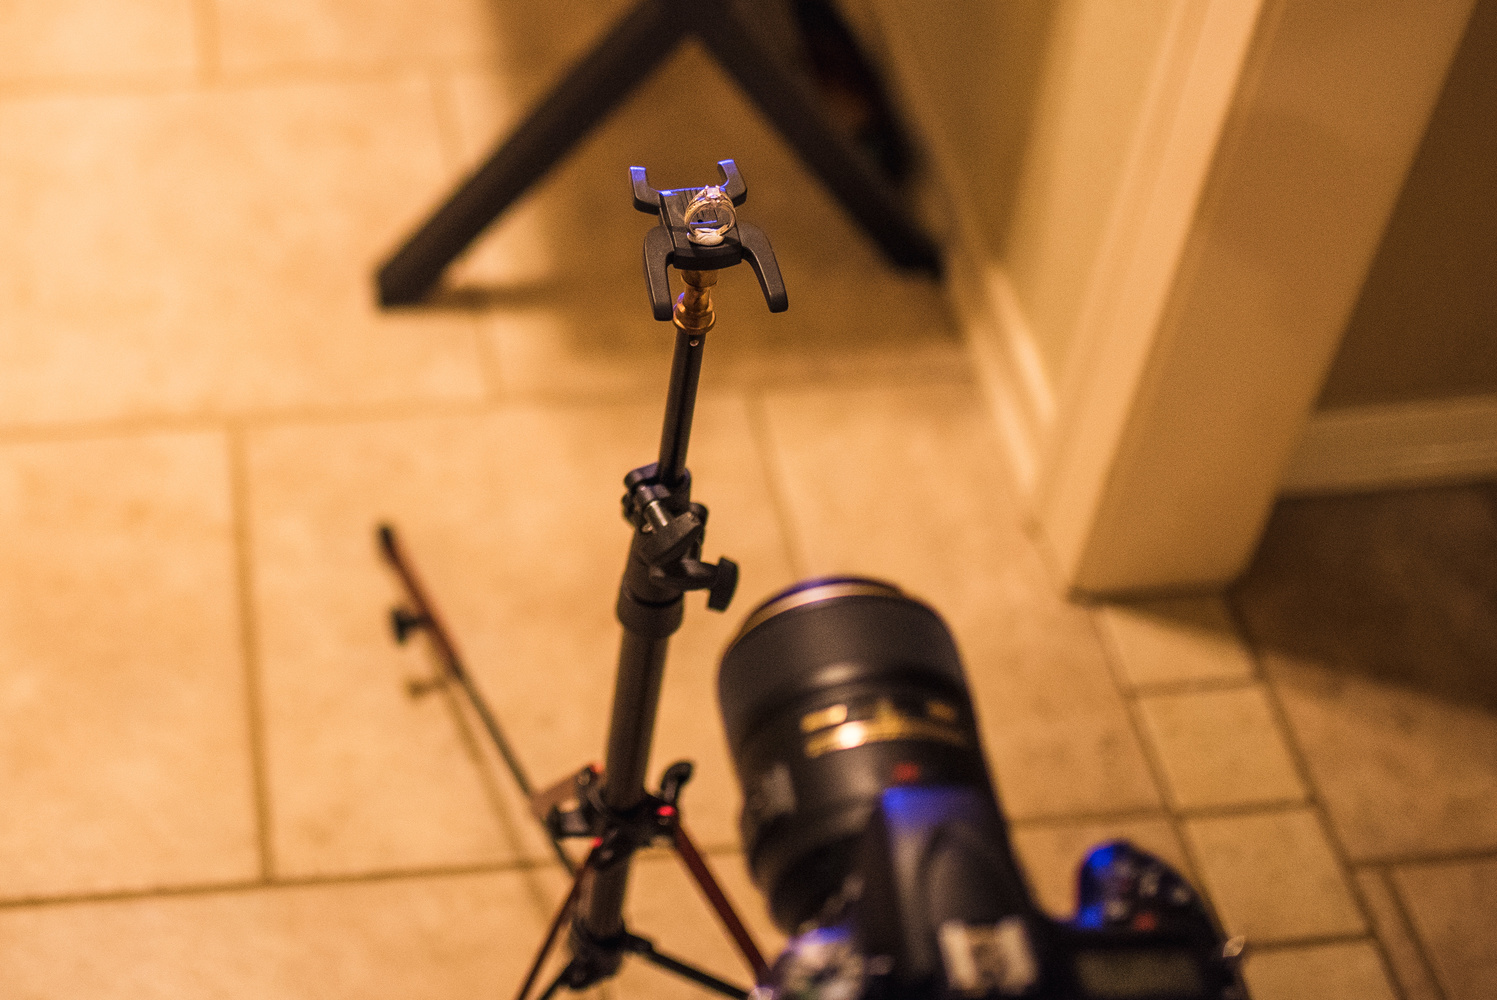
Now that we have the camera locked in, it’s time to bring in the ring. For this I use a Manfrotto Nano light stand, but anything that has an adjustable height should work. Since most rings don’t balance standing up, I use a piece of putty on the base of the ring to hold it in place. You can stick the ring to the threads on top of a light stand, but in this case, I just used the little Speed light stand that came with my flash. This gave me a bit more surface area to work with so I could make sure the ring wouldn’t fall off. From here, we just move the light stand around and adjust the height until the ring is in place. Once you have the ring in place, you can make finite adjustments to the focus, but any major focus adjustment should be made by moving the ring forward or back.

Creating Your Bokeh
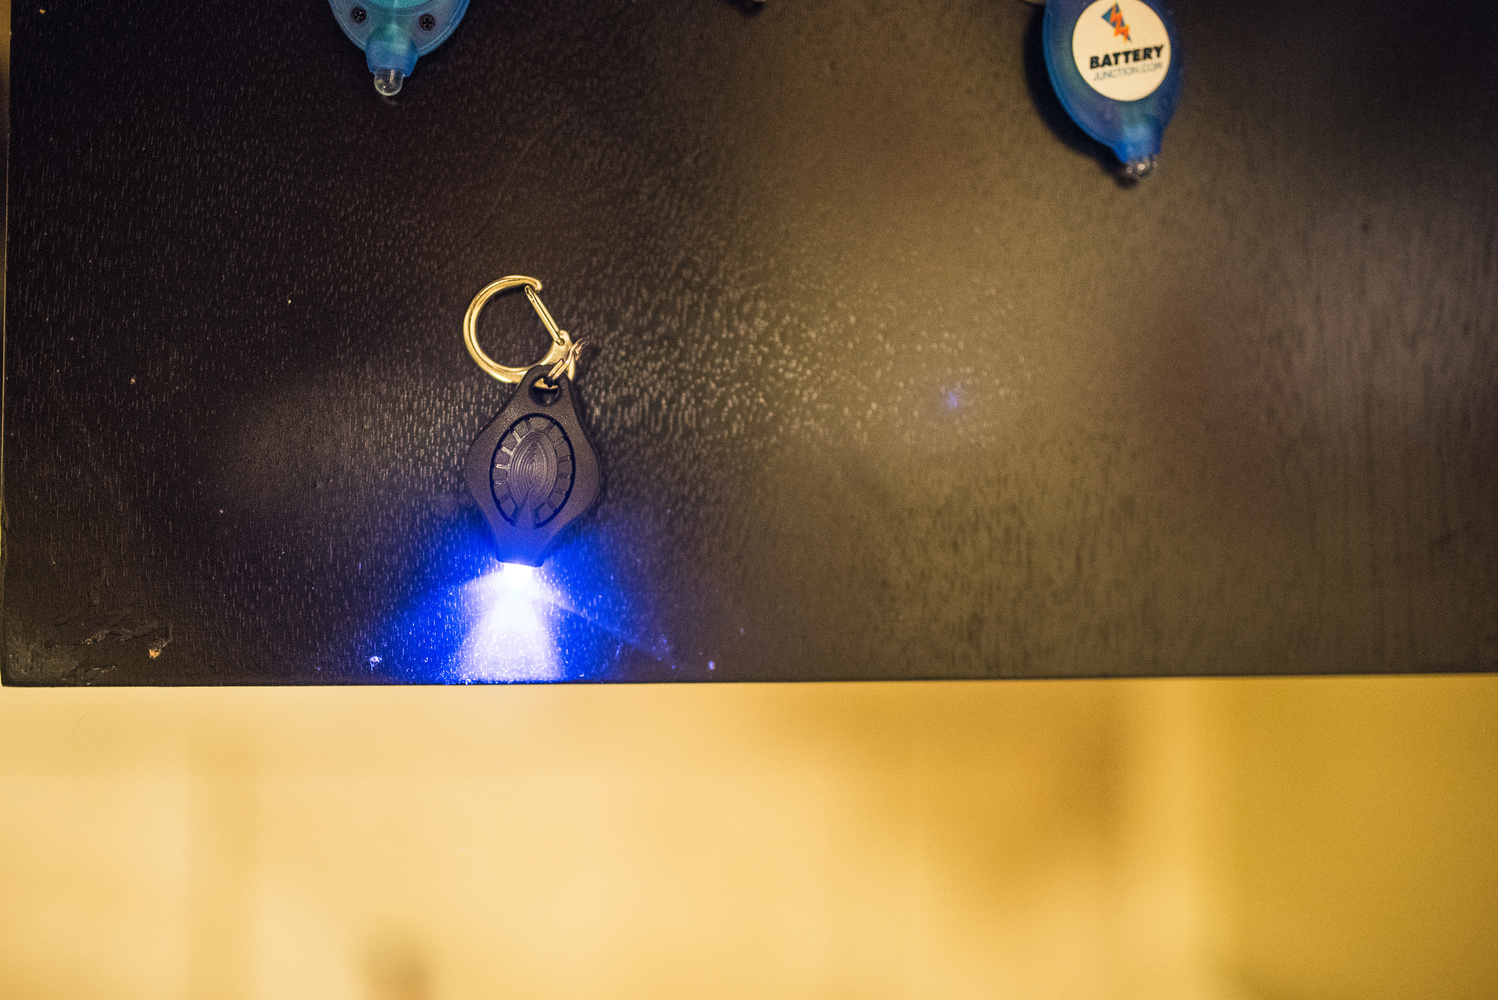
If you don’t have lights in your area that are looking how you want, there is always the option to build your own setup. What I have found to work very well are the small keychain lights that you can find at most stores and tons of places online. Doing it this way, you can decide the color, spacing, and size of the bokeh. To use this method, I start off by turning on one keychain light and placing it on the end of a table. This one light is the light that I will use to create the silhouette. I then go through all the same steps above until I have my camera and ring all locked into position.
Now that everything is locked in, I can start adding lights. With the live view turned on, I simply add another keychain light and move it around until it looks like I want. I then continue adding lights and moving them around until I achieve my final setup.
Experiment
This is where the real fun comes into play. Since everything is locked into position, we can now start to experiment. As im sure you could guess though, there is no real set way to go about this. If you built your own setup, the only thing you need to do is keep the one light that’s creating the silhouette. Other than that you are free to add lights, remove lights, move lights forward and back, etc.

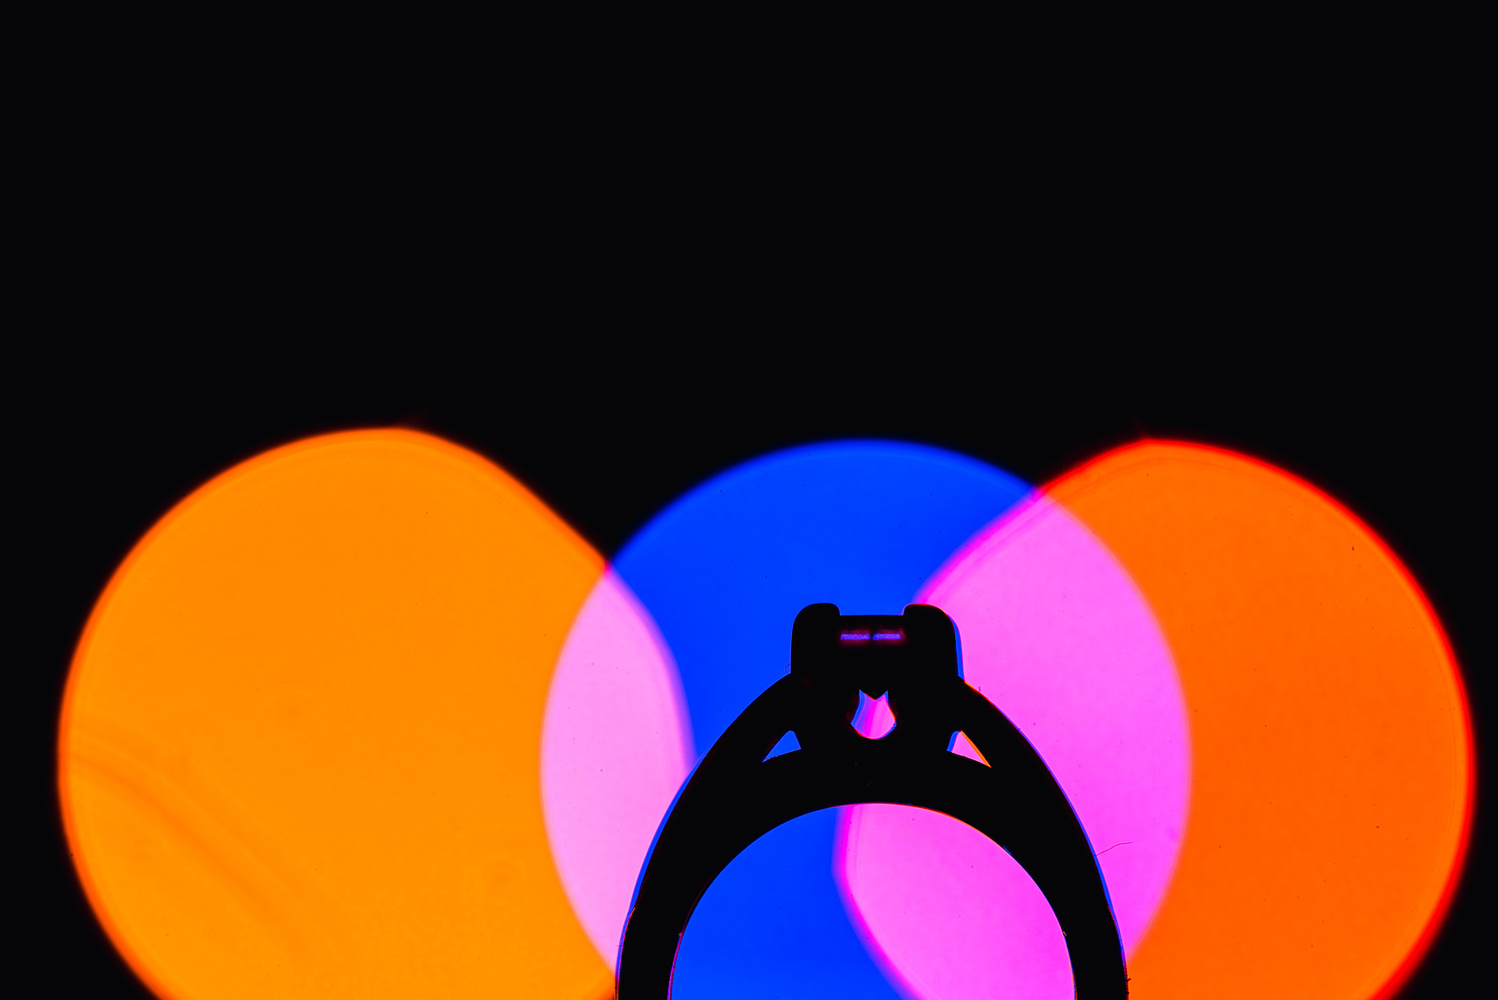
If you have found the lights you’re going to use out in the wild, then you are a little more limited. You generally don’t have the option of moving lights or turning them off and on, but there are still ways you can add some extra interest to the image. You can use your cell phone to make a reflection, you can use a keychain light to add some foreground bokeh, or you can bring in a fog machine to create some light rays. The possibilities are still pretty endless. As for the final images I’m showing here, what I did was hold a prism up in front of the lens. This gave me some interesting reflections and flares, and because I still had my live view on, I was able to adjust the prism until I got exactly what I wanted.
Do you enjoy taking ring shots or are they just something you have to do? Have you ever taken a ring silhouette? Share your ring silhouettes and any questions you have in the comments.


Very nice images and well explained. I would probably use my Plamp to hold the ring, since I have one. Probably not worth buying one just for this use case though.
Unless customs are different where you are, surely that's an engagement ring, not a wedding ring? ;)
yes, that Plamp would totally be usable.
And actually, there a large number of brides that only wear one ring. So when they get married, the engagement basically turns into a wedding ring. ;)
Yeah lots of options for the rings. My wife wears an engagement ring similar to the one in the photo and wedding band.
Cool idea man!
thanks man!
You've always got great, alternative ideas Jason, THANK YOU!
thank you! glad it was helpful!
Ran out of time getting the images ready for this, but here is another one with the blue light turned off and the light stand shifted to camera left. It's a little more abstract... but I like it.
To be honest I'm not convinced this would be a preferred shot of the wedding ring. Preferred by the customer I mean. It doesn't showcase the ring itself enough imho. However on the other hand, it does look different from the usual ring shots - and "different" sometimes takes the cake.
I agree. I think images like these are more for myself then anything else. It does line up with my style though, so my clients really enjoy them. I also don't think an image like this should be the only image of the ring. You can get your safe shot and then swing for the fences to get something different. If the client doesn't like the different shot, or if it doesn't turn out like you want, then you always have the safe shot to fall back on.
Cool concept!!