
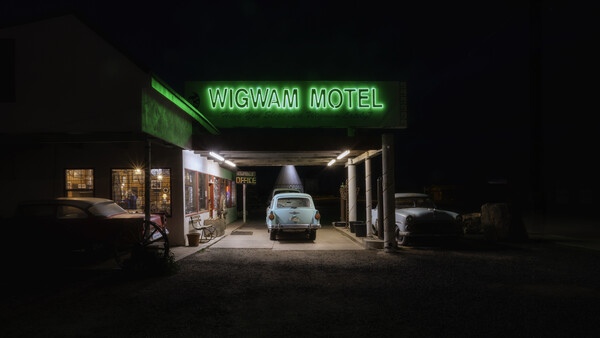
We have all driven past the same location a hundred times during the day and never once pulled over to reach for the camera: the gas station, the empty parking lots, a small business on Main Street. Travel through there at night, and these locations stop us in our tracks. Daylight documents a place; night light transforms it. Same place, different photograph.
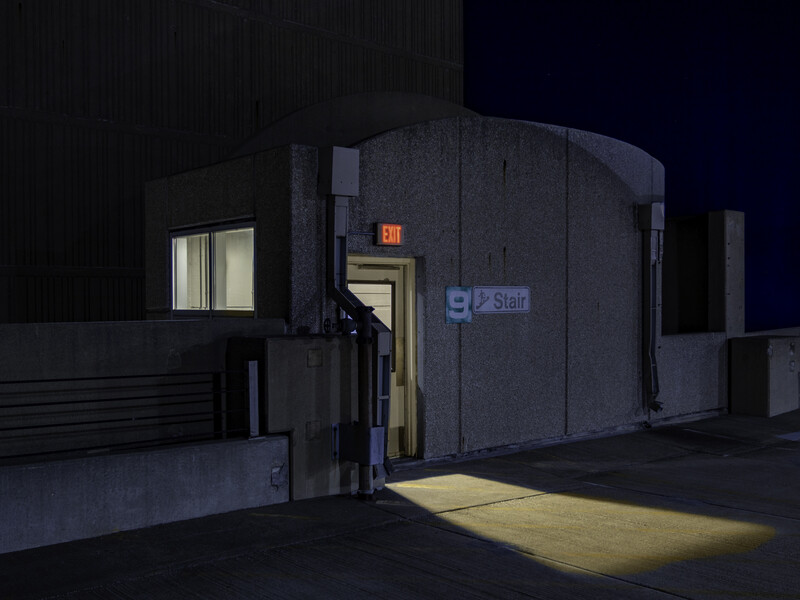
The Editing Power of Night
In daylight, it shows everything. Trash, power lines, visual clutter in a composition. Nighttime falls; artificial lighting begins to emerge, and the night becomes the ruthless editor. What the light doesn’t touch disappears. This is where subtraction becomes a part of the composition. The frame becomes similar, without us touching a thing. Darkness is the best background remover.
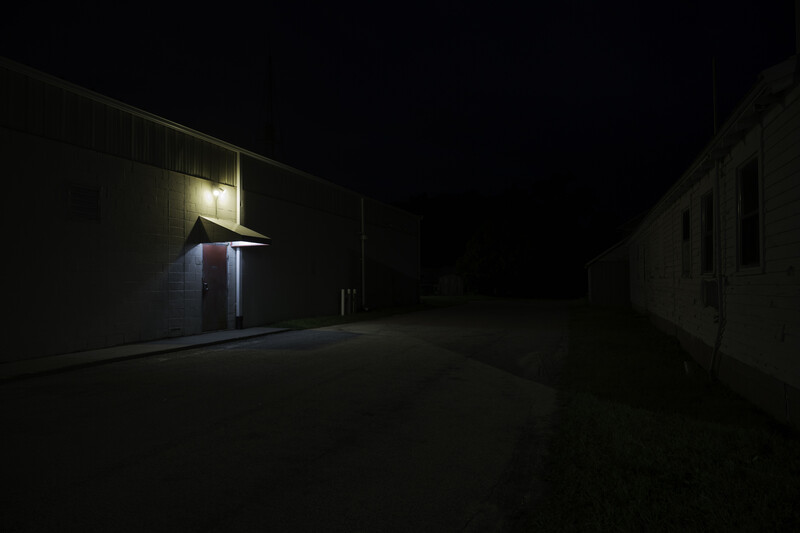
Pools of Light
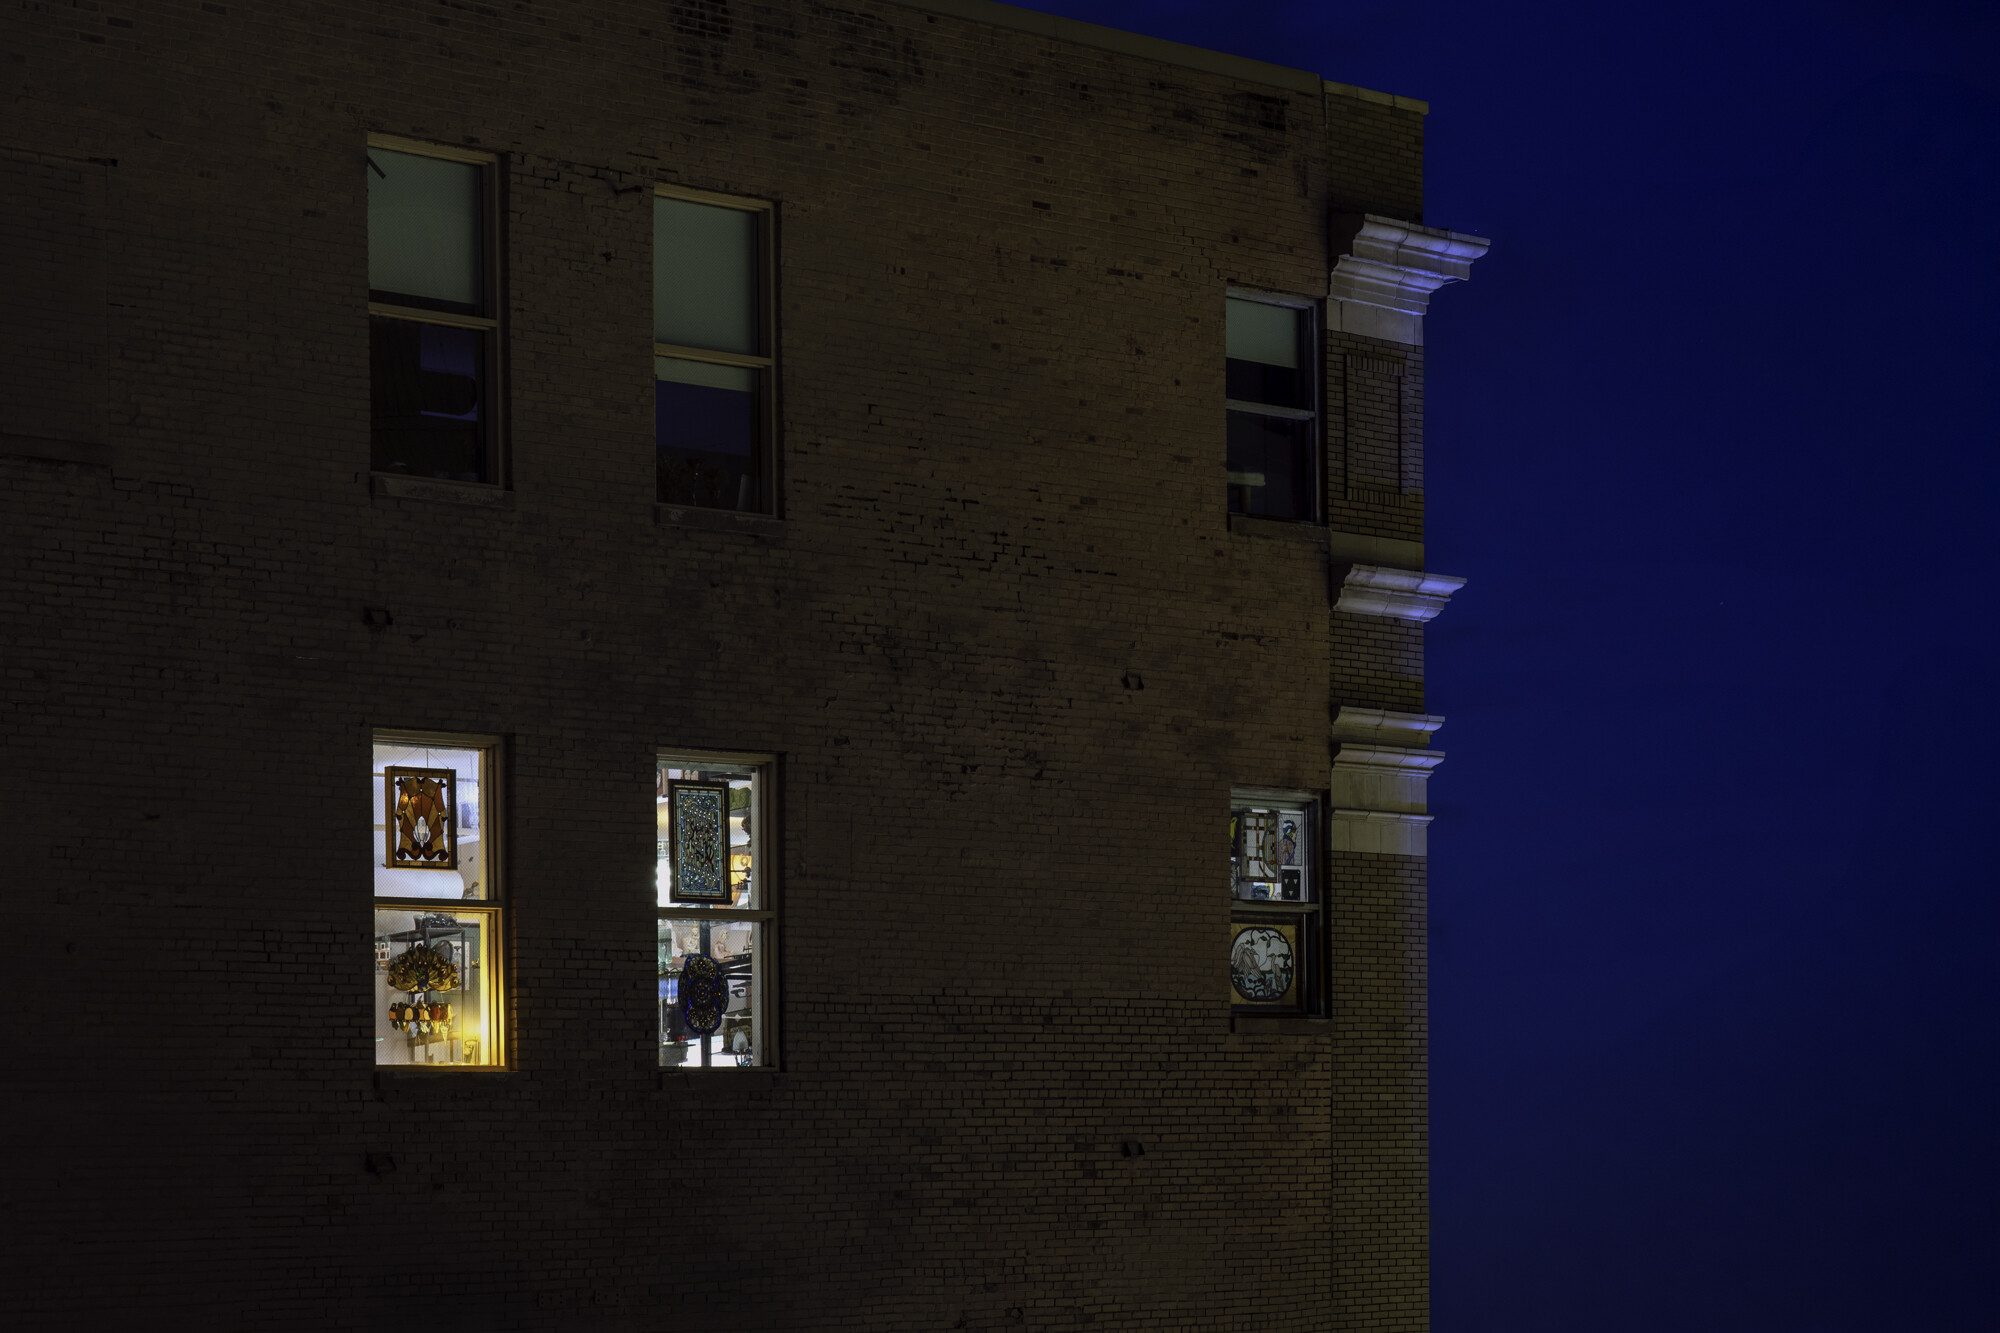
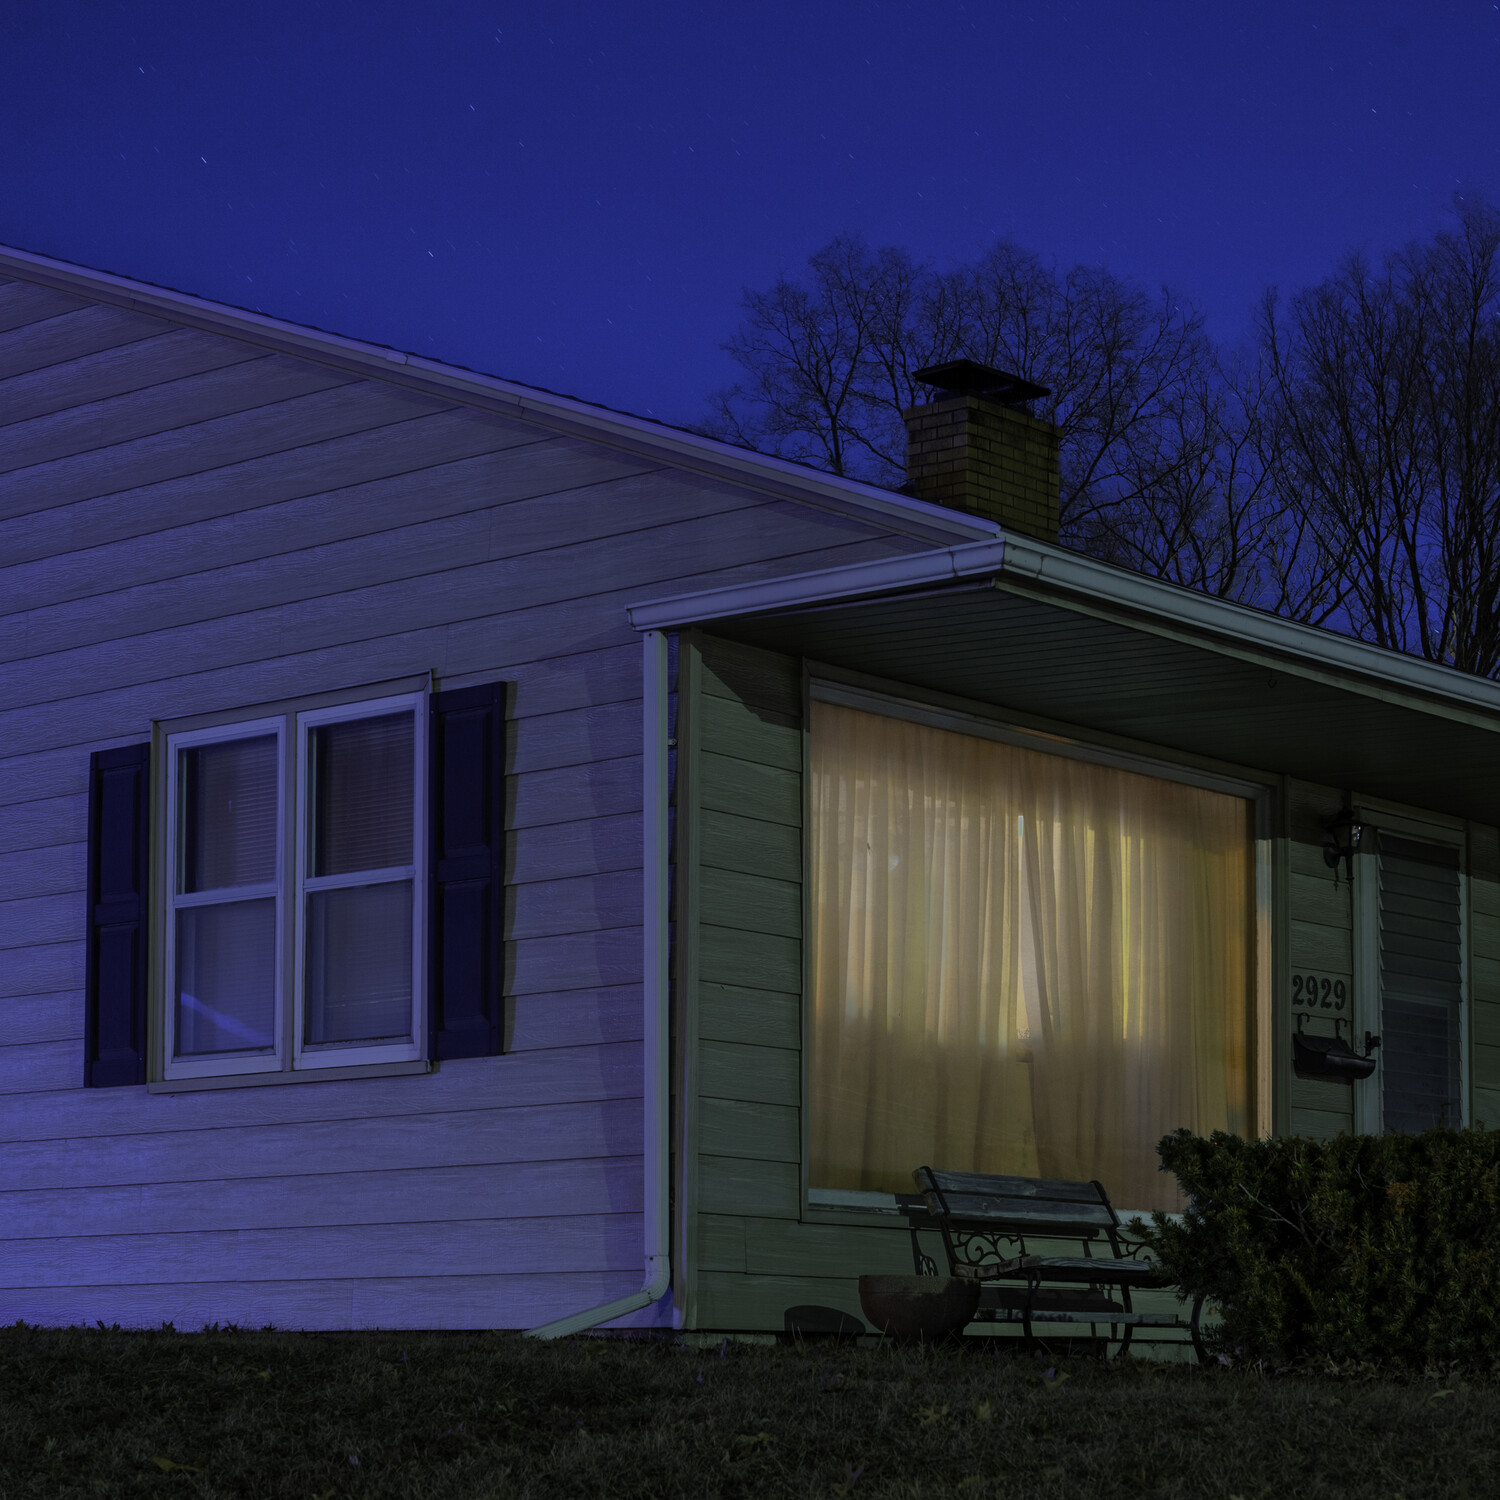
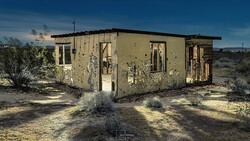
The “pool of light”: a lit island in a sea of black that creates a subject by isolating it. Light becomes a composition tool we can use as photographers, while also reducing post-processing work. Direction, color, and quality of light play a key role in the composition of the photograph. These elements help create mood in a photograph. Sodium-vapor orange, mercury green, LED blue, and neon are misread by auto white balance during the day, but become cinematic at night. The colors the camera displays now create interesting photographs.
Mystery takes over the information at night. While color helps create more interesting photographs, night photography makes us lean in because we can’t see everything. The unlit corners in our photographs now become storytelling.
The Familiar Made Strange
An emotional core in our photographs doesn’t have to come from extraordinary locations; we are taught to believe what makes a great photograph. Extraordinary is about transformation. Hopper’s Night Hawk, Todd Hiddo, Gregory Crewdson: masters of loneliness and drama after daylight falls and night takes hold. These artists are the godfathers of taking the ordinary and making it extraordinary. In their images, the paradox begins to take shape. Emptiness starts feeling charged; a vacant lit space implies a story we’re just missing.
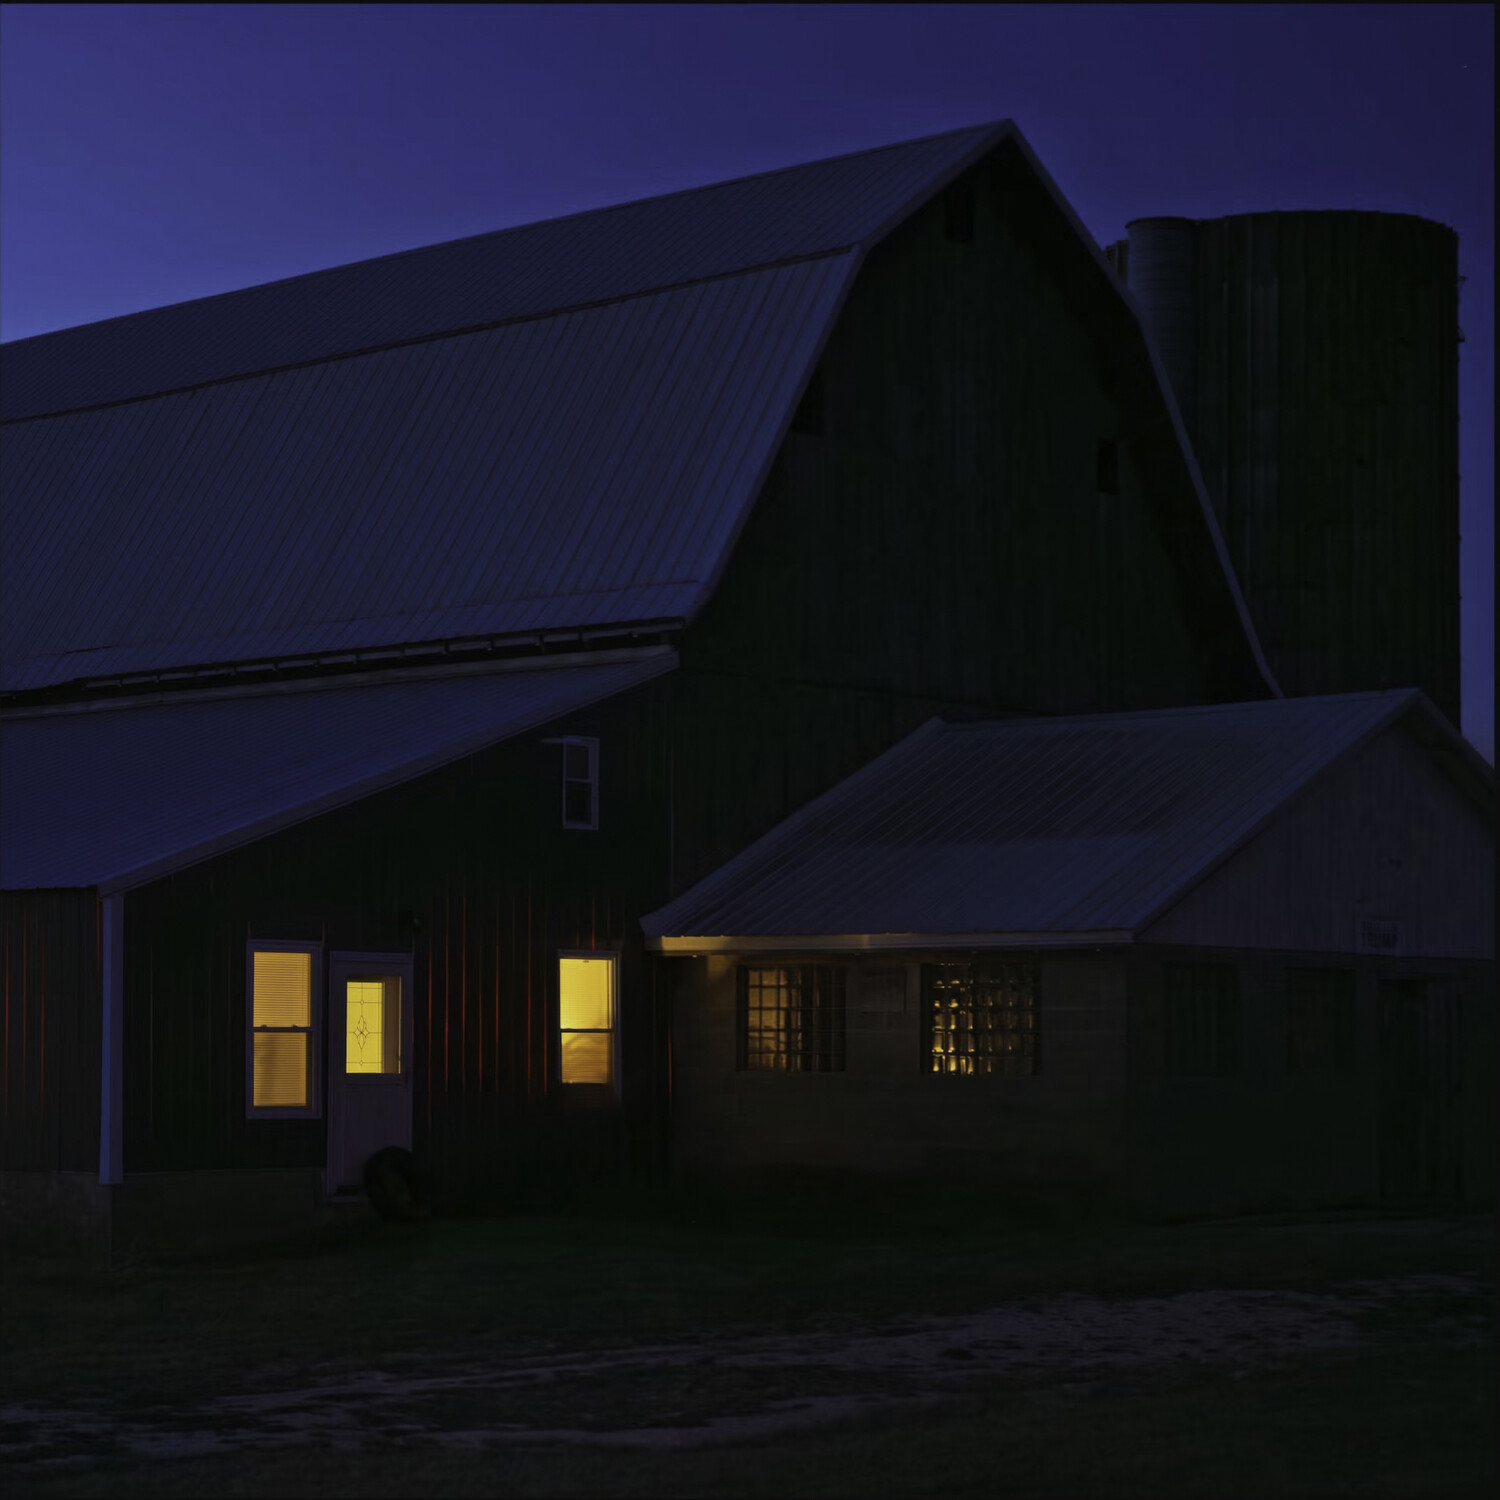
How to Shoot It
Embrace the wait; it should be the motto for night photography. Long exposures and low ISO are where we can wait. This is how we take that everyday space we have driven past several hundred times and make it something that catches our eyes, as well as our viewers’.
Exposure: Now is the time to use the darkness of night to our advantage. Expose for the highlights in the photograph; the shadows will go dark. Now is the time to focus on the highlights and not let the shadows worry us; we’re using them to our advantage.
White Balance: Work the white balance on purpose. Avoid auto white balance and choose it manually. This is when we lean into white balance and color casts. We can use cooler colors to make the photograph feel cool, and warmer tones to create a warmer feel. Mixing the two can also yield more dynamic images. Use color to your advantage.
Scouting: Head out without the camera and focus on locations. Without the camera, we can solely focus on the images we want to capture. We can again focus on color in the images, one of the strongest elements in night photography. Now, we don’t feel the urge to photograph, which keeps us focused on our scouting trip.
In the End
If you're in a creative rut, or you're looking for a new genre of photography, night photography might be your next step. That location we have driven by several hundred times may be mundane during the day; at night, it's a whole new level of interesting. It doesn’t take much to make an extraordinary night photograph; sometimes it just takes time, focusing on color and highlights, and not worrying about the shadows.

Join the Fstoppers community for free
-
Post comments and join in the discussions
-
Browse the site ad-free
-
Share your work and get featured in the community
-
Compete in the photo contests for fun and prizes
4 Comments
Hi Justin
Sometimes something so obvious is so far away that I don’t see it. A while ago, I had a brief flash of inspiration along these lines, but I didn’t act on it. But now – thank you very much for your inspiring post, which has reminded me once again to wander through our village at night with my camera and discover something new in the familiar old surroundings. So I’ll have to spend my nights out and about after all :-) But I’m looking forward to it, especially when the rising mist promises to add another layer of magic.
Thank you – Dirk
In the northern hemisphere at this time of year the nights are longer than the days -- a great time to switch modes and do night photography. Thanks for reminding me!
A few unknow things about Night Photography! First many never knew about for many Sony bodies like the A7/R/S M1 and 2 under support and down at the bottom is a link to Playmemories a site do longer up and running but it had many Apps for on camera used and if looking to buy a used model ALWAYS ASK if the camera has any of the apps for many resellers reset the cameras erasing the apps. The very important app is the "Digital Filter" and it's update. What this app does is like a miracle that the camera performs, It has two (three really) one for sky and another for foreground each capture you select any camera setting like one WB (you use for jpegs mainly) but not just the basic settings you use in manual mode, any camera setting there is available. The miracle like the first man on the moon computers were so small to todays, is the camera combines both into one (longest capture last) in RAW or jpeg or both as outputs but before that it allows for adjustments to the middle coverage maybe you want more sky or more foreground then it sends all to the SD card. Remember this is before the A73 and others with ISO Invariance where you can just increase exposure to get a brighter image or dual zero noise ISO's to choose for your capture. But for night Photography you get a bright sky also foregrounds.
The reason I know that many ASTO MW'ers never knew about was the word was to take 10+ captures of the sky use a program to get rid of noise but leave stars and also take the foreground image when more light and then merge the two and some extra stuff. Duh! that's a lot of work in post, in those early years. You read about the photographer who captured the MW over NYC well it could of been done back in the early days of mirrorless with the app.
Some other things: Today cameras have selectable main WB of Auto/White/Amber and all adjustable in between for night use White also at sunset with white boats etc. in the foreground. But white for night is todays white light cast a blue tint or on rooms in buildings also use a "Clear Night" filter either up front or today at the rear of the lens. The "Clear Night" filter allows capture into the sun are get great colors of water and say beach.
Not to confuse but your cameras today will see the dark sky and a lit foreground even under amber lights of a parking lot.
All night capturers want that big colorful moon over a city or sunflower field or whatever your mind sees to do that you will need a look telephoto but the time will be the day before the full moon rise reason setting sunlight will put light on the foreground no post work needed and you will not have to cut and past a stock moon in the sky. A trick to get that full moon over a wide foreground is to use bracketing 5 at +/- 2EV or 3EV and using the center image as a start point but use ISO/SS 125 as the focal point and f/8. Can be done faster for still clouds just increase SS and use the same number as ISO one goes up the other goes down, Yes you can use a 12mm getting a sharp in focus moon but barely see it just use a 24 or 35mm or testing the point is a in focus sharp moon and a normally lit foreground.
I like to play!!!
Thank you for this article!