

Look at the top of your camera. Somewhere on the body, probably on a physical dial, you will find a cluster of letters that might as well be hieroglyphics if nobody has ever explained them: P, A (or Av on Canon), S (or Tv on Canon), and M. Nikon, Sony, and OM System use P/A/S/M. Pentax mirrors Canon's labeling with Av and Tv. Some cameras throw in a green rectangle, a handful of icons depicting tiny people or mountains. Here's what they all mean.
For a tool that is supposed to help you take pictures, the mode dial does a remarkable job of making you feel like you have wandered into somebody else's cockpit.
A note for Fujifilm shooters: Many Fujifilm cameras, including the X-T5 and X-T50, do not have a traditional mode dial at all. Instead, the camera determines which mode you are in based on how you set the shutter speed dial and the aperture ring on the lens. Set both to "A" (auto) and you are in Program mode. Set the aperture manually while leaving the shutter dial on "A" and you are in Aperture Priority. Set the shutter speed manually while leaving the aperture ring on "A" and you are in Shutter Priority. Set both manually and you are in Manual. The camera displays P, A, S, or M on screen to confirm. Some newer Fujifilm bodies like the X-S20 and X-H2 use a conventional PASM dial instead. Either way, the underlying logic is identical to what every other brand does. Just the interface is different.
Here is the reassuring truth: you only need to understand four of those letters to have full command of your camera. Everything else on the dial is either a shortcut built on top of those four or a scene mode you will outgrow quickly. This article breaks down what each mode controls, what it leaves to the camera, and when each one earns its place in your shooting. If you have already read our piece on the exposure triangle, this will feel like the natural next step.
Full Auto: The Camera Decides Everything
Full Auto is the green rectangle, the little camera icon, or whatever symbol your manufacturer uses to say "relax, we have this." In this mode, the camera controls aperture, shutter speed, ISO, white balance, flash firing, and sometimes even the focus area. You point. You press. The camera does the rest.
Auto gets a lot of grief from photographers who treat it like training wheels that should have been removed years ago. That attitude misses the point. Auto is not a failure state. It is a tool designed for moments when speed matters more than precision: handing your camera to a stranger for a group photo, grabbing a quick shot of something unexpected before it disappears, or any situation where fumbling with settings means missing the moment entirely.
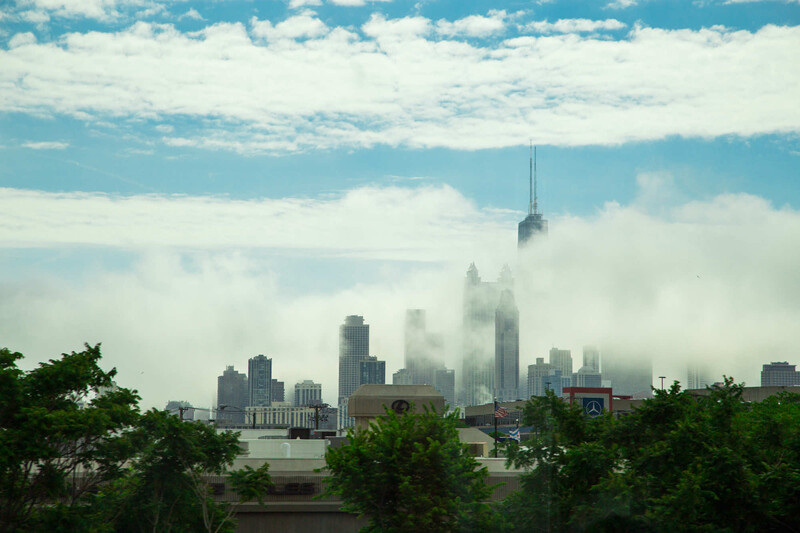
The limitation is real, though. In Auto, you cannot tell the camera to blur the background on purpose. You cannot force a slow shutter speed to streak car headlights across the frame. You cannot hold ISO low for a cleaner file if the camera decides otherwise. Auto is the camera's best guess, and while modern metering systems guess well, they do not know what you are trying to say with the image. In other words, it tries to get the technical aspect of the photo right, but it has no clue about the creative aspect. That distinction matters more than any spec sheet.
Program Mode (P): Auto With an Override
Program mode is the least understood position on the dial. Most beginners skip it entirely, jumping from Auto straight to Aperture Priority, and that is a shame. Program is essentially Auto with one critical upgrade: you keep control of ISO, white balance, exposure compensation, and flash behavior. The camera still pairs an aperture and shutter speed for you, but you can override that pairing.
On most cameras, spinning the command dial in Program mode shifts the aperture/shutter speed combination while keeping the same overall exposure. Nikon calls this "flexible program." Canon accomplishes the same thing through the main dial. The practical result is that you can nudge the camera toward a wider aperture or faster shutter speed without leaving the mode.
When Program mode earns its spot: Street photography where light changes block to block and you need to shoot fast. Travel situations where you alternate between landscapes and candid portraits in seconds. Any time you want a safety net but still want access to exposure compensation and ISO. Program mode is not where you will live forever, but it is a far better stepping stone than staying in Auto, because it starts building the habit of checking what the camera chose and deciding whether you agree.
Aperture Priority (A or Av): You Pick the Depth of Field
Aperture Priority is the mode many working photographers default to, and for good reason. You set the aperture (the f-stop), and the camera automatically selects a shutter speed to match. You also control ISO, either manually or through Auto ISO with a minimum shutter speed floor.
The reason this mode dominates professional work is that aperture controls the single most visible creative variable in a still photograph: depth of field. A wide aperture like f/1.8 on a lens like the Canon RF 50mm f/1.8 STM or Nikon Z 50mm f/1.8 S isolates your subject against a creamy, out-of-focus background. A narrow aperture like f/11 keeps everything from the foreground to the horizon sharp. By locking in your aperture, you are locking in the look of the image. The camera handles the math of getting the brightness right, which frees you to think about framing, timing, and your subject.
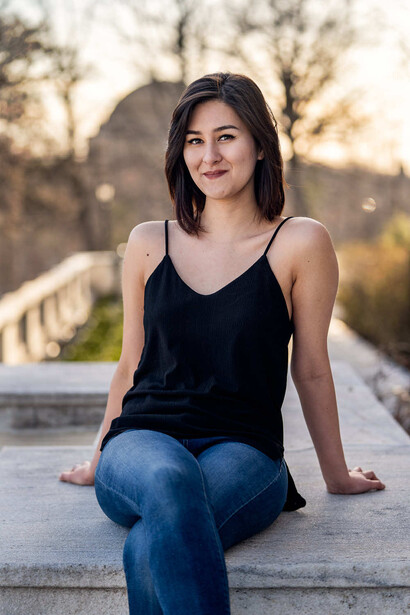
Aperture Priority also pairs beautifully with Auto ISO. Set your aperture for the depth of field you want, set a minimum shutter speed in your Auto ISO settings (1/125 is a solid starting point for general shooting, 1/500 for action), and let the camera juggle shutter speed and ISO to maintain exposure as the light changes. This combination is so effective that many professionals use it for entire weddings, editorial shoots, and documentary projects without ever touching the mode dial.
When Aperture Priority earns its spot: Portraits where you want consistent background blur. Landscapes where depth of field is the priority. Street photography. Events. Essentially any situation where depth of field matters more than controlling motion.
The one thing to watch for: In very low light, the camera may select a shutter speed that is too slow for handheld shooting. That is what the minimum shutter speed setting in Auto ISO is for. Set it, trust it, and check your shots periodically to make sure nothing is slipping.
Shutter Priority (S or Tv): You Pick the Motion
Shutter Priority flips the relationship. You set the shutter speed, then the camera picks the aperture. You still control ISO.
This mode exists for situations where motion is the defining variable. If you are photographing a soccer game and need 1/1,000 to freeze a sliding tackle, you dial that in and let the camera figure out how wide to open the lens. If you are shooting a waterfall and want a two-second exposure to turn the water into silk, you dial that in and the camera narrows the aperture to compensate. (You will also want a tripod for that one.) Your priority is time, so the mode gives you time.
Shutter Priority gets used less often than Aperture Priority for a practical reason: depth of field is a concern in more situations than motion control. Most photographs involve stationary or slow-moving subjects where aperture is the more useful creative lever. But when motion matters, it's a good choice.
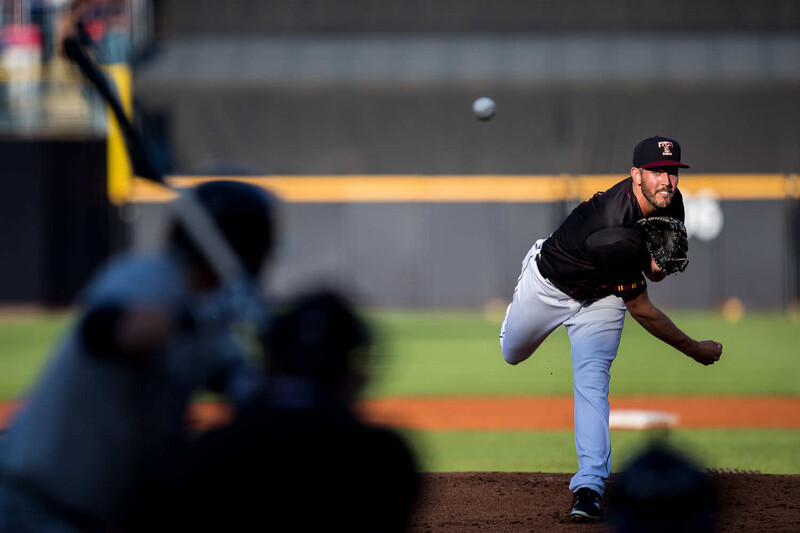
When Shutter Priority earns its spot: Sports and wildlife where freezing action is non-negotiable. Panning shots where you need a specific slow shutter speed to blur the background while keeping the subject sharp. Long exposures of traffic, water, or clouds. Any situation where you know exactly how fast your shutter needs to be and everything else is secondary.
The one thing to watch for: If the light is too dim for the shutter speed you have selected, the camera will open the aperture as wide as it can. If that still is not enough, you get an underexposed image. Most cameras will flash a warning (a blinking aperture value in the viewfinder), but it is easy to miss in the heat of a shoot. Keep an eye on it.
Manual Mode (M): You Pick Everything
Manual mode gives you direct control of aperture, shutter speed, and ISO. The camera's meter still works and displays its reading in the viewfinder (typically as a scale that shows whether your chosen settings will produce an over, under, or correctly exposed image), but it will not override your decisions. You are the pilot.
Manual mode has an undeserved reputation as the "real" way to shoot, as if Aperture Priority and Shutter Priority are crutches for people who have not committed to the craft. That is nonsense. Manual is a tool, not a merit badge, and it earns its place in specific situations where the other modes struggle.
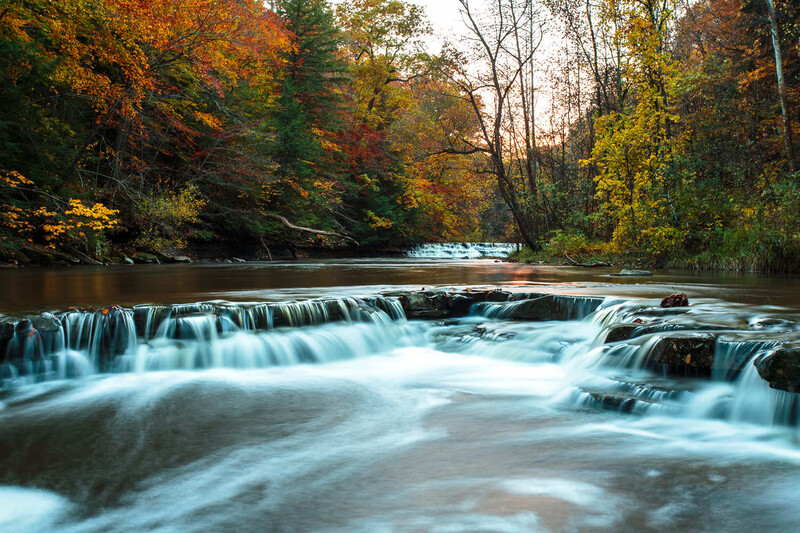
When Manual mode earns its spot: Studio photography, where the light does not change between frames and you want identical exposure on every single shot. Panoramas and composites, where you need every frame exposed identically so they stitch together seamlessly. Night photography and astrophotography, where you are working at the extremes of the exposure triangle and need precise control of all three variables. Video, where exposure shifts caused by automatic modes create visible flickering.
When Manual mode slows you down: Any situation with rapidly changing light. Walking from shade to sun. Outdoor events with shifting clouds. If the light is moving faster than your fingers, a semi-automatic mode with exposure compensation will outperform Manual every time.
The real power of Manual mode is not that it makes you a "real photographer." It is that it forces you to understand the relationship between the three variables. Spending time in Manual teaches you to feel the light, to predict what the camera will need before you raise it to your eye. That intuition carries over into every other mode and makes you faster and more deliberate regardless of which letter is showing on the dial.
The Scene Modes: Skip Them
Most consumer and enthusiast cameras include a set of scene modes, often represented by tiny icons: a person for portrait, a mountain for landscape, a running figure for sports, a flower for macro, a moon for night photography. These are prepackaged combinations of aperture, shutter speed, ISO, and sometimes color profile settings that the manufacturer has decided are "good enough" for each scenario.
The problem is that they teach you nothing and they vary from brand to brand. Switch from Canon to Nikon or Sony to Fujifilm and the scene modes change names, behaviors, or disappear entirely. The four core modes (P, A/Av, S/Tv, and M) are universal. Every interchangeable-lens camera on the market has them, they all work the same way, and the skills you build transfer across every system you will ever use. Invest your learning time there.
So Which Mode Should You Actually Use?
If you are just stepping off Auto, start with Program mode for a week. Pay attention to what the camera chooses and practice using exposure compensation to shift the brightness up or down. Then move to Aperture Priority and stay there until it feels automatic. For most photographers, Aperture Priority with Auto ISO will handle 80 to 90 percent of everything they shoot.
Add Shutter Priority to your toolkit when you start chasing motion, whether that is kids playing sports, birds in flight, or traffic trails at dusk. And save Manual for the situations listed above, or for those slow, deliberate sessions where you want to think through every variable on purpose.
No single mode is correct. The best photographers are the ones who switch fluidly between modes based on what the scene demands, not the ones who stubbornly stick with one mode because the internet told them it was the only serious option. The mode dial is not a ladder you climb. It is a toolkit you reach into.
If you are looking for a structured path through the rest of the fundamentals, from metering and autofocus through post-processing in Photoshop, Photography 101 picks up right where articles like this one leave off. And if you already have the basics down and want to apply them across multiple genres, The Well-Rounded Photographer puts eight instructors in front of you, each teaching a different specialty with the kind of scenario-specific settings advice that turns theory into reflex.



Join the Fstoppers community for free
-
Post comments and join in the discussions
-
Browse the site ad-free
-
Share your work and get featured in the community
-
Compete in the photo contests for fun and prizes
2 Comments
Great info and another page in your subject binder, all have them just for relearning or figuring something new.
Pentax camers have a TAv mode, which means you set your aperture and shutter speed, and the camera adjusts the ISO to the existing light conditions. I use it when I'm shooting in court for work, with an aperture and shutter speed set to stop most action (1/250 at f5.6) and let the camera adjust the ISO for the lighting conditions.