
No sun? No problem! Fake natural light in the studio.
Bringing the Outdoors Indoors
The weather doesn’t always play along for photoshoots. It can make scheduling outdoor sessions really difficult and sometimes causes us to call things off at the last minute. If we are hoping for bright sunshine in winter, then we might be sorely disappointed. Instead of postponing shoots that need a sunshine feel, we can find ways to mimic natural light indoors in the studio. Clearly, there are some things that need to be done on location. But, for certain types of images, such as product photos, we can do away with most of the uncertainty and carry on indoors, where the weather won’t spoil things.
Making Artificial Light Look Natural
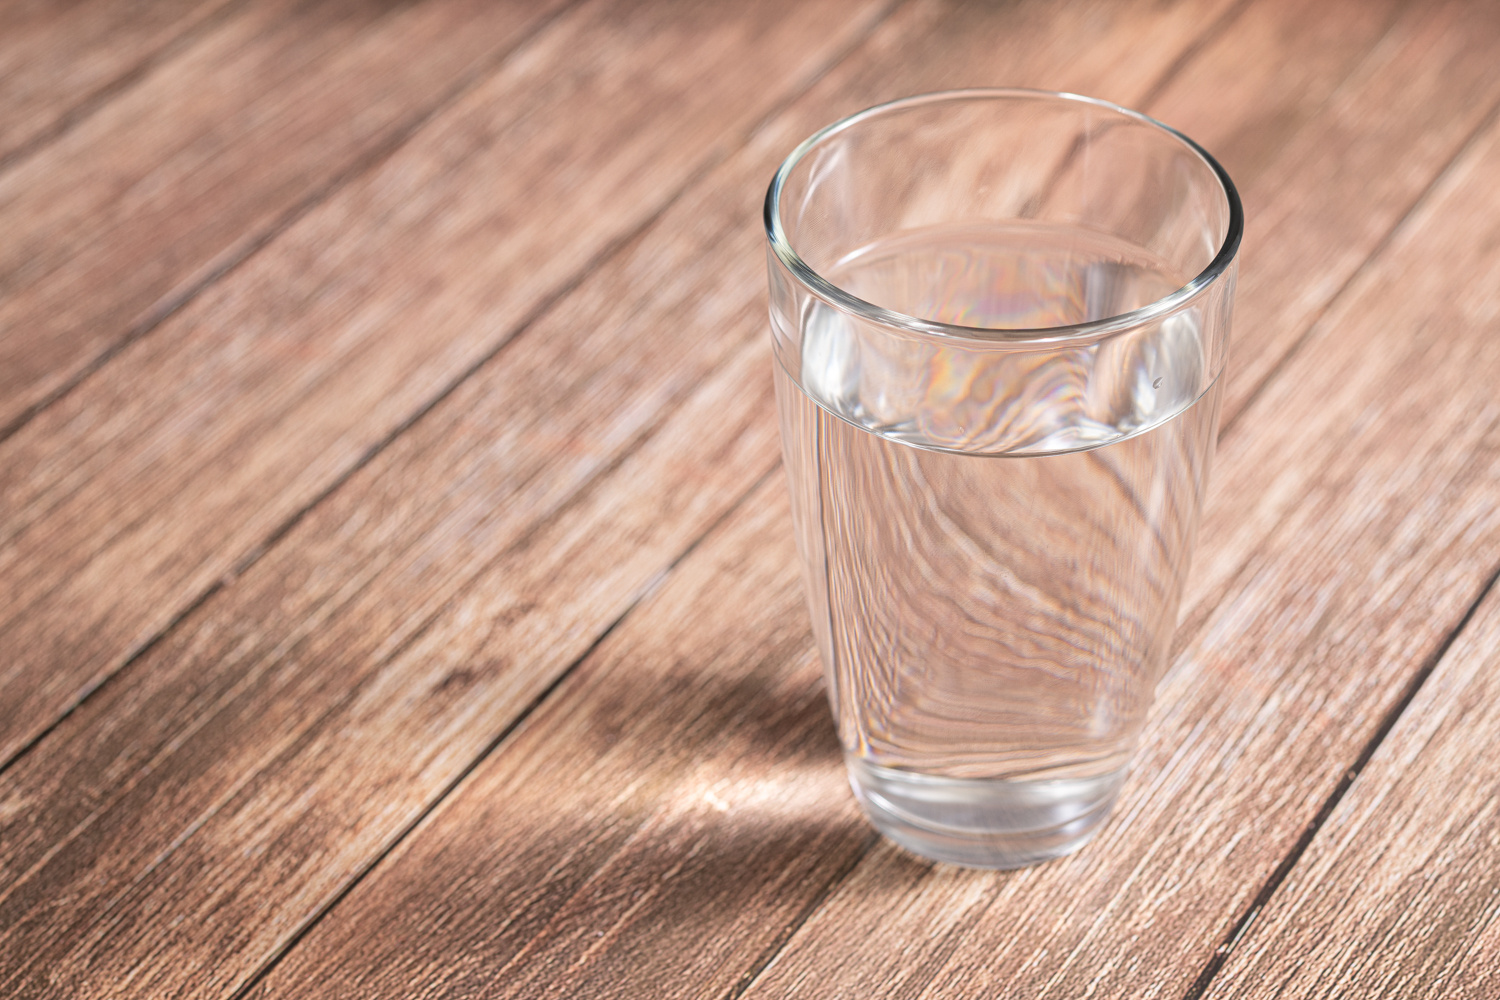
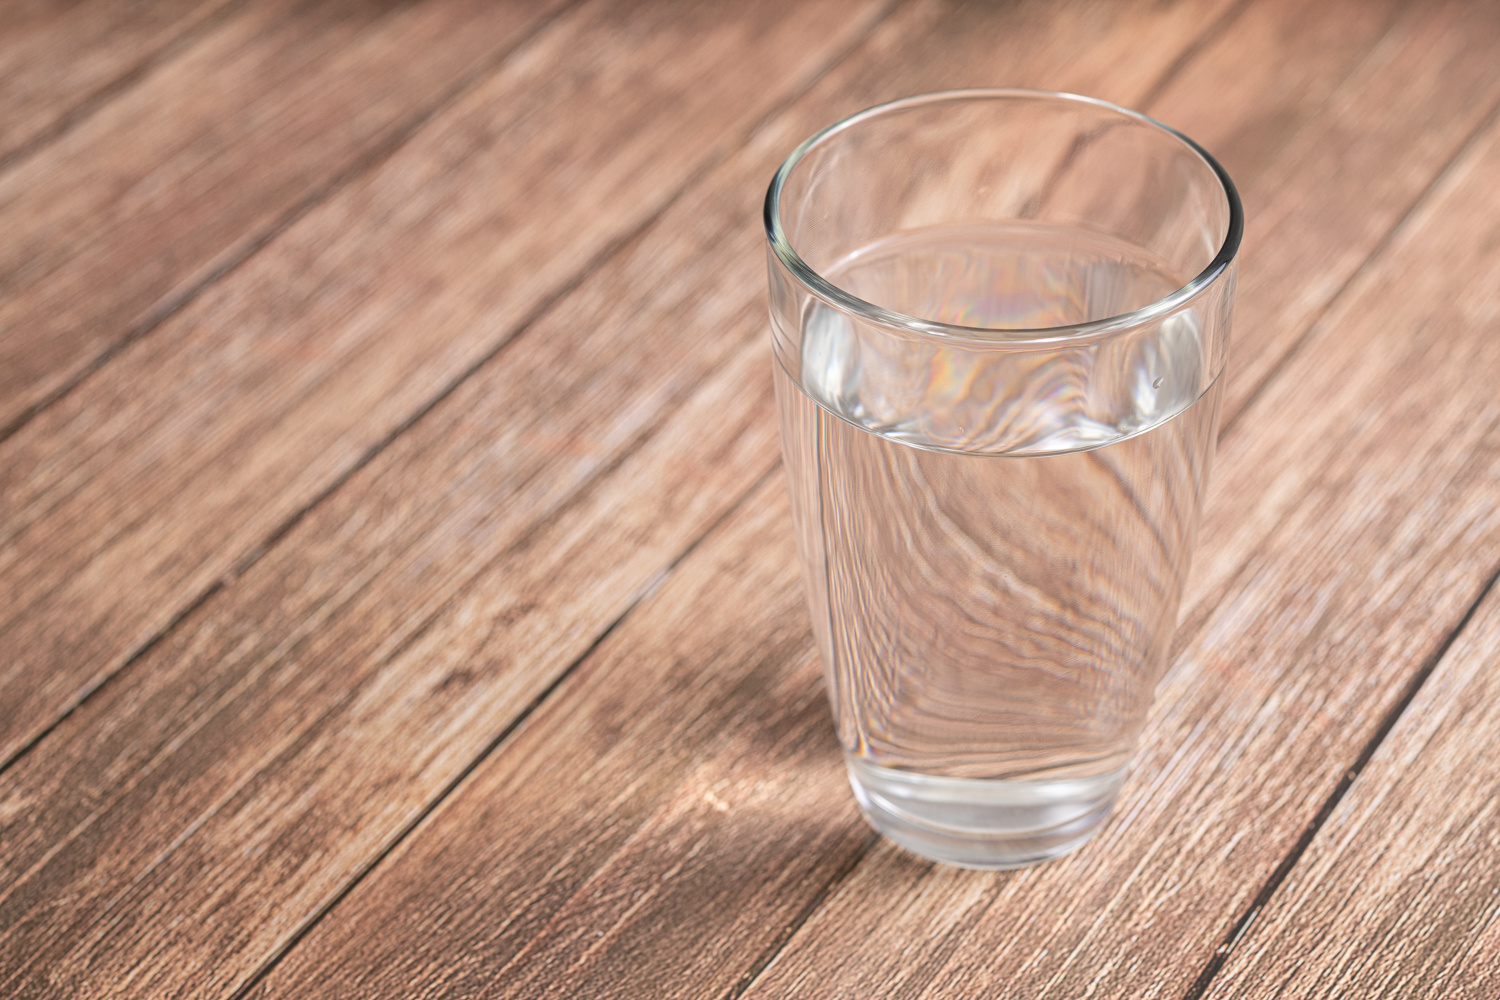
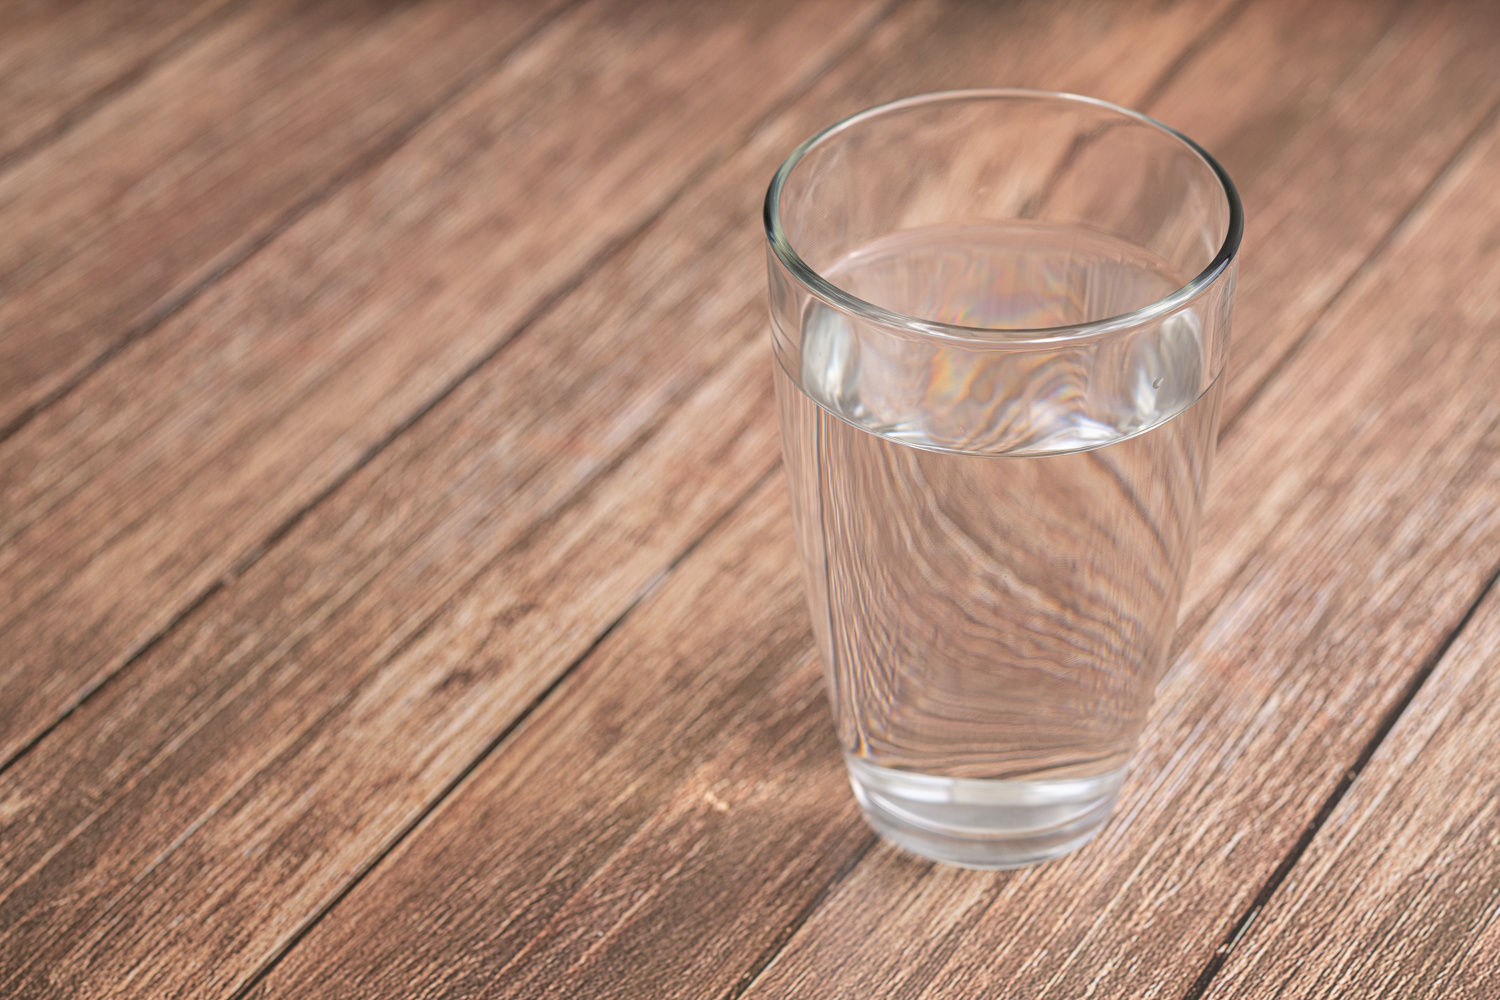
So, how do we make artificial light look like natural sunlight? If we think of shooting outside on a sunny day as being a bit like a massive studio, then the sun is a small point of light in a large space. Obviously, the sun is actually huge and many times the size of our planet. But, we perceive it as a pretty small area of concentrated light in the sky. Also, we know that on a sunny day, we get shadows with hard edges. When shadows are clear and distinct, we have “hard” light. So, we definitely won’t be using any “soft” boxes to modify our lights. We can work out that what we basically need is a single bright light source that has not been diffused (at most only a tiny amount if we think of the sun coming through our atmosphere). That means we need to use a single bare bulb to light our scene if we want it to look more like bright sunlight.
If we soften the light at all with modifiers, then it will look more like the light we get on an overcast day. Then, clouds diffuse the light, giving us a large, soft light source instead of an intense point. Can’t we use other modifiers, though? There are some modifiers that we use for hard light, such as a beauty dish or a snoot. The problem with using a snoot is that it focuses the light into a small spot, so we don’t get the spread of light that we would on a sunny day. Unless the spot is big enough to cover the whole of our scene, we are going to get some weird shadows that make it look nothing like daylight.
The reason we tend to avoid other modifiers is that they can alter the shape of the reflections on any reflective surfaces. Take a look at how highlights on glossy surfaces look in bright sunshine. That is what we want to achieve in the studio for our lighting to be believable. So, by all means, experiment, but remember the result you’re trying to achieve. Keep the “sun” round whatever you do!
Make Your Own Beach
Ok, so we’ve got the lighting heading in the right direction. Let’s have a think about setting up a scene that looks like it is outdoors. A relatively easy one to do is a beach scene. For that, we only really need two things: sand and a blue background for the sky/water. For a tabletop scene like those pictured here, we can use a large sheet of blue paper or card to create an infinity curve. Attach the paper at the top to hold it in place, and put sand on the bottom part of the card to make your “beach.” I use play sand rather than builders’ sand for this.
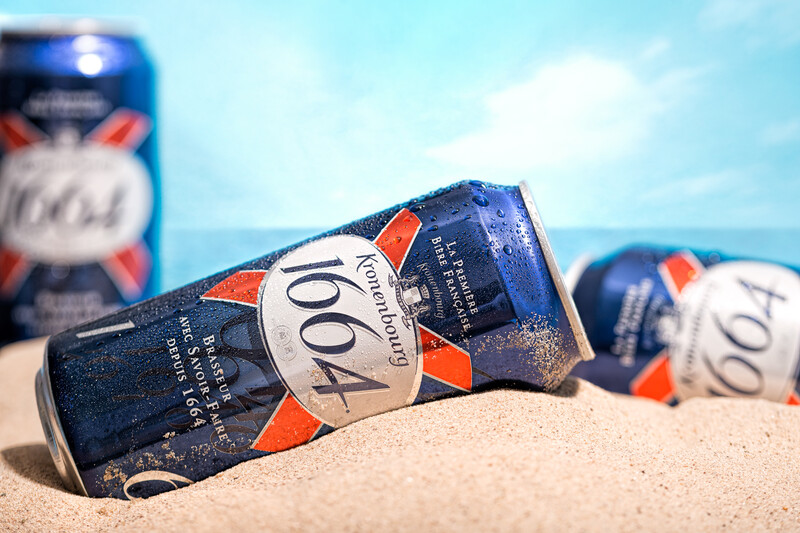
To stop it from simply looking like sand on a bit of card, we’ll need to keep a relatively shallow depth of field. We definitely don’t want to see any texture on the paper or card! So, we need there to be enough distance between the main part of the sand where your subject is going to be and the card behind it for us to blur out the blue background. The sand at the back should be going slightly out of focus for an added sense of depth.
Add Clouds in Photoshop
You can add a few blurred clouds over parts of the blue afterwards in Photoshop to make it look more like a sky. The easiest way to do this is to get hold of some cloud brushes. Paint a few clouds in white on a separate layer or two. Then, blur them. Gaussian blur usually works fine for this. You can then change the opacity of your clouds until they look realistic. If you want to add a little more depth to your sky, then you can use more than one layer of clouds with different amounts of blur. Just add a little more blur to those that are supposed to be farther away and maybe decrease their opacity too. You can also darken part of the blue to suggest the ocean.
Studio Summer Scenes
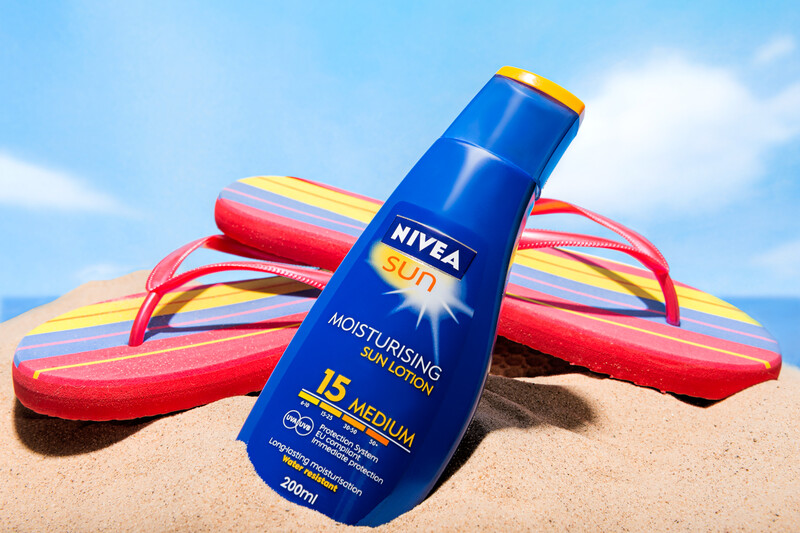
Now that we’ve got our beach scenem we can add a subject. If you are looking for ideas of what to shoot, I’d start with items that you would expect to see at the beach. So, try things like bottles of sunscreen, a bucket and spade, flip-flops, toys, picnic baskets, etc. The size of your shooting space and the amount of sand you have will dictate how big the items can be.
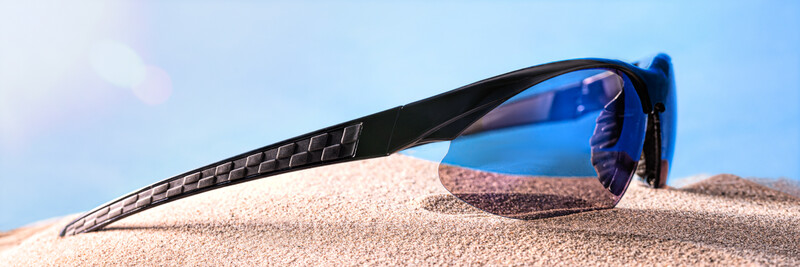
In the shot of the sunglasses, you will notice that there is a lens flare in the corner. This can happen naturally when bright light goes across your lens. Modern lenses often have flare-resistant coatings that can make it tricky to get a nice flare when you want one. So, you can always add a lens flare in Photoshop, which is what I did here. You don’t necessarily have to use the Photoshop lens flare tool to do this. It is often easier to get a lens flare image on a black background and use screen or lighten mode to knock out the black. Then, you can easily see to position and resize your flare as you want it.
Modifying the Light
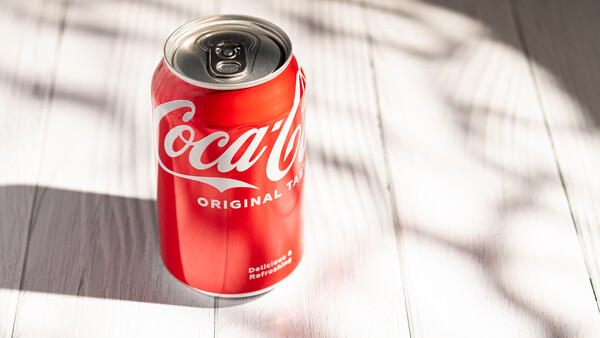
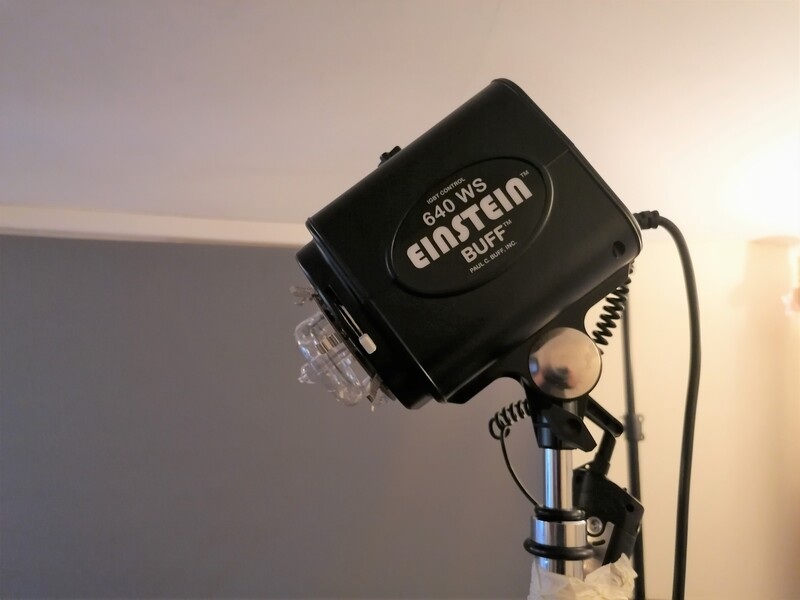
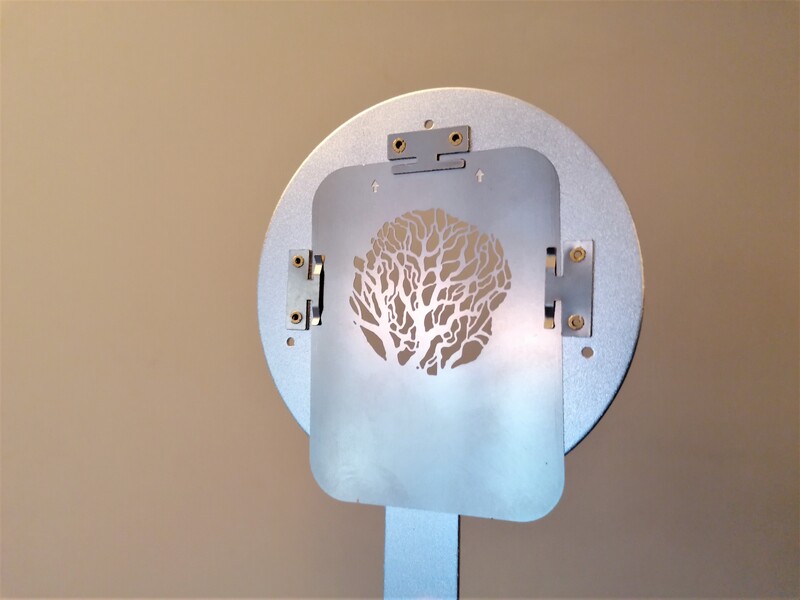
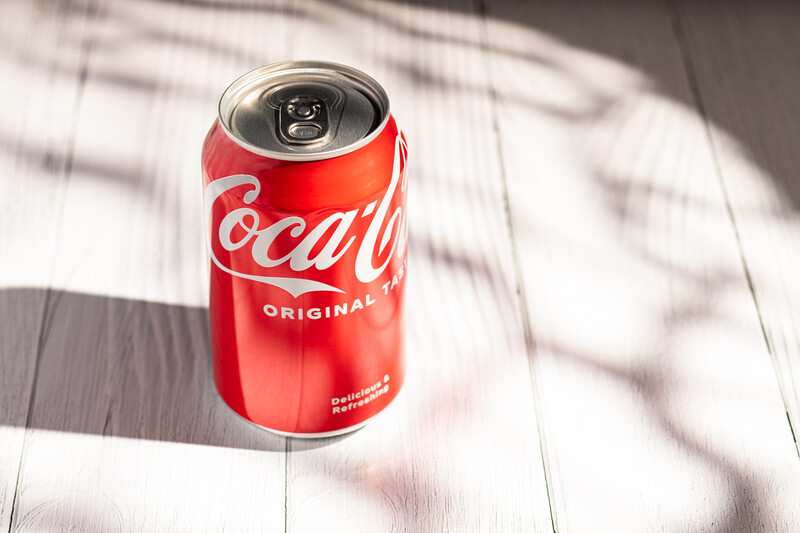
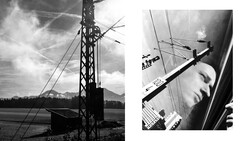
If you decide you want to go for something other than clean and bright sunshine, there are several possibilities. In the image of the Coke can, I have used a Gobo with a projector attachment on my light. The images below show what this looks like. Gobos are a fun way of introducing shapes and shadows into images. This one makes it look a bit like the can is sitting on a bench under a tree on a sunny day. We mainly only see dappled shade outdoors under trees, so our brains can be fooled into thinking this must be an outdoor image.
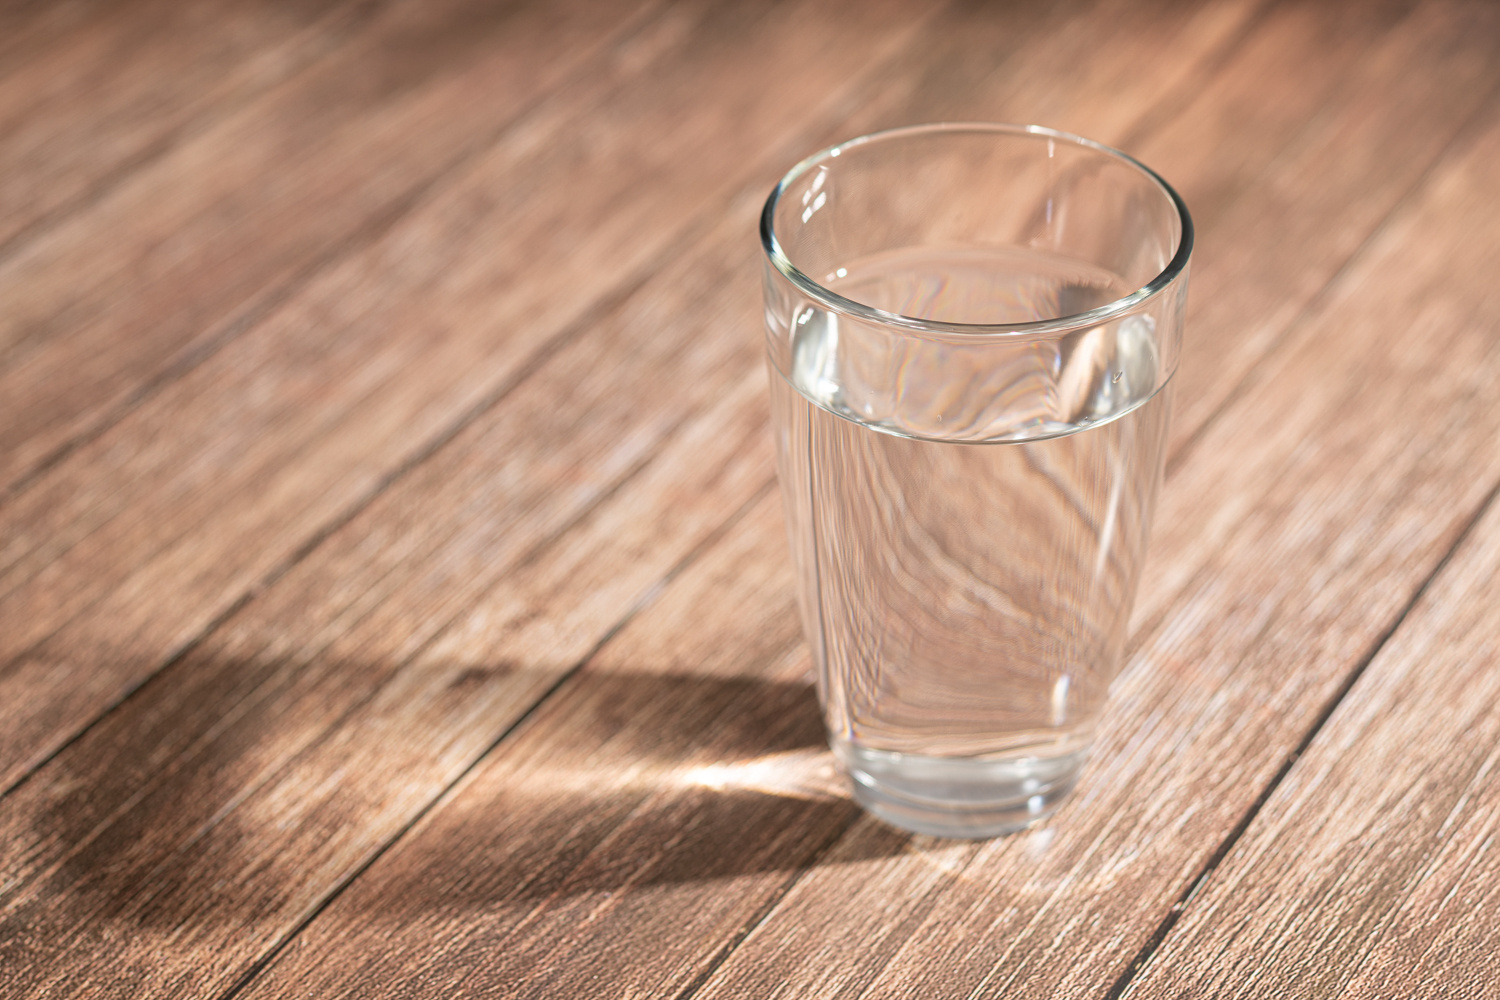
In this next set of images, I went back to using a bare bulb flash. Then, I added in the diffusion core from a reflector (take the jacket off a 5-in-1 reflector and you have a diffuser) to simulate clouds, softening the light. The various images show the result of moving the reflector closer to the subject for a softer effect.
So, there are ways to make something look like it was shot outdoors, when, in fact, you were in the warmth and comfort of your studio. Styling can be a big part of this, but lighting is the key place to start. If you don’t have studio flashes, maybe try a bare bulb on a reading lamp, for example. Have fun experimenting and see who you can fool with your simulated sun.
All images © Joe Lenton

Join the Fstoppers community for free
-
Post comments and join in the discussions
-
Browse the site ad-free
-
Share your work and get featured in the community
-
Compete in the photo contests for fun and prizes
4 Comments
Thank you Joe, great tips here! And now I'm inspired to create a beach, and wondering where I'd get play sand from?
Go for it! You can get play sand from some toy stores and probably from Amazon. DIY or hardware stores may sell it but they more often have sharp sand for building with, which doesn't work so well for this type of photography so I wouldn't buy that.
Great article! I will often times stick strobes outside of windows to mimic an early sunrise for interior design shoots. I've considered gobos for tight detailed vignette shots. Any recommendations for equipment? And how would they attach to something like a Godox AD600?
Thanks for reading! I use an optical snoot kit which has a bowens s mount. Got mine from Essential Photo who are the main UK reseller for Godox and Pixapro. You can get different gobos in sets and use different lenses to control how tight the spot is. If I remember rightly there's a magmod system for speedlights that does something similar