If you've been out shooting recently, there's a good chance that you're now sitting down to edit a pile of photographs that capture the incredible colors that autumn brings. This brief tutorial shows you a quick and dirty trick (jump to three minutes to skip the waffle!) for getting Lightroom to make the most of those gorgeous, orangey tones.
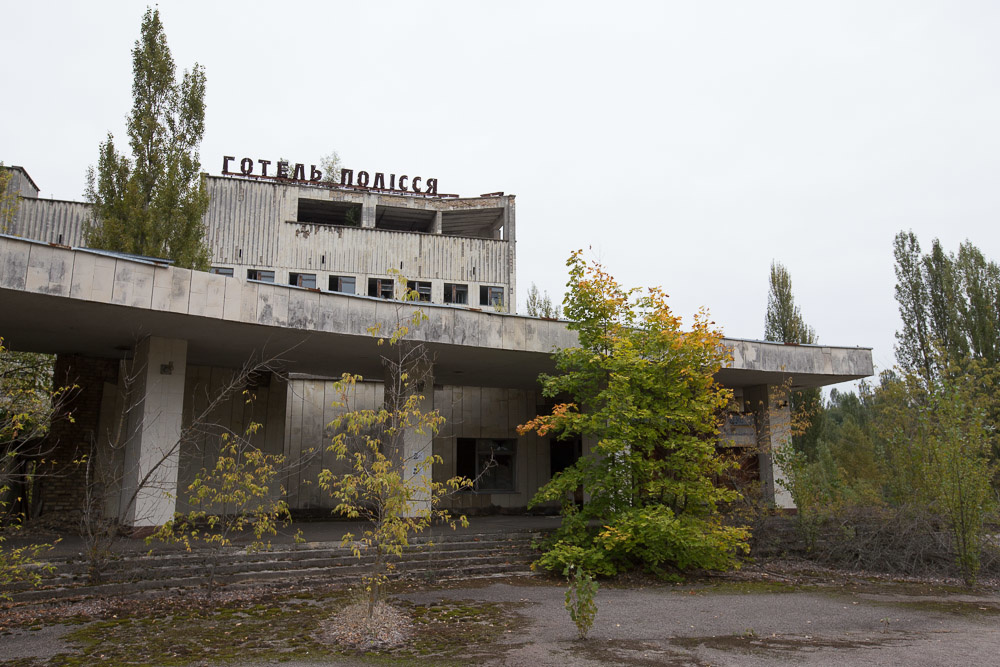
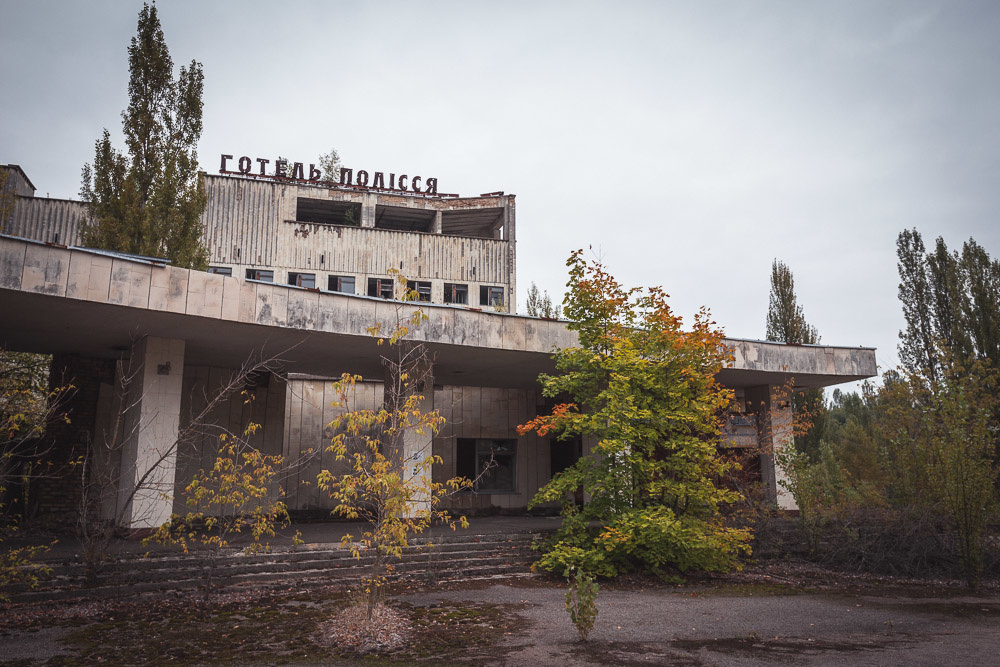
In late September, I spent a day in the Chernobyl Exclusion Zone. The leaves were just starting to turn, and the day had a very autumnal feel. Coming back to my images when I returned home, I was a bit disappointed to find that the leaden skies meant that the raw files I was editing in Lightroom felt very different to the memory of my afternoon spent wandering around the ruined town of Pripyat.
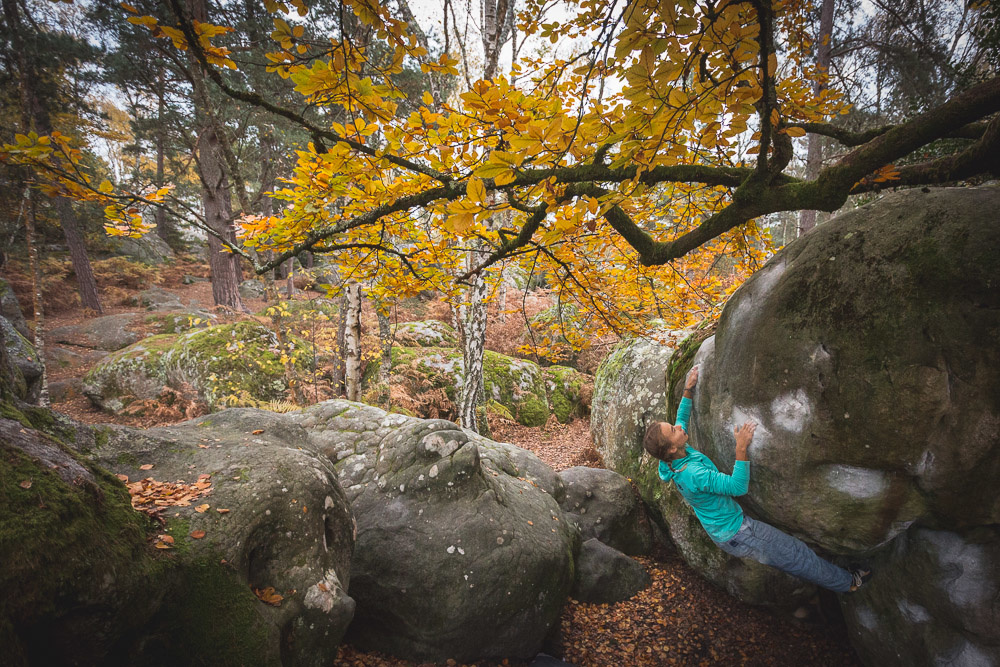
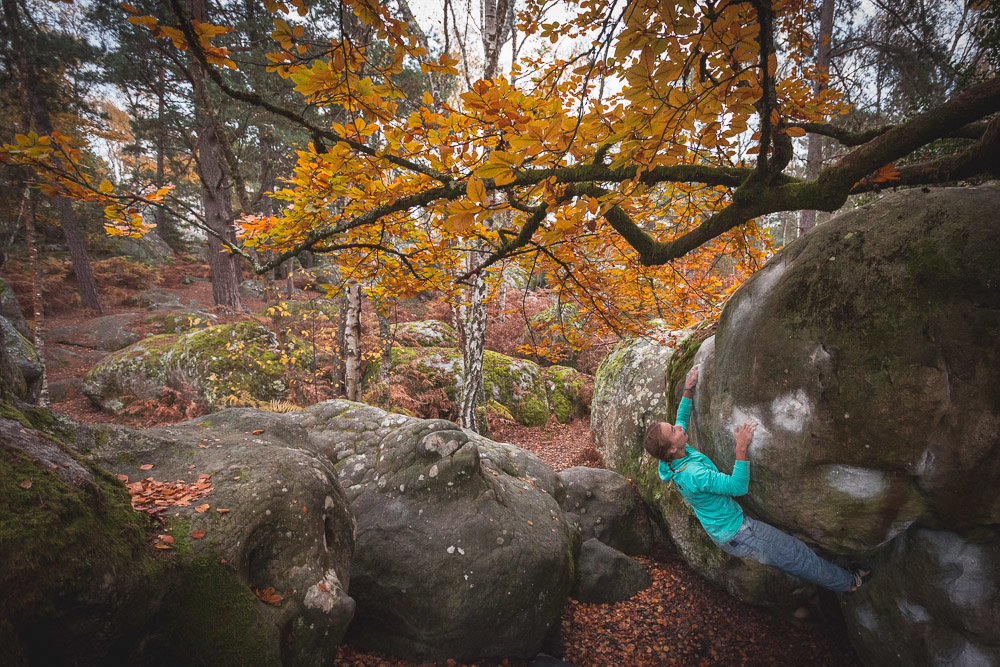
Rather than playing with the white balance, I decided to open up the mysterious "Color" module in Lightroom. Here's an example of some of the tweaks I was making. The real difference came when I dragged the yellow "Hue" slider to the left. This meant that any yellow leaves in the scene were suddenly leaning towards orange rather than green.

The example shown above is quite subtle. The second is a little more extreme. As mentioned in the video, I have a tendency to overcook my images when I do an initial edit, and it's only when I come back to them a week or two later that I calm them down.
I recommend that, while editing, you periodically return your gaze to an unedited version of the image so your eyes get reset and don't get lost in weird colors. And it's worth keeping in mind that these changes can do some pretty horrible things to people's skin tone, so watch out for that!


