
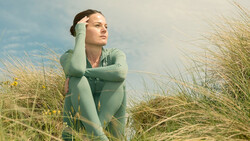
In Part 1 of the "Start to Finish Fashion Editorial Retouching" tutorial, we looked at how to clean up a white background, how to liquefy clothing to achieve a better fit, and how to clone and heal out distracting elements in our editorial image. In Part 2 we will look at how to go about the more common and essential retouching steps including: skin retouching using dodge and burn, color toning, sharpening, and value adjustments. In this video, I take you through each step and give you insight into the "why" as well as the "how" of editorial retouching.
One of the keys, and also something that has been a revelation to myself, is that frequency separation should not be a necessary step in your retouching. It is a tool that we use, but only when needed. In this retouch, I completely avoid using this technique and am able to accomplish my skin retouching by using dodge and burn. I firmly believe that if you are able to use dodge and burn in lieu of frequency separation, then you should. This is not because frequency separation is a bad thing; it's not at all. The rational is that frequency separation greatly increases the probability that you will over-edit your image.
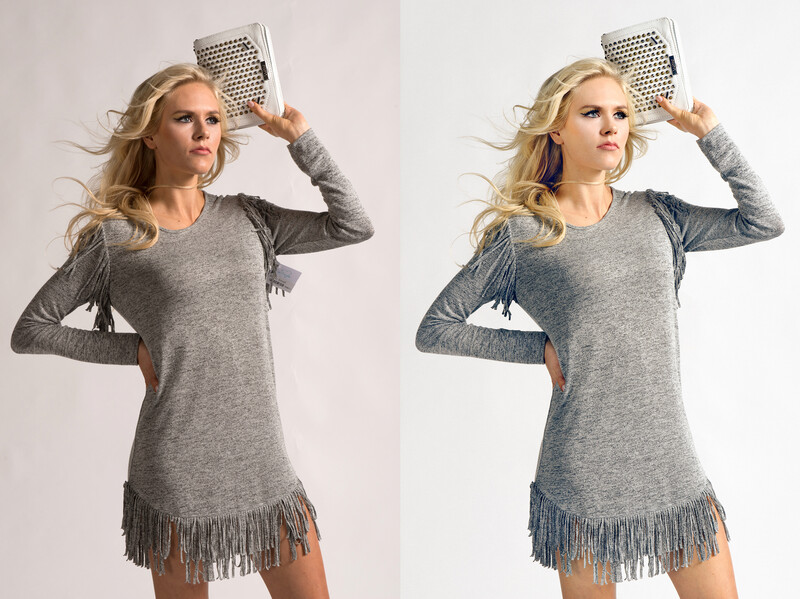
In Part 2 of our Complete Editorial Retouch tutorial we follow the following steps:
- Skin Retouching using Healing Brush
- Skin Retouching using Dodge and Burn
- Corrective and Additive Dodge and Burn to the Clothing
- Global Value Adjustment
- Color Matching
- Color Toning
- Sharpening
- Adding Noise
If you haven't done so, watch part one of the video tutorial below. The complete post with detailed steps for the first part of the retouch can be found here.

Join the Fstoppers community for free
-
Post comments and join in the discussions
-
Browse the site ad-free
-
Share your work and get featured in the community
-
Compete in the photo contests for fun and prizes
5 Comments
thank you mate! Love it!
Awesome. Thanks for reading!
Very nice, thanks!
No Problem Nick. Happy you liked the post and video.
Nice tut.
I usually D&B using either a soft light layer or separate mult and screen adjustment layers, but the curves thing is interesting. There's always some other way to D&B, ay? :-)
Changing to luminosity in your levels example spares saturation, but consequently changing your hue/sat and selective adjustment layers to COLOR spares luminosity shifts. ;-)
Something I do with noise is put it on a 50% gray layer set to overlay, and then add a MILD G-blur, .3-.5, to take the edge off the noise. This makes it look a bit more like the natural noise in an image. You can also back off on the noise layer if you like.
One thing I have noticed sometimes is that using the HF layer to sharpen can increase contrast and shift subtle colors, depending on the image. I personally use Smart Sharpen via a Smart layer, at normal or luminosity mode, but again, sharpening is like D&B, everyone's got their own thing. :-)
Great video.