


by
Jason Parnell-Brookes
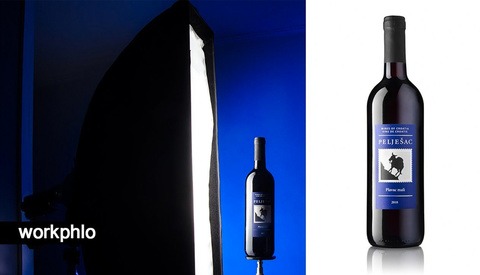
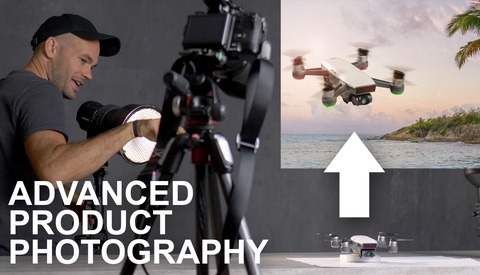
Self-Isolation Series, Part One: Product Photography
Many countries around the world are now experiencing social distancing and practicing self-isolation, me (in the U.K) included. So I’m pledging to run a series of photography tutorials for those of us affected by these measures.