
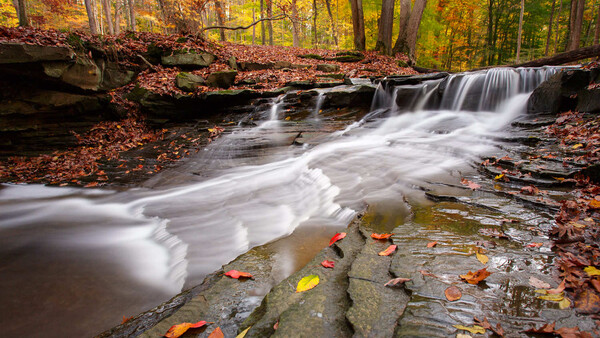
Landscape photography has a reputation as a gear-hungry genre, and it is easy to believe you need a closet full of equipment before you can shoot a decent mountain. You do not. The genre actually rewards a small, deliberate kit more than almost any other, because you are usually on a tripod, working slowly, with time to think. This guide walks through the categories that matter, points you toward solid current options in each, and is honest about what you can skip.
A quick framing before the list: spend your money in roughly this order of impact. A wide lens and a sturdy tripod do the most for your images. A polarizer is the one filter with an effect you cannot replicate in editing. Everything after that is convenience and refinement. Buy in that order and you will never waste a dollar.
The Lens: Go Wide
The defining tool of landscape work is a wide angle lens, because it lets you pull a sweeping scene, a tall foreground, and a distant horizon into a single frame. Most kit lenses start around 24mm equivalent, which is wide-ish but rarely wide enough to feel dramatic. A dedicated ultra-wide is the upgrade you feel immediately.
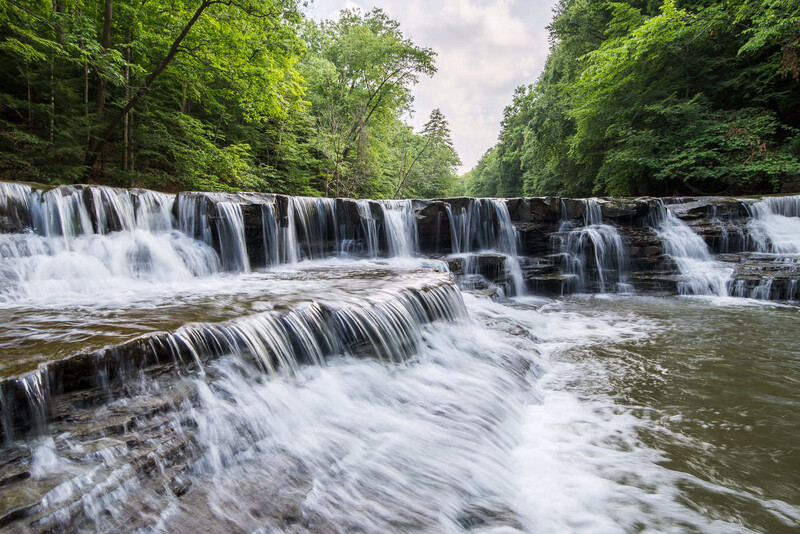
You have two paths: a zoom for flexibility or a prime for value and size. For a beginner, the most important thing is simply getting wider than your kit lens without overspending. Here is where to start by system. One important note first: most of the full-frame picks below are described by their full-frame field of view. Mount a full-frame lens on an APS-C or crop body and the crop factor narrows the view, so a lens that is ultra-wide on full frame becomes merely wide on a smaller sensor. Match the lens to your sensor and check the effective focal length before you buy.
- Canon RF: The single best entry point is the Canon RF 16mm f/2.8 STM, a tiny, inexpensive full-frame prime that opens the ultra-wide category for a fraction of the cost of Canon's L zooms. On an APS-C R body it frames closer to a 26mm equivalent, still useful but no longer ultra-wide. If you prefer a zoom, the Canon RF 14-35mm f/4 L IS USM is the lighter, more affordable cousin of the pro f/2.8 version and an excellent landscape tool.
- Sony E: The Sony FE 16-35mm f/4 PZ G is a compact, sharp wide zoom that suits landscapes well, and the Sony FE 20mm f/1.8 G is a superb wide prime that doubles for night skies.
- Nikon Z: The NIKKOR Z 14-30mm f/4 S is the value landscape zoom of the Z system, light, sharp, and able to take front filters thanks to its flat front element. The NIKKOR Z 17-28mm f/2.8 is a brighter, compact alternative.
- Fujifilm X: The Fujifilm XF 10-24mm f/4 R OIS WR covers an ultra-wide range with stabilization on the X system.
- OM System and Micro Four Thirds: The Olympus M.Zuiko Digital ED 8-25mm f/4 PRO is the landscape ultra-wide of choice, weather-sealed, light, and able to take front filters, which the wider 7-14mm cannot easily do.
- Pentax: Pentax bodies are a quiet favorite among outdoor shooters for their class-leading weather sealing. On APS-C, the HD Pentax-DA* 11-18mm f/2.8 ED DC AW is a rugged, sealed ultra-wide; on full frame, the HD Pentax-D FA 15-30mm f/2.8 ED SDM WR covers the classic landscape range, though note its bulbous front element does not accept standard screw-in filters, so plan your filter approach accordingly.
One note on the flat-front-element point above: it matters more than beginners expect, because some ultra-wides have a bulbous front element that physically cannot take a screw-on filter. If you plan to use the filters below, check that your lens has a standard filter thread before you buy.
The Polarizer: The One Filter You Cannot Fake
If you buy one filter, make it a circular polarizer. It is the only filter whose effect you genuinely cannot reproduce in post. A polarizer cuts reflected light, which deepens a pale sky, kills glare on water and wet rocks, and pulls saturation out of foliage that haze would otherwise wash out. You rotate it in its mount and watch the scene change through the viewfinder.
For a beginner, a K&F Concept circular polarizer delivers most of the performance of premium glass at a beginner price. When you are ready to step up for better color neutrality and coatings, the Hoya HD Nano Mk II CIR-PL and the Breakthrough Photography X4 CPL are the references for a reason. Match the filter's diameter to the thread on the front of your lens, or size up to your largest lens and adapt it down to smaller ones with inexpensive step-up rings.
ND Filters: For Smooth Water and Long Exposures
A neutral density filter is dark glass that cuts light without changing color, so you can use a slow shutter speed in daylight. This is how you get silky waterfalls, glassy seascapes, and streaking clouds. There is no reason to start with a whole stack of strengths. Two filters handle nearly every situation: a 6-stop for moving water in gentler light and a 10-stop for long exposures under a bright daytime sky.
You will choose between two systems. Screw-in circular filters like the K&F Concept ND filter set are cheaper, simpler, and the right call for almost every beginner. Square filter systems, which thread an adapter ring onto your lens and then attach a holder that slides 100mm plates in front, are more flexible and let you stack a graduated ND to balance a bright sky, but they cost more and add complexity. Brands like NiSi and Kase make well-regarded square kits if you later decide you want one. Start with screw-in. You can always graduate to a holder system once you know you need it.
The Tripod: Non-Negotiable
More than any other genre, landscape photography lives on a tripod. Long exposures, bracketed frames, focus stacking, and shooting in the low light of golden hour and blue hour all demand a steady camera, and no amount of stabilization replaces three solid legs. This is not the place to buy the cheapest option, because a wobbly tripod fails you in exactly the wind and water conditions where landscapes are best.
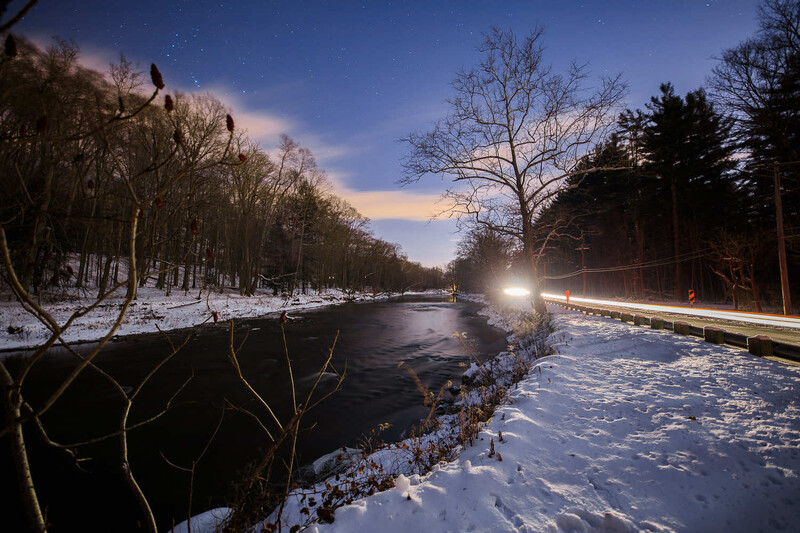
A genuinely good budget option is the K&F Concept carbon fiber tripod, which delivers carbon performance at a mid-range price. The Manfrotto Befree Advanced is a reliable, brand-proven travel tripod that has earned its reputation. If you want the most packable premium option and can spend more, the Peak Design Travel Tripod folds to the size of a water bottle, with an aluminum version that gives you most of the carbon model's performance for less. Whatever you buy, match its folded length to the bag you will carry it in. A tripod you leave in the car because it is awkward is worthless.
The Bag: Protect It and Carry It
Landscape work usually means walking, sometimes for miles, so a comfortable camera backpack matters more than a stylish shoulder bag. Look for one that carries a tripod externally, has a rain cover, and opens to protect your gear from the dust and grit you will inevitably set it down in. A camera backpack sized to your kit, with room for a layer and a water bottle, is all most beginners need. Do not overspend here until you know how much gear you actually haul.
The Small Stuff That Punches Above Its Weight
A few inexpensive items solve real problems:
- A remote shutter release or your camera's two-second self-timer prevents the tiny shake of pressing the shutter from softening a long exposure.
- A microfiber cloth and a blower keep sea spray, dust, and fingerprints off the front element and your filters.
- Spare batteries, because cold mornings drain them fast and golden hour does not wait.
- A headlamp, for the pre-dawn hike to a sunrise spot and the walk back after sunset.
What to Skip, at Least for Now
Beginners routinely waste money on things that do not improve a landscape. A drone is a different discipline with its own learning curve, not a starter purchase. A second camera body is premature. Expensive ball heads, leveling bases, and L-brackets are refinements you will appreciate later but do not need on day one. And a UV filter bought "for protection" does little a lens hood and care will not, while a cheap one can degrade your image. Put that money toward the lens, the polarizer, and the tripod instead.
Where the Gear Stops and the Craft Begins
A kit like this, a wide lens, a polarizer, a couple of ND filters, a solid tripod, and a comfortable bag, will carry you through years of landscape work. The truth most gear guides bury is that the equipment is the easy part. Knowing where to stand, when the light will be right, and how to process the file afterward is what separates a snapshot of a pretty place from a photograph.
When you are ready to build that side, Elia Locardi's Photographing the World: Landscape Photography and Post-Processing is a thorough field-to-finish starting point, and Photographing the World 4: Advanced Landscapes goes deeper once the fundamentals click. If your interests run toward cities and night skies alongside landscapes, Photographing the World 2: Cityscape, Astrophotography, and Advanced Post-Processing covers that ground.
Buy deliberately, in order of impact, and get out the door. The gear is only ever a means to standing in the right place at the right time.

Join the Fstoppers community for free
-
Post comments and join in the discussions
-
Browse the site ad-free
-
Share your work and get featured in the community
-
Compete in the photo contests for fun and prizes
4 Comments
I disagree with recommending wide angle lenses in general for a beginner. Doubly disagree on buying a prime lens. A super wide can produce a dramatic photo, but the places to use it are limited. They're mostly used in a vertical orientation for capturing extremely close foregrounds and backgrounds rather than increasing the horizontal scope of a landscape picture. Maybe a foreground full of wildflowers coupled with an interesting background, but remember, the background is gonna look distant and small. So if mountains are in the background, they'll not look nearly so impressive with a wide angle lens. The emphasis in a wide angle shot is typically the foreground.
Wide angle lenses are likely more challenging for a beginner to learn how to use them. Composition and depth of field are more demanding with near-far landscape scenes. It's the same argument I have with those misguided people telling a beginner that they need to edit RAW files to amount to any sort of real photographer. The problem in both cases is that wide angle prime lenses and RAW file editing can be incredibly frustrating for a beginner. Better to start with gear and software that a beginner can build skills and confidence, and have fun with. Speaking of fun, there's nothing less fun than fumbling around constantly adjusting a tripod. Sure, they're important in a lot of situations for long exposures, but with modern cameras obtaining good quality from higher ISO, I'll often leave it in the car and simply enjoy the freedom and spontaneity of shooting without one. If I suspect that I might be making 40 x 60 prints, the tripod is a must, otherwise it's kind of a nuisance.
I see prime lenses as nearly worthless for landscape photography. There are way too many times where you just can't move your feet to a better position, so the flexibility of a zoom lens is important. I think a better choice for a beginner would be something more versatile. My F/4 24-120 covers about 80% of my landscape work. A longer zoom lens and macro lens make up most of the rest, and I'll use a 14-24 wide angle once in a blue moon.
These are two examples of a wide-angle type of photo, combining a strong foreground with a background. Both are shot at 24mm. Wider than that (14mm) leads to some distortion that does not look natural in a landscape photograph. And... it's important to reiterate what I said before that wide angle lenses are not typically used for just widening the view of a horizontal landscape photo. That just brings more real estate into a photo that often suffers from a lack of a strong subject. Learning to see is a lot more important for a beginner than the choice of gear. Virtually all modern cameras and basic lenses are suitable for someone starting photography.
This info will get one started BUT several adds also might help. Haida and some others have rear lens filters in ND filters: 3, 4, 6 & 10-stop densities great for any lens maker and if you like the very wide prims that require external filter holders and filters. In today's world of lenses there are 10mm primes old f/5.6 and new f/2.8. For Sony users an old 2013 APS-C lens very small and lightweight the E 10-18mm (15-27mm in35mm) f/4 OSS BUT a lens that can be used in Full Frame at 12-18mm (if you remove the rear light shield) and it has front threads for filters also if wanted you can use the the rear lens filters. Just info using rear filters and doing a panorama you will not get the inverted hump that you get using front filters. Two key points in using this lens 1. The Sony FE 12-24mm f/4 G and f/2.8 GM are big and heavy and require upfront filter holders and glass filters all add $2-3K all a lot to carry on a long hike. 2. For that panorama the lens is small and lightweight atop a pano rig with with a degree stepper less strong tightening of knobs to keep level, why add this for a night Milky Way panorama for a Milky Way Arch many will want to capture and at 12mm in portrait view you will capture more stars above the arch that will be over your head and all in one roll vs two or three rolls with a longer prime also the combined images will have say waves on a beach or moving clouds above to be seen as one.
Next with the newer cameras you have great IBIS and using a telephoto lens (they have OSS/IS) you get extra faster stops so a tripod is not needed even for a sunset/rise even during blue hour and even doing Bracketed 5 at +/- 2EV getting stars above with fire glowing below the horizon.
Also for a used Sony camera look for the A7's Mod's 1 and 2's they have in camera panorama function on the upper dial, no need for a pano rig at ones start and adjust for any MM lens you put on.
Today also for landscaping newer cameras have focus stacking say for near, mid and far sharp focus even better that ones eyes.
also for me since 2017 and my A7RM2 I have only used a tripod for night astro MW's
1. hand held capture with A7RM5 + FE PZ 16-35mm F4 G.
2. Sony ILCE-7RM2 + Voigtlander HELIAR-HYPER WIDE 10mm F5.6 getting a pano like shot in one capture freezing clouds also.
3. Sony ILCE-7RM2 + Sony FE 24-240mm F3.5-6.3 OSS at 24mm with in camera pano function.
4. A7M3 + Sigma 14mm F1.8 DG HSM ART 018.on a pano rig.
Some capture that are fun to learn how.
Any Om System camera with Live ND and Handheld HiRes. That simple.
The Lens: Go Wide
There seems to be a belief (at least online) that an ultra-wide angle lenses are necessary for landscape photography. If you look at a few of the acknowledged greats in landscape, Ansel Adams, Edward Weston and Charles Sexton, most of their images were made with a standard or slight telephoto lens.
ND Filters: For Smooth Water and Long Exposures
I have found graduated ND filter more useful for most of my applications. The smooth milky water and clouds created by 6-10 stop filters is so overused it has become a cliché. In most instances, I can use shutter speed alone to create a sense of motion.
The Tripod: Non-Negotiable
With the IBIS on my camera, I have relied less on my tripod, even in low light and longer exposures I don’t have to use a tripod to get the shot.
The Bag: Protect It and Carry It
I have found camera cubes to be a more practical solution for me. I simply make the cube part of my packing list, and it gets packed in backpack that I am using. The advantage of the cube is that it can easily be packed in a day, weekend or expedition sized pack.