
Before Capture One 9, no raw editor software on the market could create a mask based on color. With their recent update, Phase One created something unique with the improved color editor panel. It is now possible to select precisely one color – or a range of – and then create a mask to adjust only the parts needed.
Capture One 8 offered the possibility of altering colors independently of each other. Tint, luminosity, and saturation could be adjusted for any given color without touching the other ones. With the new version, the Danish company went further and added the possibility of creating a mask based on a color selection. Thanks to this change, all the local adjustments are now available to alter a color. It also allows for even more control of the area the user want to target. What would you gain out of this? First, the raw file has more information to work with than a conversion (i.e. TIF or PSD in Photoshop), second this could eliminate the need for stacking developed raw files in many situations. Let’s see how this work in real life situations.
Easy Skin Tone Adjustment
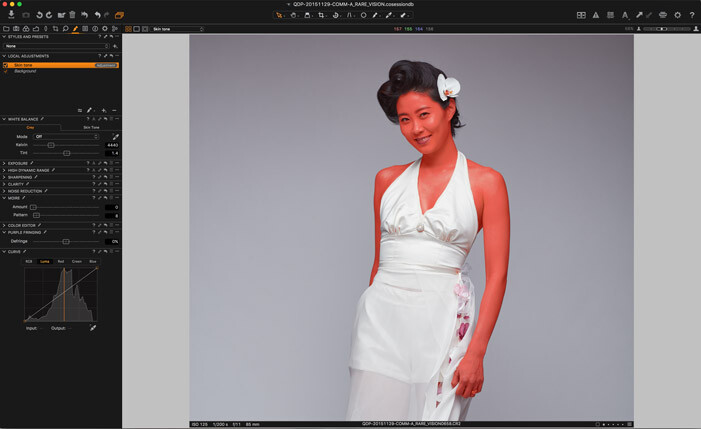
In a previous article, I showed you how to create a uniform skin tone using the color editor tool. It works wonders in most situations. The problem was, if you had more than one model on your picture, or if your background had similar colors to that of your model’s skin, you had to create a local adjustment layer manually to be more precise in your adjustment.
Manual adjustment layer are great, but it would be much easier to let the software do the work, wouldn’t it? With Capture One 9 this is now possible and the process is not very different than it used to be. Instead of creating a mask right away, simply select the skin color using the skin tone tab in the color editor tool and then refine it to make the selection the most correct possible (i.e. have as little colors that aren’t on the model’s body/face as possible). What's even better in the new version of Capture One is that you can enlarge the color wheel to make the adjustment more precise and easier. The only thing you must do, is taking the color editor tool out of the tools panel (click and drag) and then make it bigger.
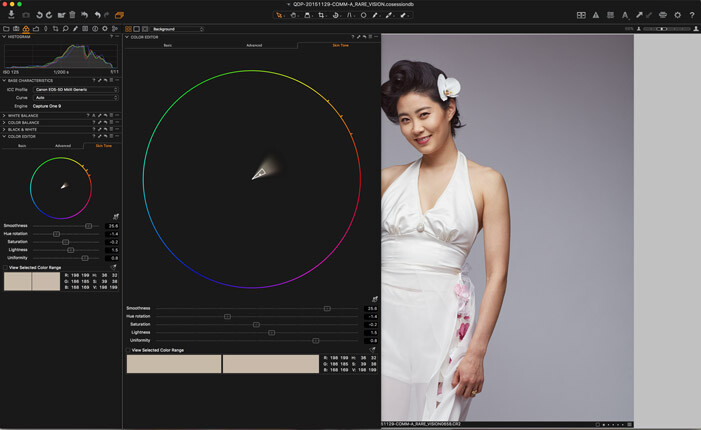
Once our selection is as precise as possible, simply click on the three dots icon on the right top of the color editor tool. A couple of options will be listed, amongst which a new one can be found. It is called Create Masked Layer from Selection.
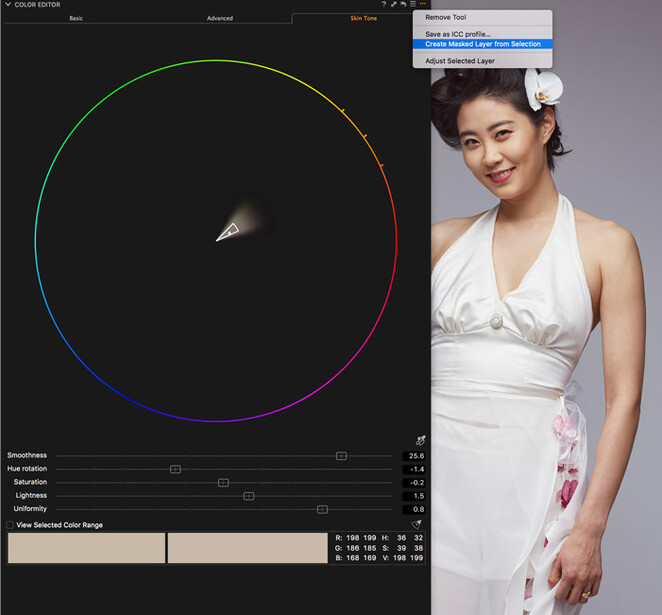
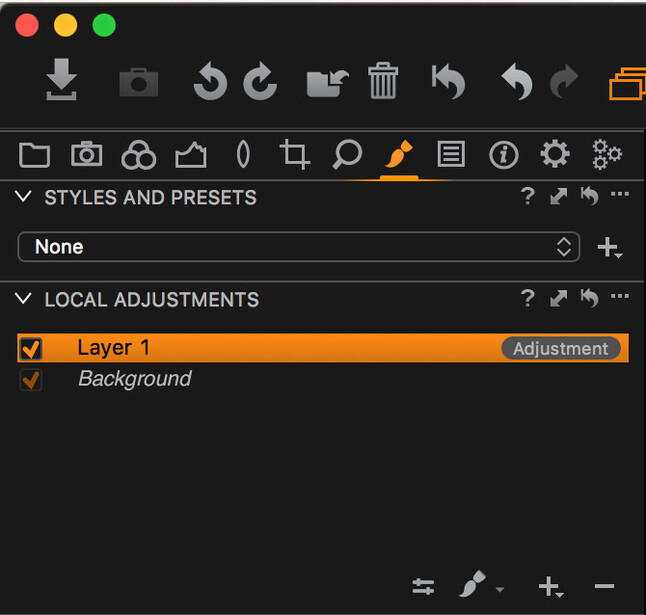
Let the software works its magic for a second, and you should then find a new layer in the local adjustment tool. The freshly created layer will let you alter anything that is within the color range your targeted with the color editor tool. You can press m on your keyboard to display the mask; it will show in red.
This opens up a couple of new interesting possibilities that couldn't be done in Capture One 8 or that cannot be achieved in Lightroom. For example, you can use the local adjustment curve tool to alter color or contrast of the skin, use the Clarity tool (with structure adjusted) to give more glow and deeper shadows to the skin or use the color editor to make the skin tone uniform.

Selective Color Adjustment
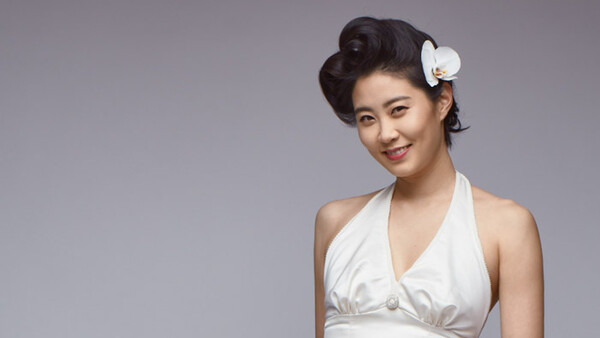
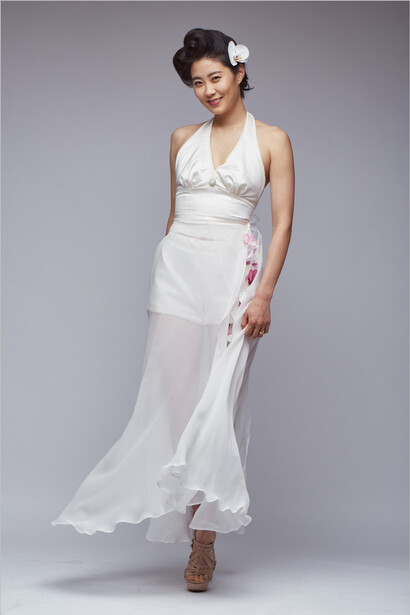
Let’s go a bit further with this. What if I want to change the orchids color in the above picture used for the before/after? Perhaps I want them to be purple or one of them to be slightly darker. With the almost same process as before, I can make these changes quickly.
The first step is to go back to the color editor tool in the colors panel but this time under the advanced tab. Once there, the color picker tool can be used to select precisely the color needed (in our case the pink orchids). Then the color wheel comes in handy to refine the selection.
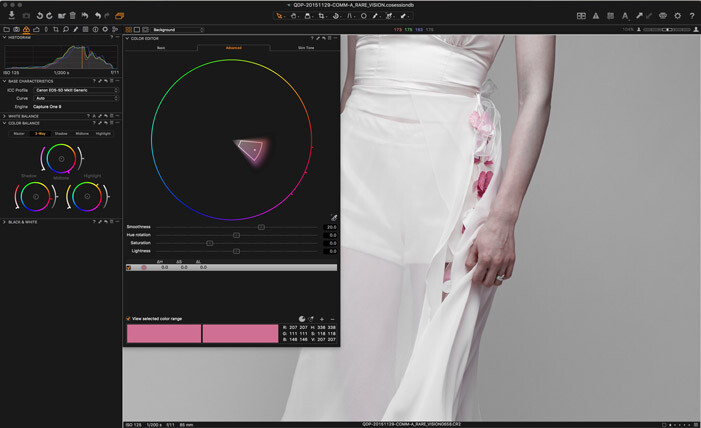
As you can see in the image above, we run into a bit of a problem here. Parts of the skin are in the same color range as the orchids. If we adjust the color now, we are going to change the skin tone we just adjusted. This is where the mask of a local adjustment layer makes everything simple. Just like before, using the Create Masked Layer from Selection, I am going to create a new layer adjustment based on the color I just selected. I now have a mask on a layer in the local adjustment tool with only the color range I want to target but more than the area I wish to adjust. The only thing I have to do now to correct that issue is simply use the eraser tool to remove the mask from the parts I do not wish to alter. For a very precise masking, a tablet such as a Wacom Intuos might come in handy, especially if using the pen pressure option. For our example, I am going to erase the mask everywhere but on the orchids I want to target.
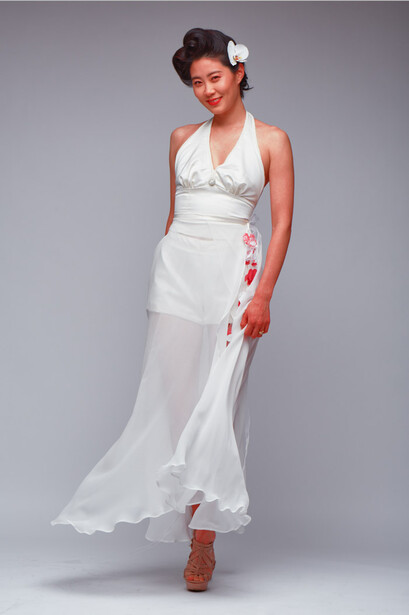
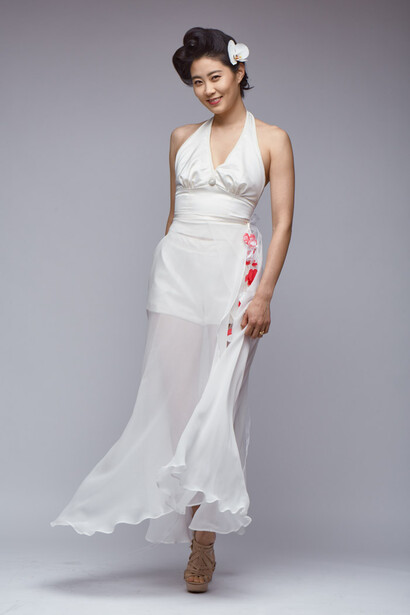
My selection being now (very close to) perfect, I can use the different tools I need to get my orchids to look however I want.


This new possibility of creating masks based on a color selection within Capture One is a very welcome addition. It can diminish the time spent in Photoshop, and allow for more work on the raw file. I personally cut the time spent in Photoshop quite a lot since Capture One 9 was released. For test shoots or simple portraits sessions, I can do most of my work within Phase One’s raw processor, leaving only skin work or a couple of tasks (luminosity masking, liquify/transform tool, fine micro dodge & burn, hair retouching) to Photoshop. However, most of them tasks are either quite specific to other genres or rarely used in my everyday workflow for tests and portraits. Also using Capture One for most of my workflow I feel like there are fewer chances to over-retouch my pictures.
I find it great to see raw processor software going further and becoming more versatile, but also more precise than before. While it does not replace an editing software such as Photoshop, and probably never will, it might affect the workflow of more than one photographer. How did Capture One 9 affect your workflow? If you are using Lightroom is this something that would make you want to switch?
If you try Capture One and like it, be sure to use the code AMBQUENTIN to get 10% off your license.


3 Comments
Nice and informative post about the benefits on C1Pro 9. As recent convert to capture one pro, i find that i get much faster results from my raw conversions then i did when used LR/ACR.
I dropped LR from my work flow about a year ago after I was introduced to it by some fellow photogs. It's a pretty big adjustment in terms of learning a new system but i'm pleased with it overall. I do wish it would run smoother/faster. At the very least on my mac laptop when I make changes C1 chugs and thinks about life for a bit. I'm building a brand new work station for editing with an M4000 nvidia graphics card, hoping this will help programs like C1 and Photoshop purr.
This feature alone is worth the upgrade. Good article! I got my upgrade the day Phase One released it, otherwise I would have used your code.