
Let's go through a few questions you need to ask yourself to safely capture seascapes, and take note of technical considerations to ensure the resulting images showcase natural elements like motion blur correctly.
There are two aspects of seascape photography that excite me and motivate me to visit the beach, while also helping me improve my skills as a photographer each time.
Sensory Awakening: First, I enjoy the thrill of experiencing the ocean's movement, sound, and breeze, along with other natural elements that stimulate my senses.
Creative Dynamics: Second, I find it challenging to capture the ebb and flow of water influenced by the tides. Searching for the perfect lighting conditions and scouting locations for compositional choices adds to the adventure. When the flow of water, light, and composition align perfectly, the challenge as a landscape photographer is to capture the moment using the right camera settings and techniques.
Today, I want to discuss a few safety aspects of seascape photography, as well as a few technical considerations for getting the perfect shot.
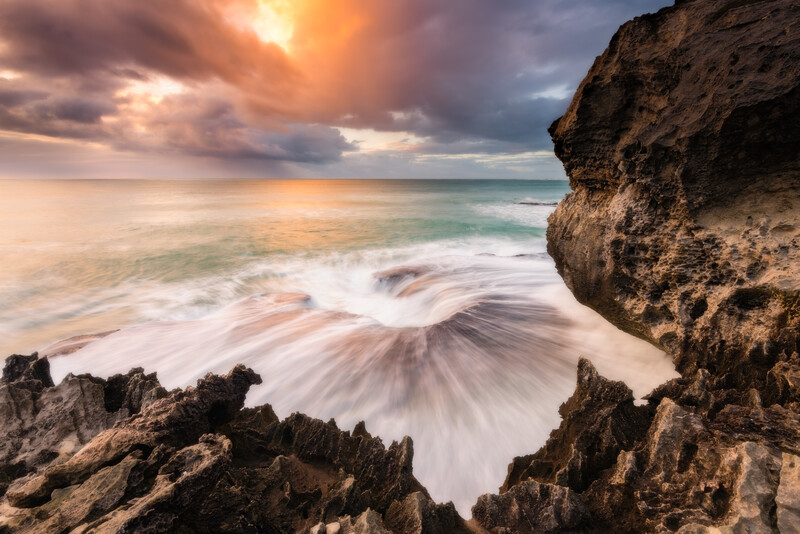
Safety and Security
I have seen a photographer being swept away by a freak wave for 20 to 30 meters, and I have also heard stories of photographers barely escaping the wrath of the high tide. This, however, should not discourage you from seascape photography, as following a few safety tips can help make the experience go smoothly.
The knowledge of the location and an understanding of the tides help ensure the safety of your gear and, most importantly, yourself. Some locations are best suited for low tides, and some for when the swell is on the rise or at its peak.
Whether high or low, you need to determine the following:
- Will you be shooting from a safe spot on the beach, or will walking through water and slippery rocks be required?
- How close to the action will you be?
- How high do the waves really get there during the shoot?
- Has someone done it before?
- Do you need a companion?
Among other things, the answers will determine what shoes and clothes you wear. It will also mentally prepare you to be vigilant and focus on safety first by moving back quickly if the need arises. The best way is to learn about the ideal shooting conditions by speaking with a local photographer or guide and by reading or watching online videos. Also, if possible, arrive at a location a few hours before the shoot and familiarize yourself with the surroundings. Keep microfiber cloths, a plastic bag, or even a towel handy to cover your camera and protect it from splashes.
Never turn your back on the ocean — sneaker and rogue waves arrive without any visible buildup, especially on days with long-period swell. Check the tide chart for your specific location and pay close attention to how fast the tide is coming in, not just whether it's high or low. Rising tides, not the high-water moment itself, are what cut people off at tidal islands, sea caves, rock platforms, and pocket beaches bounded by cliffs, and that's where most coastal fatalities happen. Skip storm-swell days unless you have real experience reading surf. Treat any wet rock, especially anything with algae or kelp on it, as if it were oiled glass. Tell someone where you are going and when you plan to be back. And understand that even in summer, a cold-water dunk can trigger cold-shock incapacitation within a minute or two — you can lose the ability to swim or grip long before hypothermia enters the picture.
Shooting Tips and Techqniues
Here are a few considerations when you shoot seascapes:
Timing: For me, seascape photography is about shooting as many photos as you can, capturing the interesting water patterns on the sand or rocks. Out of the tens of photos you shoot, there is always one that you favor the most for post-processing because all the interesting motion blur patterns of a rising or receding wave seem to be there. This is where I do not rely on the camera's built-in 2-second timer. I always use a shutter release cable or a wireless remote to capture the images because timing is everything. You want to capture the movement of water that best suits your composition.
The Use of Graduated ND Filters: I rarely use graduated ND filters in my photography now. This is because the dynamic range of modern cameras enables us to capture the highlights and shadows in a scene quite effectively. I also find it cumbersome to carry a filter kit and mount it on my lens now, especially when traveling. Lastly, for a landscape with no water movement, you can just bracket and create an HDR image. However, I still use graduated ND filters for my seascapes from time to time. This is due to the scene's moving parts. I want each image to have the perfect balance of light, with the timing of the water movement captured to my liking. I do not want to create an HDR and then also blend the foreground from one image and the background from another image in Photoshop.
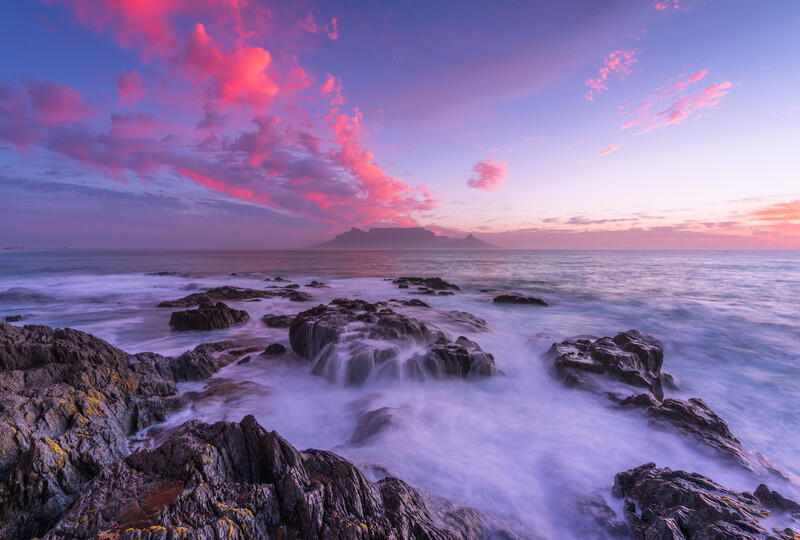
Shutter Speed: If you want to achieve motion blur, the sweet spot for me is between 0.5 and 2 seconds. However, it depends on the time of day and your location. I suggest starting with 0.5 seconds and gradually slowing the shutter speed to experiment. Do not be afraid to raise your ISO or lower it by a few stops to do that.
Vary Your Focal Length: Even if a location is famous for its wide angle shots, do not go with a preconceived idea; vary your focal lengths and see if you can even use a telephoto range to isolate parts of your scene.
Lastly, a sturdy tripod is non-negotiable. It serves two purposes: it stays firm when a wave comes to you, and it also helps capture sharper images by preventing the camera from shaking.
Final Remarks
My experience with seascape photography has shown me that it is not for everyone. During workshops and a few casual shoots, I have observed individuals who are reluctant to approach the water. For those who choose to pursue this genre, safety must always come first. The ocean can be unpredictable, even with the best precautions in place.
I find seascapes fascinating because studying the location and natural elements, such as tides and rock formations, is vital. This process makes the entire journey from scouting to post-processing a unique and creative experience.
My advice to beginners is to visit your local beach repeatedly to master your camera settings, compositional skills, and understanding of the ocean before exploring more remote locations. Tutorials like Photographing the World: Landscape Photography and Post-Processing cover the kind of scouting, composition, and long-exposure work that translates directly to seascapes. This preparation will ensure a smoother experience when you travel far from home, where you may only have one chance to capture the perfect shot with a sturdy tripod and the right technique.



Join the Fstoppers community for free
-
Post comments and join in the discussions
-
Browse the site ad-free
-
Share your work and get featured in the community
-
Compete in the photo contests for fun and prizes
2 Comments
Safety use Paramount when I arrive. I always just look at the swells and I will watch the pattern for awhile before I get close. Once I do get close. I put the camera into burst mode even when shooting slow shadow speeds that way you get five or six photos and you're not waiting for the first perfect shot once you've got your shots get out of there but don't take stupid risks.... $1 million shot so-called so to speak it's not worth it. It's not gonna elevate your photography career by getting that perfect photo but if you fall in the water you're gonna damage your camera gear and potentially drown. It's just not worth it.
Yes Safety no matter where the tide is. I like doing Milky Way's along the east and gulf coasts in North America BUT during a new moon time the tides are low only on certain days and times. To follow the tides movements without relying on the charts in the local paper, like yes the time but what day? An app like PhotoPills but with several other things is Planit Pro. At the bottom in a sine wave form along with the height of the MW is the high and low tides and everything in between.
What I want is a tide going out leaving a clean beach before the morning walkers. The point if it is a February 5 am or a June 11 PM or a October 8 PM capture the night of the new moon the tides 5 days before and after are different. Also before and after you can capture a crescent moon looking like a full moon with a long exposure and even using just Aperture mode you can capture that crescent moon as a crescent.
When I learned this, just using the paper tides chart I went to my location and found the tide at high took a few captures then left and driving back to the hotel there was a crescent moon below the MW I could see it all so I stopped and captured then went back and the tide was going out slow but leaving a clean beach all morning the place was mine.
I use Plan it Pro now for all days before mainly playing with weather also, I was there early due to storms on the new moon night, got something no one else may see.