
Every new photographer makes the same expensive mistakes. You buy gear that looks professional, sounds essential, and promises to elevate your work. Then it sits in a drawer while you wonder why your photos still look amateur. The problem isn't your talent or dedication. The problem is that the photography industry has convinced beginners to spend money on the wrong things.
This isn't about shaming anyone for past purchases. It's about redirecting your limited budget toward gear and tools that actually improve your photography. Every dollar you waste on unnecessary equipment is a dollar you can't spend on better lenses, education, or the handful of tools that genuinely make a difference. Let's break down five of the most common money pits beginners fall into, why they're traps, and what you should buy instead.
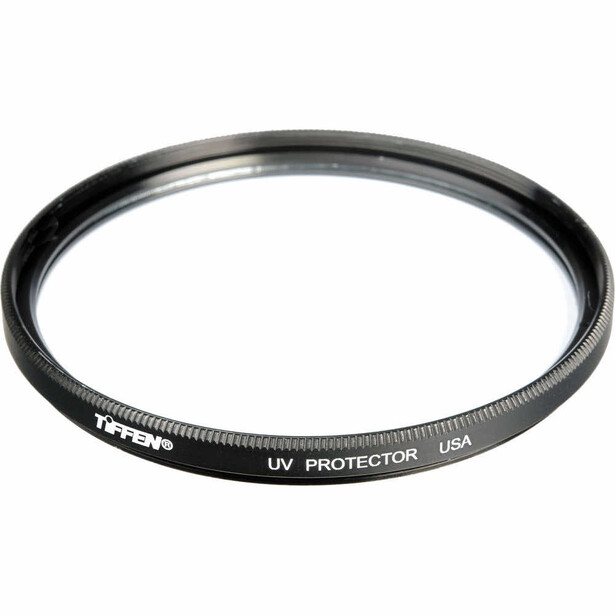
1. UV Filters Sold as "Lens Protection"
Walk into any camera store as a first-time buyer and the salesperson will immediately try to add a UV filter to your purchase. The pitch is compelling: this thin piece of glass will protect your expensive lens from scratches, drops, and damage. It seems like cheap insurance for a $500 to $2,000 investment. The problem is that UV filters don't actually protect your lens in any meaningful way.
Modern lenses already have UV coatings built into their front elements. Adding another piece of glass in front of your lens introduces additional surfaces for light to reflect off, which increases the chance of flare, ghosting, and reduced contrast, especially when shooting into light sources. Even high-quality UV filters can soften your images slightly, and cheap filters can cause significant optical problems. If you drop your lens hard enough to shatter glass, the filter usually shatters along with the front element anyway.
2. Cheap Tripods Under $100
Every beginner photographer quickly learns that sharp images require stability, so buying a tripod seems like an obvious next step. Unfortunately, this is where many photographers make a false economy purchase that ends up costing them more money in the long run. Tripods under $100 are almost universally too flimsy to trust with your camera, too unstable in even light wind, and too poorly built to last more than a season of regular use.
The typical cheap tripod feels solid in the store but reveals its flaws immediately in the field. The legs wobble when extended to full height. The head drifts during long exposures because the locking mechanisms don't actually lock securely. The center column sways in a breeze. You find yourself second-guessing whether the tripod is actually making your images sharper or if you should just shoot handheld. Even worse, many budget tripods use plastic components that snap under stress or freeze up in cold weather, meaning you'll need to replace the tripod within a year or two of regular use. By the time you've bought your third $60 tripod, you've spent $180 on gear that never worked properly instead of investing in one tripod that would have served you for a decade.
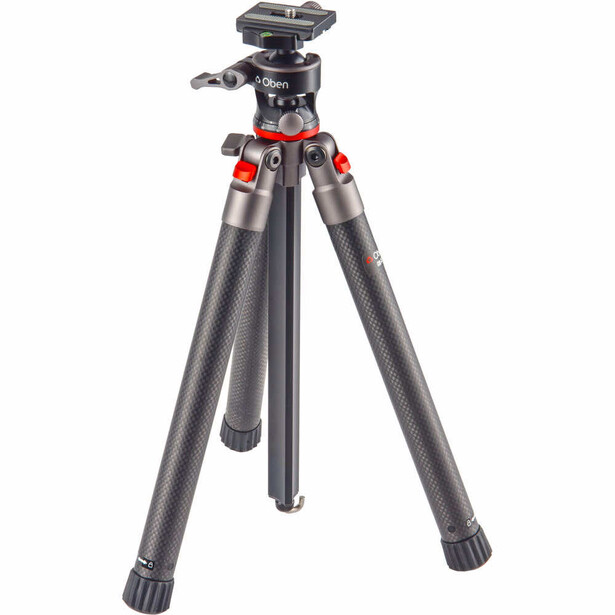
Save your money until you can afford a $200 to $300 tripod from a reputable brand. One good tripod purchased later is infinitely better than three garbage tripods purchased over time.
3. "Premium" HDMI and USB Cables
Photography gear retailers love to sell premium cables with gold-plated connectors, triple shielding, and marketing copy about "preserving image quality" or "professional signal transfer." These cables often cost $30 to $60, sometimes more, and they sit right next to standard cables that do the exact same job for $8. This is perhaps the most straightforward scam in photography because digital signals either transmit or they don't. There's no quality gradient with digital cables the way there might be with analog audio cables.
When you connect your camera to your computer or your computer to your monitor, the data is transferred as ones and zeros. Either the file transfers correctly or you get an error message. A $50 cable doesn't transfer ones and zeros better than a $10 cable. The gold plating, fancy braiding, and premium branding do absolutely nothing for image quality, transfer speed, or reliability for photography purposes. The only scenario where cable quality matters is for very long cable runs (over 15 feet for USB, over 25 feet for HDMI) or for specific high-bandwidth applications like 8K video at 120 fps, which has nothing to do with photography workflows.
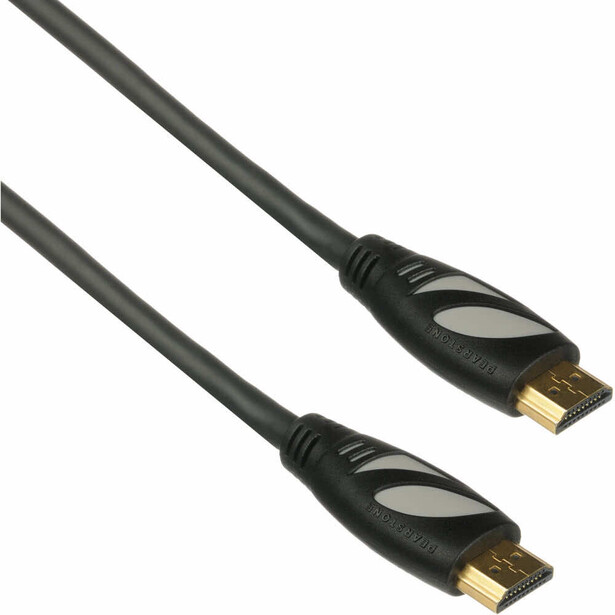
Buy standard USB-C, USB-A, and HDMI cables. Spend $8 to $12 per cable and use the money you saved toward literally anything else. If a cable fails, replace it for another $8. You'll still come out ahead.
4. Editing Control Surfaces and Custom Keyboards
Specialty editing keyboards and control surfaces promise to revolutionize your editing workflow by replacing keyboard shortcuts with physical dials, buttons, and sliders. They look incredibly professional in YouTube editing videos, and the marketing suggests they're essential for efficient post-processing. For beginners, these devices are an expensive distraction that solves a problem you don't have yet. They cost anywhere from $150 to $500, and they sit unused once the novelty wears off because beginners don't have established workflows to optimize.
These control surfaces are workflow enhancement tools for professional photographers who edit thousands of images under deadline pressure and have already mastered their editing software. They shave seconds off repetitive tasks when you're editing 50 weddings a year or culling through 5,000 sports photos per week. But as a beginner, you're still learning what adjustments to make, experimenting with different editing styles, and working through your images at a pace where keyboard shortcuts are more than fast enough. Spending $300 on a Loupedeck when you're still figuring out how to use the HSL sliders properly is like buying a racing steering wheel when you're still learning to drive.
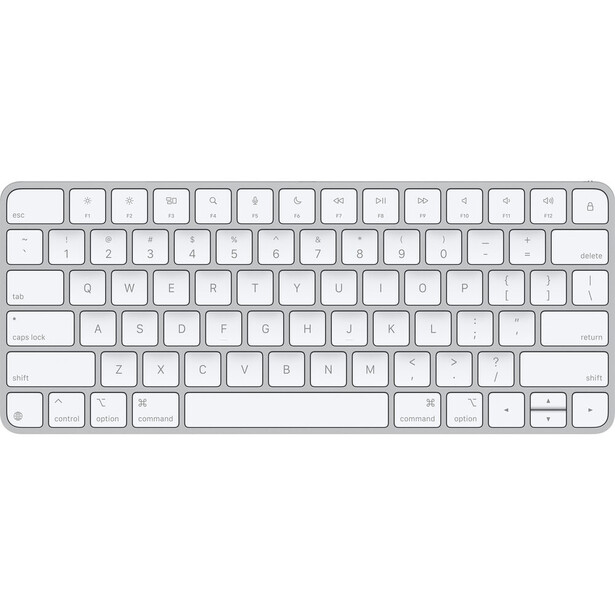
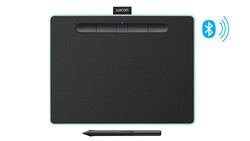
Learn keyboard shortcuts for your editing software using your existing keyboard. Print a shortcut cheat sheet if needed. If you truly want to enhance your workflow, spend that $100 on an editing tablet.
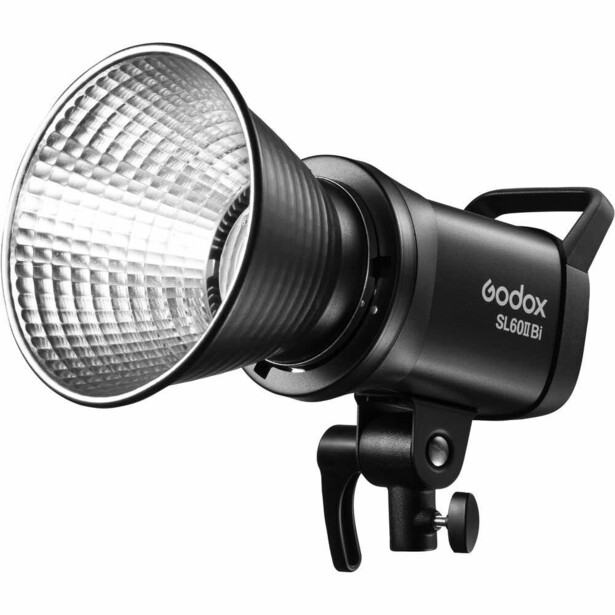
5. Multi-Piece Lighting Kits
Online retailers and budget photography outlets sell complete lighting kits that promise everything you need to start studio photography for around $150. These kits typically include two or three softboxes, light stands, several continuous or strobe lights, backdrops, clamps, and various accessories, all packed into a carrying case. The value proposition sounds incredible: professional studio lighting for the price of a decent lens. The reality is that these kits are full of equipment so poorly made and unreliable that they'll frustrate you more than they'll help you learn lighting.
The lights in these budget kits are usually underpowered, flicker during use, have inconsistent color temperatures between units, and burn out quickly. The softboxes use thin fabric that tears easily and speedrings that don't fit standard modifiers, trapping you in a proprietary ecosystem of cheap accessories. The light stands are wobbly and prone to tipping, which is a genuine safety hazard when you're working near people. You'll spend more time fighting with malfunctioning equipment than actually learning how to shape light, and when pieces inevitably break, you can't replace them individually because the kit uses non-standard sizes and connections.
The biggest problem with these kits isn't even the quality. It's that they encourage quantity over understanding. Three bad lights don't teach you lighting any better than one good light does. Professional photographers often work with a single light source because they understand how to shape, modify, and position that light effectively. Learning to control one quality light teaches you exponentially more about lighting than juggling three unreliable lights ever will.
The Real Investment That Matters
The pattern across all these purchases is the same: beginners spend money on gear that looks professional without understanding whether that gear serves their actual needs. The photography industry thrives on this confusion, selling solutions to problems you don't have while ignoring the tools that would genuinely help you improve.
Your budget as a beginning photographer is limited. Every dollar you waste on UV filters, flimsy tripods, premium cables, unnecessary control surfaces, and cheap lighting kits is a dollar you can't spend on better lenses, education, or practice. The best investment you can make is learning to distinguish between gear that makes you look like a photographer and gear that makes you a better photographer. Those are rarely the same thing.
Before buying any piece of equipment, ask yourself three questions: Does this solve a specific problem I'm currently facing? Will this directly improve my images or my ability to capture images? If this disappeared tomorrow, would my photography suffer? If you can't answer yes to at least two of those questions, don't buy it. Save that money for something that passes the test.
Photography isn't about having every tool. It's about mastering the right ones.


Join the Fstoppers community for free
-
Post comments and join in the discussions
-
Browse the site ad-free
-
Share your work and get featured in the community
-
Compete in the photo contests for fun and prizes
11 Comments
I agree with all and there are many more! My first tripod was a Manfrotto 190L aluminum and heavy but very sturdy, it has a vertical extending pole that comes up and goes to the side for those straight up or down captures and back in 2010 at $100 at a photography store going out of business was a great deal for my Canon T2i and even my Sony A7SM1 for many years even when for my first captures of Milky Way's out on beaches, use tennis balls on legs to prevent sinking and trash bags to keep sea water off. I even tried to make it a panorama platform adding things to the top while visiting web sites about panoramas and i did a few, Panorama rigs were $1K at the time but I found that 10mm or 12mm lens got the pano look and with the tops and bottoms. The main problem was the degree markings under the ball head that were so small and at night I had to stop and use a light to see them even used the rule of thirds graph on the camera rear LCD screen another thing the cameras rear screen first did not articulate but did show the capture in portrait view but still a neck turner. This information I give to help today to save one some $'s for today on Amazon for just $100 is a panorama rig with a degree stepper at its base meaning to degree marks to look at just set to the recommended degree setting and just turn to the next click and even more help leave your camera in NR mode for those night long exposures of grater than 1 sec when doing MW's or such for while the camera NR is working and the screen is dark that is when you go to the next click lastly know the degree setting for your lens millimeter for the wider the greater the degree setting. Using the PhotoPills app for spot stars enter your camera and then the MM and F/# and you will get the SS you will learn also the higher the MP camera plus the wider the lens as well as the lower the F/# the faster the SS meaning you can do a 180+ degree pano in less than 60+ seconds that lets you run and capture many places you have scouted.
Lastly when doing pano's it is the software you get even Lrc and PS now will combine images but their are some faster with more options PTGui is a great one and a long live one time buy!
It is called the PH-720B Compact Gimbal Head (goes by many names for made in China Around $100 +/- for back in 2017 you would pay $1K for even small cameras.
I agree with many of your arguments, but I still doubt about UV filters. I'd love to have your opinion on this. I live at Mar del Plata, on the coasts of Argentina. There is a lot of corrosion produced by the salt, so I use UV filters to protect my lenses. If you shoot at the beach, chances are that a drop of sea water will fall on your lens. I guess it produces a lot of damage, right? Isn`t in this case a good option to have a UV filter rather than a scratched lens? What do you think would be a good alternative?
Yes, the UV glass is tried and true. For forty years I've used them. I am not about to change. On my Fujifilm, I use Kase filters which won't work with the lens shade. Hence, I use the Kase UV to protect the expensive lenses.
I live on the coast and have shot a lot around salt water and got covered by it often times. I have never used an UV filter and my most used lens is now about 12 years old and has no damage at all. Just clean your lenses carefully, I always start with a rocket blower. I do always use a lens hood
Finally someone talking sense here about UV filters.
Why do we keep calling them UV filters instead of sacrificial lens protectors which is what they effectively are. I have never seen a direct comparison of images showing any beneficial effect of UV filtration. The only comparisons I have seen are ones designed to show how much or how little a UV filter adversely affects image quality -- not how it much, if at all, it improves image quality under specific conditions.
I agree with all of this except the bit about the UV/Protection filters - I use B+W almost exclusively and find little effect on the image quality, maybe an occasional bit of flaring. But the more important reason is that I've twice dropped my lenses and have had the front element saved by the UV filter, and have seen the same countless times from students. I can't say for certain, of course, but in these cases the UV filter seems to have saved the actual lens itself. Then there's also the fact that some lenses need the filter to complete the weather sealing.
Are you and your students not using lens hoods?
In may case both times, the camera was in my bag and so the lens hood was reversed for storage. Don't know about the students.
In that case it seems that had you been using a lens cap instead of a filter, you would have saved yourself both the expense of replacing broken filters and the initial purchase. Curious that you are not aware of the specific circumstances where a UV filter saved a student's lens after seen it 'countless times'.
But, if I pull out my camera for a moment happening in front of me and have to take that extra second to pull the lens cap off, I may have missed the moment.
The students come with the broken gear, and I usually hear a lot of different stories about how it happens, but I have no real way of knowing.
I guess we'll have to agree to disagree here, eh?