
It’s always important to stop and smell the photos – but what happens when your stop is at night, in complete darkness without any lights to help you out? You improvise. There are a few things you can do to help you compensate for lack of proper lighting equipment.
You Actually (Sort of) Have a Light
Just like you actually (sort of) have a camera on you at all times, the flashlight on your smart phone can serve as an impromptu light source. It’s not a powerful light source, but in a pinch, it can add a bit of fill just where you need it.
Borrowing a page from Andrew Link’s guide to light painting cars here, you can apply much of the same techniques that he performed with a Westcott Ice Light to your smart phone.
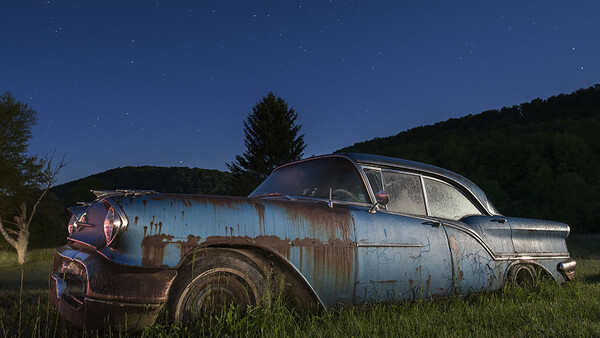
I found this old Oldsmobile (Internet, do you know what kind it is? 1957 Super 88 maybe?) at the side of the road in upstate New York and knew I had to take a picture of it. Unfortunately, the first time I passed it, I had only my phone, and it was a blah-light kind of day. The second time around I had the benefit of having my DSLR with me, but it was night, in the middle of nowhere, and I didn’t bring my lights. I didn’t want to miss the chance to take a photo so I stopped anyway.
Using a long exposure (in the case of the featured photo above, 20 seconds at f/4.0, ISO 400), I was able to fill in a little bit of the front of the vehicle with the help of an iPhone and a passing car. The iPhone itself worked out OK, but it was the passing car and the red lights from its rear that added a nice bit of color to the photo. Taking a lot of long exposures and waiting for the right combination of cars to pass by for lighting is something I’ve used with some success in the past when I’ve been caught without my lights. The moon provided the rest of the light for the rear of the car.
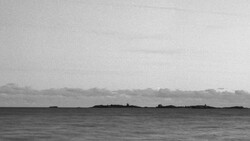
Without the touch of light from the iPhone and the vehicle, the picture is a bit less dynamic:
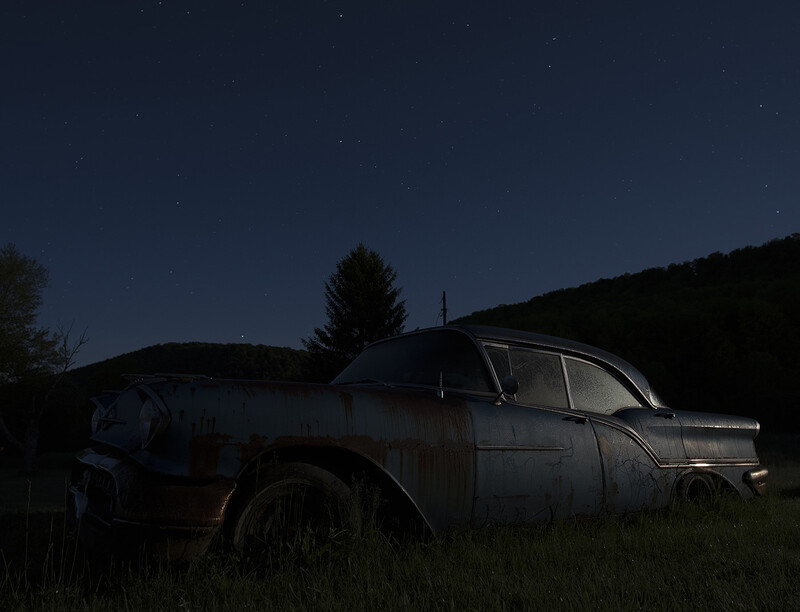
You can see what the scene looked like in the raw file here, and what it looked like without any iPhone/vehicle light painting going on. The featured photo at the top of this post worked out a lot better with some extra light.
Use a Camera With a Wide Dynamic Range
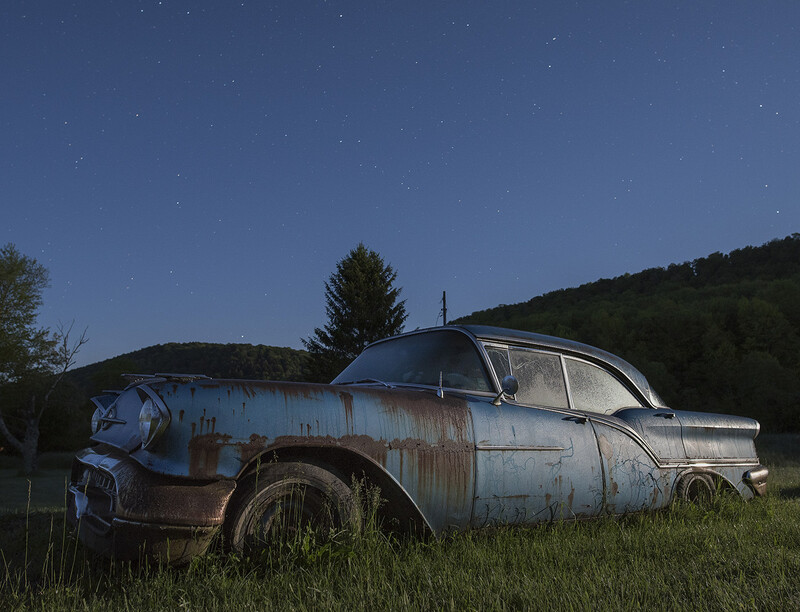
Even with the passing car and the iPhone for some light, the exposure was still quite dark.
Luckily I was using a DSLR known for its low light ability, the Nikon D750. I paired that with a relatively fast prime lens, the Nikon AF-S NIKKOR 20mm f/1.8G ED, and went to town. The exposure was off a bit, but I was able to dig into the shadows of the raw file and bump it up by just over 2 stops without any real loss of quality. I had a few of the same shots at much higher ISOs, but the detail is always better at the lower values, so out came the tripod for a steady shot at 20 seconds. The extra time also allowed for the passing car and light-painting of the front of the vehicle. I was also able to get a bit more depth of field at f/4.0 rather than relying on f/1.8 for a handheld shot – and the added sharpness at f/4.0 doesn’t hurt either.
I would have struggled if I was using a smaller-sensor camera or one that didn’t have as much leeway to recover shadows in post-processing.
Use Live View for Focusing
Most manufacturers these days claim their cameras can focus down to -3EV (though some cameras, like the Nikon D5 and D500 are rated to -4EV). In human terms, that is a landscape lit by moonlight. I can tell you that most times, the claim doesn’t seem to hold water in the case of viewfinder phase detection systems in DSLRs. In this case, where the car was lit by moonlight, the phase detection AF just wasn’t having it.
That’s where live view saved the day (night) – I flipped the camera on live view, turned on exposure simulation and was able to see something enough at high ISO/wide aperture settings that I was able to magnify the image and manually focus. For some of the shots, I had some success shining my iPhone light onto the car and using the very accurate contrast detection available in live view, but either way, in this sort of lighting situation, it worked better for this stationary subject.
Do you have any go-to tools or tips for shooting in the dark? Share them in the comments below.

Join the Fstoppers community for free
-
Post comments and join in the discussions
-
Browse the site ad-free
-
Share your work and get featured in the community
-
Compete in the photo contests for fun and prizes
5 Comments
I have a tiny flashlight on my key ring but it's only useful for operating the camera. I also keep an LED flashlight in my car and a small flashlight, for light painting, in my main camera bag.
Joe McNally once said photographers are problem solvers and you've demonstrated that. It wouldn't have occurred to me to wait for a passing car! :-)
The first time that happened a few years ago it was a happy accident. Now there are times I'm hoping for the cars.
Since you're all about the LED stuff, check out LumeCubes. If I had been thinking, I would have had mine with me at the time - much more control than an LED flashlight and even smaller, too. I love them.
I wouldn't say I'm all about them. They're just a more uniform, neutral light source. I'm more of a toolbox kinda guy. I like to use whatever fits the situation rather than making something work but any port in a storm!
Yes, that is a 57. The year of manufacture is usually marked on the tail lights.
Nice work =]