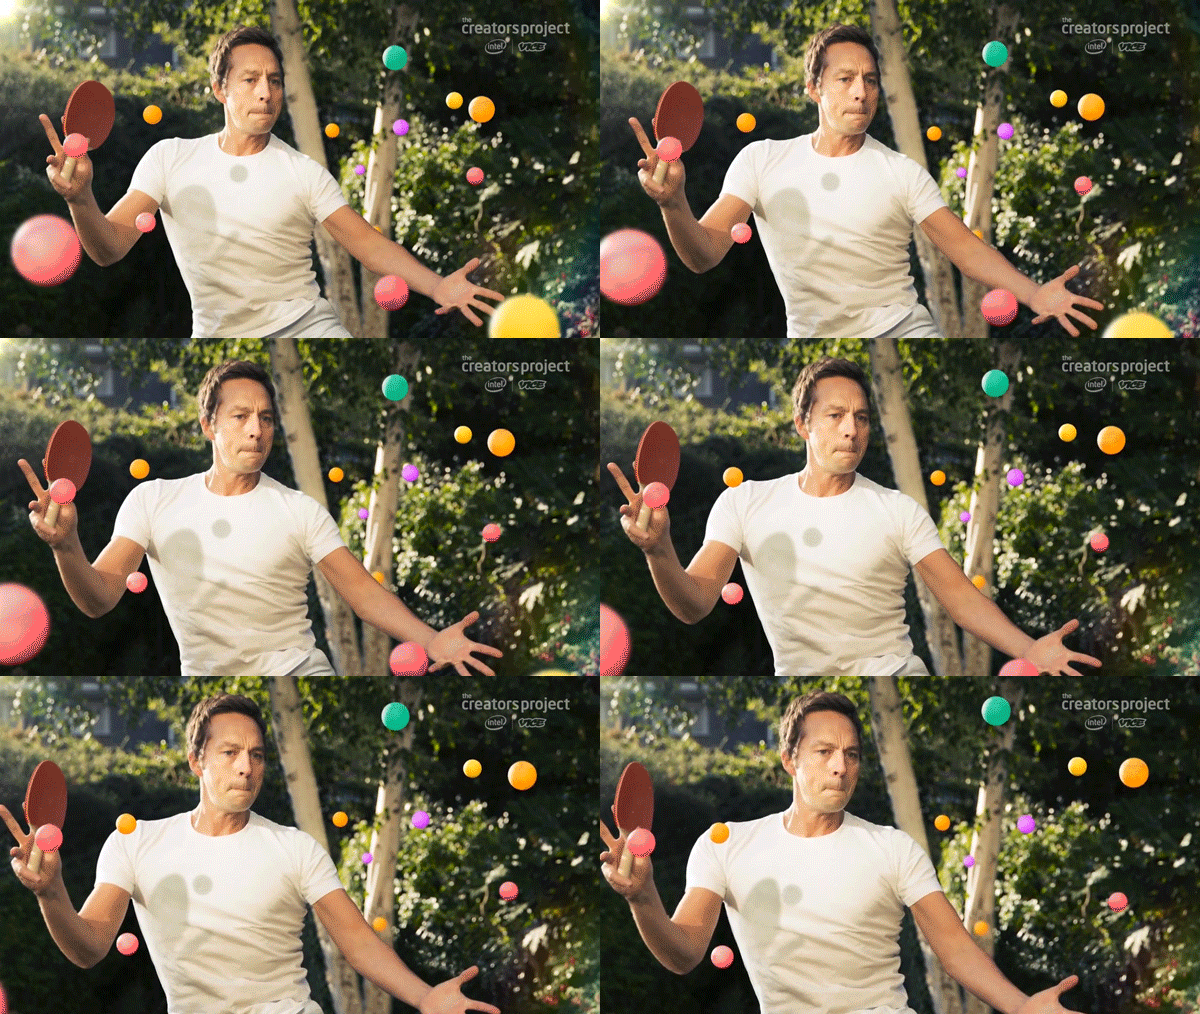
Few months back we featured a great video showing how Joe Fellows creates his stunning parallax videos. After posting the article, many of you had follow-up questions on his techniques and methods, so he decided to release a 'part 2' video explaining some of the cool tricks he uses to transform a 2D photo into a 2.5D video.
Have more questions? feel free to leave them in the comments below and hopefully Joe will be able to answer them here or in a another video.

Part 1:
[via Creators Project]


This is such a strange coincidence, just thirty minutes ago I first learned about 2.5D while watching this awesome animation of classic paintings. http://digg.com/video/these-animated-paintings-are-f-cking-beautiful
Wow, it's a beautiful example of the technique!
I tried it myself with one of my last shoots;
https://www.youtube.com/watch?v=AJGFg6I4yoU
Pretty cool. I didn't really see the model moving but the whole bench she was on in relation to the background was cool.
Thank you so much for making a follow up. I was worried when the first one was made it would be a faux-torial that doesn't actually explain the details that really set it apart. Thanks for sharing.
Agree, I never even saw After Affects in use before, cool tutorial here for sure.
Here are mine 2d+2.5d!
http://imgur.com/a/kYONn
what about taking the photo with a tripod only the background alone then go in the shot make a second one overlap tboth so you save the background cloning time?
He recommends that. He probably didn't do it because where was someone hand holding the camera for him.
I'm rather partial to this one: http://vimeo.com/18481489
Did I miss something? Where's part 2?