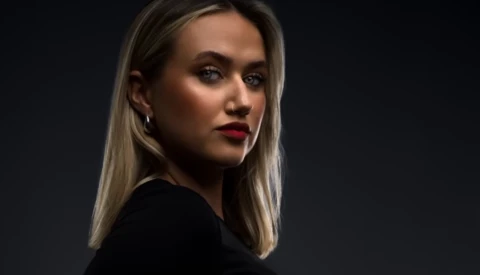
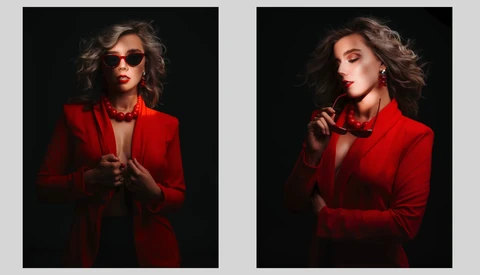
A Simple Masking Method for Dark, Cinematic Portraits
A bright portrait can look polished and still feel empty. When you know how to pull light down, shape shadows, and keep eyes alive, the same file turns into something with tension and intent.
A bright portrait can look polished and still feel empty. When you know how to pull light down, shape shadows, and keep eyes alive, the same file turns into something with tension and intent.
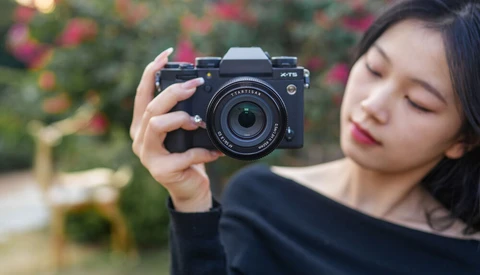
You know the feeling. Your kid is doing something adorable, the light is perfect, and you grab your camera. Click. You check the screen and... it looks like a smartphone snapshot. The background is a busy mess of toys and furniture competing for attention with your subject. Everything is in focus, which means nothing stands out. This isn't your camera's fault. It's physics.

Backlit scenes are a trap: the background looks fine, your subject falls into shadow, and global sliders only make the frame feel fake. If this keeps happening, the fix is less about “more exposure” and more about controlling where the light appears to land.

Composition is not a set of laws, and treating it like one makes your frames timid. If you want images that feel alive, you need options that go beyond placing a subject on a grid.
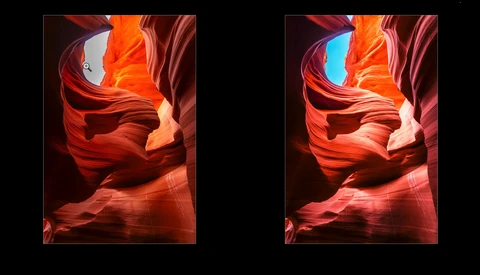
Canyons and slot-like rock corridors can trick you into thinking your camera is broken when the shadows go black and the bright areas go blank. If clean detail and believable color matter in high-contrast scenes, the approach in this video will push you to shoot differently and edit with more control.
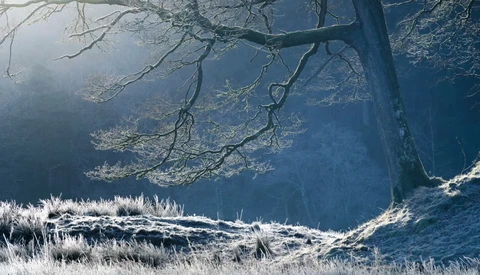
Gesture in the landscape sounds like a soft, artsy idea until you start noticing it and realize it can fix the stiff, random feel that shows up in a lot of your frames. If you care about making landscapes that feel alive instead of assembled, this will change what you look for before you ever touch the tripod.

Full frame is the holy grail for a lot of photographers. The creamier backgrounds, the cleaner high-ISO files, the undeniable "pro" credibility that comes when you pull out a camera with a sensor the size of a 35mm film negative. For years, it felt like membership in this club required either a trust fund or a willingness to sacrifice your rent money. Not anymore.

A photo shoot can go sideways because of one tiny setting, one missing card, or one piece of gear that shifted in the bag. If paid work or once-only moments matter, a tight pre-shoot checklist is less about being obsessive and more about avoiding preventable damage.
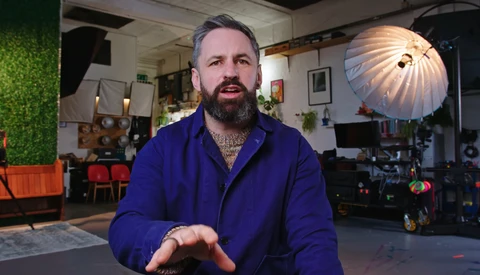
Treating better sleep, food, and movement as part of your craft can change how you show up on a shoot and what you bring home from it. Ignore it and the work can stall in ways that are easy to blame on gear, clients, or luck.
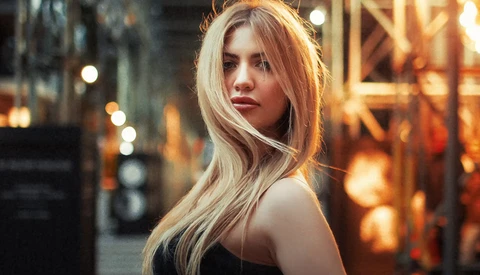
Your camera’s exposure meter is not a truth machine, and that mismatch is why you end up with frames that look too dark, too bright, or just “off.” Once you stop treating the meter like a judge and start treating it like a starting point, you get faster and more intentional with light.

There was a time when serious photographers sneered at superzoom lenses. The old 18-200mm options earned their terrible reputation honestly: muddy corners, slow autofocus, and the kind of optical compromises that made you wonder why you bothered upgrading from a smartphone. But that era is over.
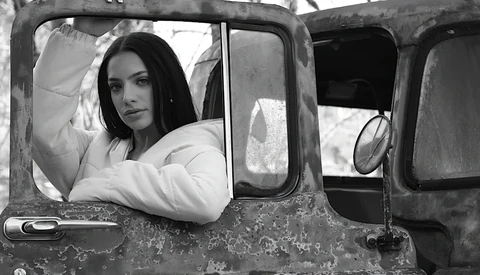
If you shoot Fujifilm and you care about getting a finished look straight out of camera, the difference between film simulations and recipes changes how you set up every shoot. Get it wrong and you either lock yourself into a look you did not mean to commit to, or you spend time “fixing” files that never needed fixing.

Buying the most expensive camera feels like the fastest shortcut to better images, but it often just locks you into bad habits with nicer packaging. If you want steadier progress and fewer frustrating “why is this not working” moments, these early mistakes are the ones that keep showing up.

A polished product shot can look effortless, and that illusion can mess with how you judge your own work. This video is a straight look at how one advertising-style image is built, and it pushes you to stop guessing and start planning.

Five simple questions can change how you approach a scene, even when the location is familiar and the light is average. Ask them before you press the shutter and your results stop feeling accidental.

Saturation can make a strong photo look electric, or it can quietly wreck it in five seconds. If Lightroom is part of your workflow, knowing when to avoid that slider changes how believable your color looks.

There is a reason every professional wedding and portrait photographer owns an 85mm lens. Ask any working pro what focal length lives on their camera during golden hour portraits, and the answer is almost always the same. The 85mm is the portrait lens, and once you shoot with one, you will understand why.
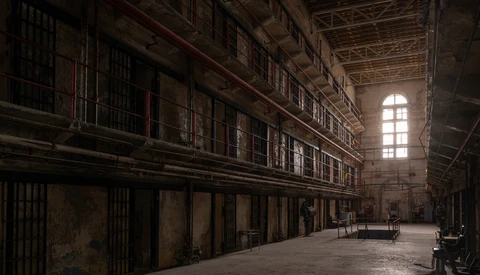
Sometimes, the most powerful image isn't the one you take, but the one you leave behind. In a society fixated on constant creation, mastering restraint can be more important than clicking the shutter. Modern cameras can shoot 120 frames per second or even more, but the real skill lies in understanding when not to photograph.
A slightly flat background or visible noise can quietly weaken an otherwise strong image. Lightroom Classic now has AI tools that let you correct both without starting over or relying on heavy-handed tricks.

Lightroom masks can feel like a one-way door: you commit to a set of sliders, then second-guess how strong the whole mask should be. This video shows a cleaner way to dial a mask up or down after the fact, without rebuilding anything.

Finding gifts for photographers is notoriously difficult. The gear they actually want costs a fortune, and anything cheaper feels like a letdown. But stocking stuffers occupy a different category entirely: small, practical items that working photographers burn through or never think to buy for themselves.
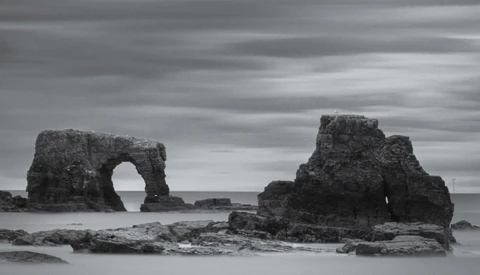
A lot of your best landscape work depends less on dramatic light and more on whether you show up when the weather looks boring. This video is about building that habit, then using simple choices to turn gray conditions into frames you actually want to keep.
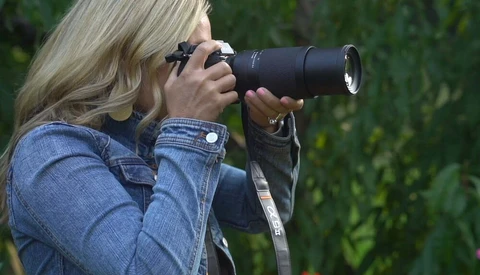
We all carry around a mental image of that perfect shot. A bird plunging toward the water to snag its prey. Your daughter crossing the finish line at her first track meet. These are the photographs that get framed, shared, and remembered. For a long time, capturing these moments required a small fortune. Not anymore.
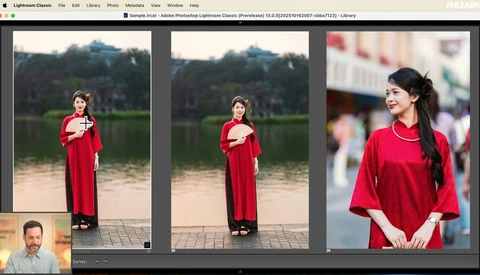
Lightroom Classic now has an AI Assisted Culling feature that can scan a whole shoot and tell you which frames actually meet your standards. When you are staring at rows of nearly identical portraits after a long session, that kind of help can keep you from wasting hours on basic sorting.
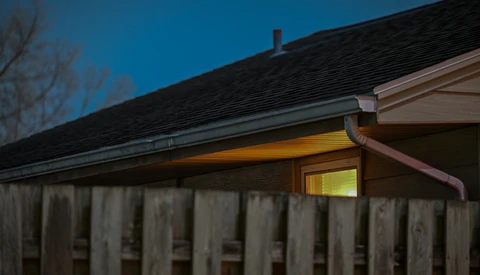
You can nail the exposure and still miss the photograph. How? Because numbers teach “correct,” but story teaches truth. A flawless histogram isn’t a finished narrative—and perfect light doesn’t guarantee a picture that speaks.
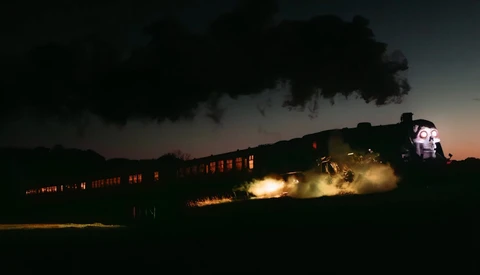
Night scenes in near darkness look dramatic, but they are some of the easiest images to ruin with missed exposure, motion, and noise. If you shoot moving subjects at night, you probably have a folder of frames that feel too dark and too messy to bother editing.

One of the joys of discovering Joshua Tree National Park is learning how to photograph the night sky through night photography workshops and classes. "Half the Park is After Dark" is a National Park Service campaign slogan, after all. But this may be coming to an end.
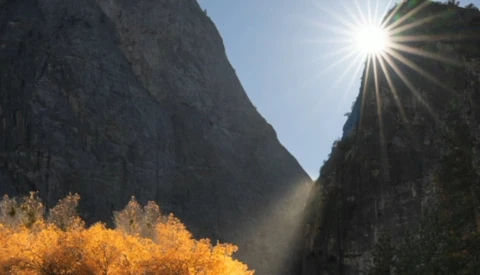
Lightroom Classic’s masking tools give you more control over light, color, and depth in your images. If you skip them or only use the basics, you end up fighting flat scenes and blown highlights that never quite match what you saw on location.

A beauty dish looks simple, but small changes in how you set it up can completely change a portrait. If you shoot people in tight spaces or on location, learning to control one beauty dish will do more for your images than adding another three lights you barely touch.

AI masking in Lightroom has quietly turned into one of the fastest ways photographers change the mood and focus of an image without touching every slider by hand. If you shoot portraits and landscapes and want your edits to look polished but still natural, this walkthrough shows how to let the software do the heavy lifting while you keep control over the final look.

Why would anyone pay more for a camera that does less? In an era where our phones can shoot HDR video in a billion colors, buying a camera that only sees in black and white seems like a pretentious downgrade. But you might be surprised by these three cameras.

Photoshop’s new Harmonize and Generative Upscale tools directly affect how you blend subjects into new scenes and how large you can push older or low-resolution images. If you spend time cutting people out of one shot and dropping them into another, or you wish those small files could actually be printed, the way you work in Photoshop is about to shift.
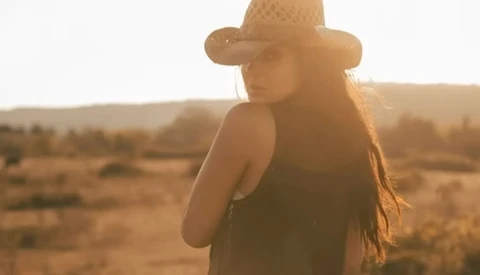
Generative Fill is no longer just about erasing small distractions or extending a background. With new partner models like Gemini 2.5 Nano Banana and FLUX Kontext Pro built directly into Photoshop, you can describe an entire scene change in plain language and watch the software rebuild your image around your idea.

The photograph at the lead of this article was made one cold winter morning when I went out to pick up my mail. There had been a snowstorm the day before, and it had partially melted and refrozen in the night. I used an iPhone and processed the image in Lightroom and then in Photoshop.

Turning a flat landscape raw file into something moody and dramatic is often the difference between an image you forget and one you remember. When you see how far a single frame can go in Lightroom with careful cleanup, masking, and color work, you start to rethink what is actually possible in post.
Studio gear multiplies until your space feels more like storage than a place to shoot. This video tackles that problem by imagining a completely fresh studio and choosing seven pieces of equipment that actually deserve floor space and budget.

Editing a raw landscape file in Lightroom often decides whether an image feels lifeless or close to what you saw on the trail. This video walks through a complete landscape workflow that keeps the edit grounded in reality instead of turning everything into neon drama.
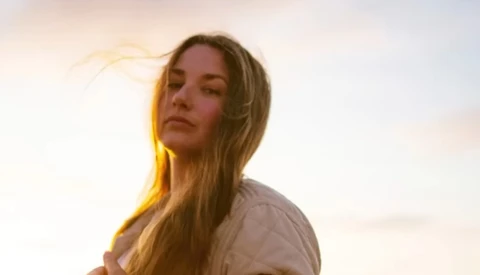
AI selections in Photoshop are past the point of being a novelty, and they now help you move from idea to finished image. When Select Subject works well, you stop fighting clumsy masks and start focusing on color, light, and style instead.
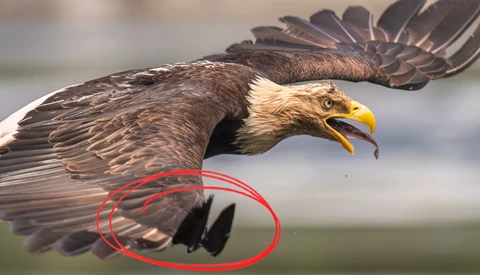
You probably make at least a few of the same mistakes over and over without realizing it. Small habits like staying at eye level or avoiding bad weather quietly flatten your images and make your work feel more generic than it needs to be.

AI models in Photoshop are starting to do something that used to take hours of careful cloning and healing: bring cracked, faded family photos back to life while still looking real. Those images are often the only visual record of parents, grandparents, and whole branches of a family, and AI is starting to emerge as a legitimate option.

This is not a guide, but a way to think about abstraction as one way for photographers to regain control and meaning when technology learns every technique.
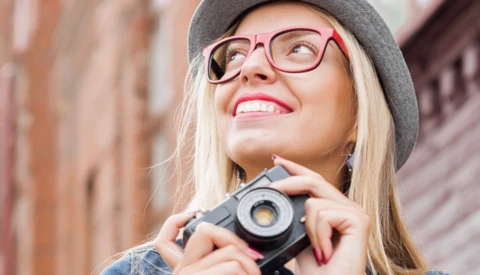
Smartphone photography is miraculous, but it isn't for everyone. There is no shutter click and no mechanical dial. If you miss the feeling of making a photograph rather than tapping a screen, these 10 cameras are your antidote.
1. Fujifilm X halfThe Vibe: The camera TikTok has been begging for.

Brutal little mistakes creep into your shooting routine and quietly wreck images that should have been keepers. This video walks through specific slip-ups that cost real photos, from motion blur in windy woods to storage choices that decide whether your work is actually safe.

AI masking gives you a fast way to separate subjects, backgrounds, skies, and landscapes without fighting with manual selections. If you care about controlled lighting, clean focus on a subject, and efficient editing inside Photoshop, this is one of the tools that changes how you work.
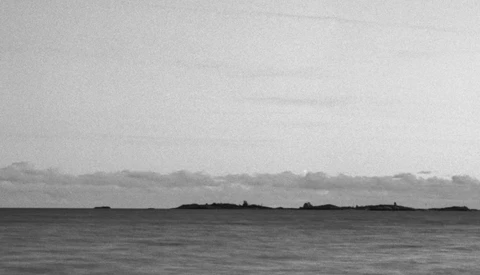
Limiting yourself on a photo session sounds backward when you want as many options as possible, yet it can change how you see, shoot, and learn. The tension between going in with every option open or locking yourself into a strict plan forces you to choose what kind of images you actually want to make.

They say nothing good happens after midnight—clearly, they’ve never tried photographing it. When the world goes quiet and city lights hum against the dark, something magical awakens. The night becomes your studio, the stars your light source, and the silence your companion. While others sleep, photographers step into an open world alive with mystery, color, and adventure.

You paid for 100% of the camera, so why are you only using 20% of it? Most photographers ignore the deep menu settings, but these five hidden tools will instantly make your shooting faster, sharper, and safer.
(Note: Menu locations vary by model, so treat these as starting points, not exact paths. Consult your manual if the specific menu item isn't where described.)
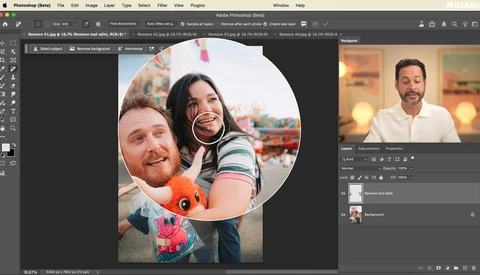
Distracting stuff sneaks into almost every frame, whether it is strangers in the background, power lines, or weird signs behind your subject. Learning to remove those problems cleanly in Photoshop lets you keep the shots you like instead of tossing them out over small details.
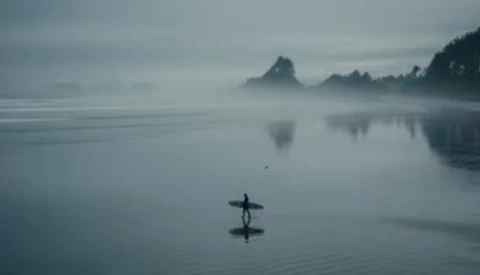
Generative Expand in Photoshop lets you fix tight framing, rework aspect ratios, and build layouts you never captured in camera. If you often wish you had backed up, shot horizontal instead of vertical, or left more headroom, this tool gives you a practical way to rebuild that space with believable detail.

Masking in Lightroom Classic can feel slow and clumsy when every move depends on the mouse. Keyboard shortcuts change that, letting you move faster, stay in the flow, and spend more time actually shaping the image instead of hunting through panels.