Articles written by Quentin Decaillet
Serif released a new update today to its photo editing software Affinity Photo. It is the first major update, and it includes quite a few exciting features. To celebrate these welcome changes, Serif also announce a discount on the Mac App Store.
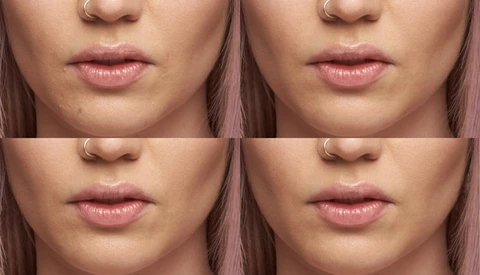
Since Adobe released Photoshop CC 2015, retouchers and photographers have complained about the revamped healing brush. However, Adobe promised their users that CC 2015.1 would offer an alternative, making the tool as good if not better than the one found in CC 2014.
Until recently, HSS and HyperSync were considered gimmicky features available on either expensive PocketWizard or cheap Chinese triggers. With Profoto, Elinchrom, Priolite, RiME LITE, and other brands catching up on these techniques, it is slowly becoming more popular. However, are these sync modes as reliable and useful as the brands try to make us believe they are?
Phase One just acquired Mamiya Digital Imaging and took over their factory as well. This will strengthen the Danish company by making them the only medium format camera company that has full internal control of all critical components in a world class imaging system.
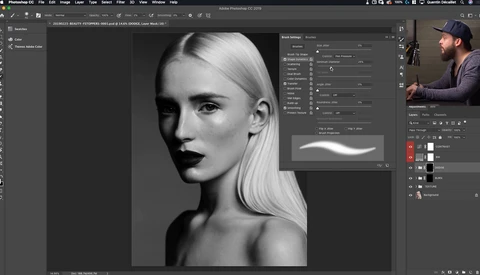
Adobe just updated a couple of their CC applications, one of which being Photoshop. Amongst the new features, it was almost inevitable that a few bugs would show up. One that can be quite annoying is the liquify tool lighting or rendering problem. But there is a quick and easy workaround.
I remember reading an article here on Fstoppers three year ago about a couple using a GoPro in a bouquet to film their wedding. That might have been a trend back then in 2012, but now in 2015 forget about the bouquet. This couple may just have started a new thing! They hired their dog to film their wedding.
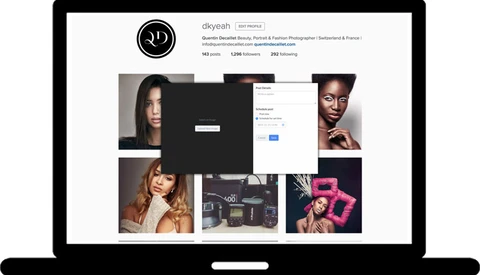
Social networks are a good way to advertise a photographer's work. Sometimes, with all the different platforms available, it becomes difficult to keep track of everything. Tools such as Hootsuite are great to make that easier. However, when it comes to Instagram, there aren't many solutions for scheduling and uploading photos from a computer.
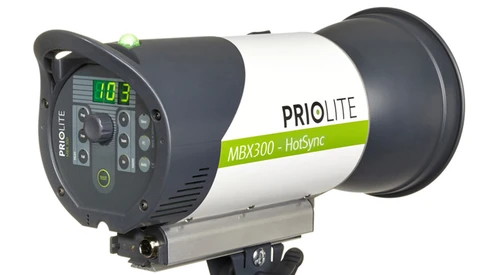
Priolite just announced the addition of a new flash unit to their HotSync lineup, the MBX300HS. This slightly smaller and lighter, but much cheaper, unit is a welcome addition to their current line of products. Alongside the already available 500Ws and 1000Ws strobes, this new compact unit looks like a solid alternative to more well-established brand's battery powered system.
When speaking of retouching, most people think of cleaning skin and altering the body shape. However, retouching goes further than that. Colors play such a significant role in an image, that forgetting about them would be a great mistake. Just like a good makeup artist shouldn't limit their job to the model's face, a good retoucher shouldn't stop the job with cleaning skin.
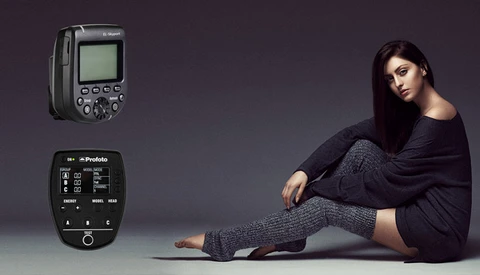
A couple of weeks ago, Elinchrom released the Skyport HS, a new iteration of the very old and rudimentary Skyport. The Skyport HS seems to have everything a strobist could hope for, from the laser grid to focus in low-light conditions to the Hi-Sync mode. This new radio trigger is a welcome addition to Elinchrom's product line. At least, it is on paper.
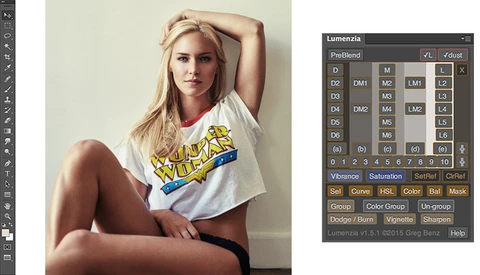
Luminosity masks are a powerful trick available in Photoshop. However, the way Adobe implemented them is not so great. It's a combination of playing around with the channels layers and keyboard shortcuts to get the mask you wish. Greg Benz has come up with something awesome called Lumenzia and it fixes almost everything that made using luminosity masks a pain to use.
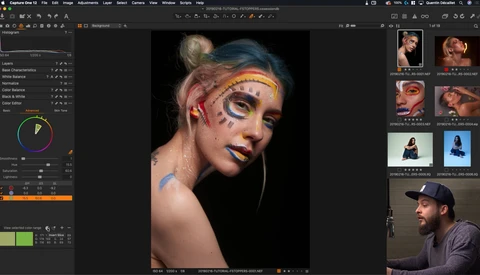
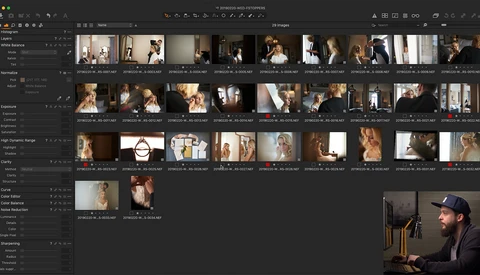
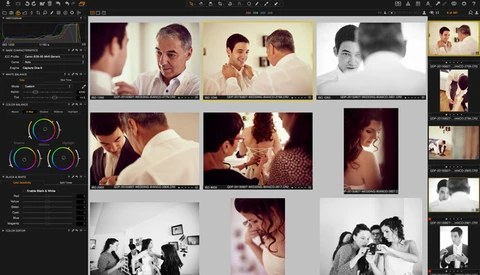
Capture One has been known amongst high-end retouchers and commercial photographers for quite some time, the main reasons probably being its powerful tethering and color editing tools. Wedding photographers seem to think Capture One is not tailored to suit their needs. At least, that is what I thought.
Recently, the game of artificial lighting, including flash, has started to change. LED lights have become more common, but also TTL and HSS have become available to studio strobes, not just hot shoe flashes anymore. Today, it is Elinchrom's turn to join in this new era. The Elinchrom Skyport celebrates its 10th birthday this year, and over 400,000 units have been sold since its launch.
When I started out photography professionally, I only wanted to do weddings. It was what I loved (and still love). I thought studio work was so boring. With time, I was convinced to get my own studio and started doing portraits, beauty, products, and other genres. It was great. However, after two years, I am about to terminate my studio lease and will not take a new one.
When I started out my photography business, I was always told how important it was to have a strong and personal style. At the time, I did not understand what that meant. I knew all my pictures were too different to make for an impactful portfolio. I also knew that my retouching was inconsistent.
Retouching can vary from photographer to photographer. But it can also vary depending on the genre you are shooting. I know it does for me. My wedding retouching is far from being as refined and time-consuming as my portrait retouching. When dealing with hundreds of pictures, you have to find techniques that get you close to a perfect result, but as quickly as possible.
Wedding photographers often tell me how annoying it can be to get a consistent white balance across the images of the day. Shooting weddings almost every weekend during the summer myself, I used to have that problem as well. With a white dress for the bride and a white shirt for the groom, it should be easy though. The problem is I like my images to make my couple look good.
Dodging and burning for cleaning skin is very common amongst high-end retouchers and for a reason: when mastered, it gives you natural, yet almost perfect results. The downside of the technique is that it can eat up a lot of time. When I say a lot of time, I mean up to a couple of hours for a single image, depending on the problems that need corrections.
When I started out in portrait and beauty photography, I tried to have a makeup artist for most of my photo shoots. Why? Because I had always been told it would help my retouching. This is true in most cases. As long as you work with talented makeup artists, you will shorten the time spent in front of your computer. However, this is not the only advantage.
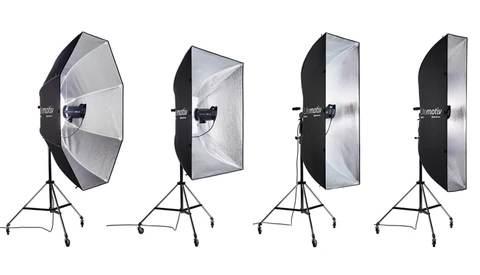
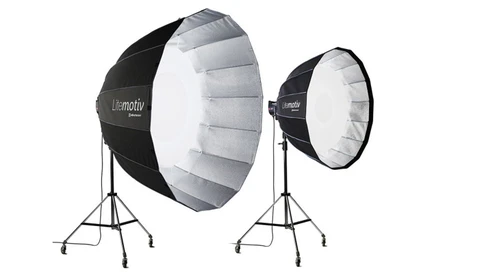
The Elinchrom Indirect softboxes are quite well known amongst fashion and commercial photographers. Especially the 190 octabank. Recently Elinchrom revised its indirect lineup and renamed it Indirect Litemotiv. The Swiss brand offered me the chance to play around with the whole line of Indirect Litemotiv for a little over a month.
A couple of weeks ago, Serif released its powerful photo editing software called Affinity Photo. This Adobe Photoshop competitor has since been downloaded by numbers of users and has already seen a couple of improvement through an update. Its price and its speed are probably two of the most notable advantages the software offers over Photoshop.
Giving a great first impression is imperative, especially when our work is mostly based on aesthetics. It can be the way we dress, the image we carry through social networks, or even a simple email signature. I have tried many different email signatures, using HTML formatted text, an image, or a mix of both. But I never was satisfied with how it looked. I then stumbled upon WiseStamp.
Natural-looking images are making a comeback. If you look at recent issues of big magazines, you will see that makeup is often a nude with some shine to it, retouching is less "doll like," and even simple 1-light setups seem to be the standard. Some people will argue that it has been like this for quite some time. It is true, but I find that retouching is more flagrant than before.
When using Photoshop, I find myself zooming in and out very often. While this might not be a massive loss of time, it still is one, especially when doing some local dodge & burn. I recently found a technique that doesn't require me to zoom anymore. I can now work on my file with multiple views at once in Photoshop. How is this possible?
As photographers, we meet people that come from all over the world and that sometimes speak very exotic languages. This is great, and I absolutely love it. However, it sometimes is a problem. For example, I use to proof and deliver my images using a web gallery. I have tried many of them: SmugMug, Pass, Zenfolio, PhotoShelter, etc.
Dodge and burn, frequency separation, and other techniques used by high-end retouchers are great but time-consuming. Shooting and retouching weddings, as well as fashion and beauty, I sometimes find myself spending way too much time on wedding retouching. Being used to cleaning skin with dodge and burn for beauty, I tend to do the same with weddings.
One of the benefits of using layers in Photoshop is to edit pictures in a non-destructive way. However, there are a couple of techniques and filters that will require you to flatten a file or create a merged layer. The liquify tool is one of them. To use it, you must create a merged layer of the area you want to edit. Sometimes it means a merged layer of the whole image.
In dealing with bigger paid jobs lately, I've had to find ways to refine my retouching workflow. I used to do most of my skin cleaning by dodging and burning problem areas. It then had to be color-corrected of course. Negative dodge and burn gives you excellent results when mastered, but it eats up a lot of time.
Serif launched the beta version of Affinity Photo a few months ago, and it impressed many retouchers. Very robust, not so costly, and quite stable despite its young age, the beta version had everything to seduce amateur photographers and retouchers, as well as professional.
Elinchrom has been renowned for its light shapers for a long time. Many photographers have been using the Rotalux line of softboxes even on other, more expensive strobe brands such as Profoto or Broncolor. The Rotalux system was also known for its quick and simple way of assembling the boxes.
Great retouching is all about small details. They often make the difference between a well-retouched image and a world-class retouched image. However, seeing some of the details can be tricky. Especially when you are on the go and retouching on a laptop screen that doesn't offer the precision of a well-calibrated screen with a large color gamut.
Recently I felt a bit let down when looking at my work. It seemed to me like I had not improved much during the last year and that I had hit a plateau. Then when asking friends, fellow photographers, and other people from the industry, everyone told me it was just in my head.
Since I started doing makeup on most of my projects, I discovered that some very basic makeup tools could have helped me in a big way on previous shoots. Before learning about makeup I had absolutely no clue whatsoever on where or even how to apply some very simple cosmetic products. Looking back now, I see how much time I have lost in Photoshop not knowing these simple things.
Every wedding photographer has their very own tricks to get their calendar fully booked each year. Websites and social networks have of course become a staple for every solid business nowadays. But sometimes we forget that brides and grooms are not connected 24 hours a day and that they might meet other vendors before coming to us.
Beauty photography is something that I have become drawn to over time. Setting a mood, imagining a makeup style, and finding or even creating props to fill the frame with my model’s face is something I came to love more than anything else. In any genre of photography, I feel like it is important to develop a style that is recognizable.
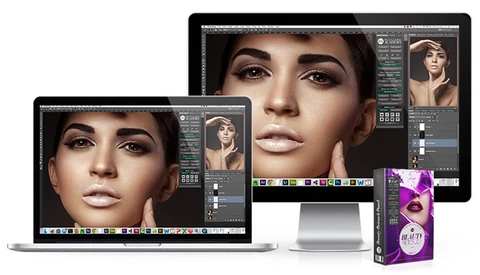
Since its first version, Photoshop has changed quite a lot. The functionalities it offers are greater now than ever before. But plugins are legion and for beginners it is hard to differentiate the ones that are truly useful and those that are just a waste of money. The Retouching Academy Beauty Panel has been around for a little while and was revamped very recently.
Retouching skin is about detail and patience. It can be a real time consuming and can require a high level of precision to keep the natural aspect of an image. Each of us has a different style of editing and our tastes differ. However when giving retouching lessons many photographers ask me about skin texture and how to keep it looking as natural as possible.
Photoshop has been around for quite some time now. It works great and every photographer has gotten used to it. It is a staple in my workflow alongside Capture One and Photo Mechanic. Until a few days ago, I did not think I would hesitate changing my retouching routine. After a few years of trials and errors I am finally somewhere I feel comfortable with my post-production.
Before I learned about makeup I used to strengthen or create contouring in post the same way on every single picture. However, because everyone’s face is different, contouring should differ from person to person. Contouring not only can help create dimension it can also help alter shapes.
You have probably heard it a few times: photographers raving about how Capture One is awesome for developing portraits from raw files.