Articles written by Quentin Decaillet
In the image editing market, there is a clear separation between the assets management, editing, and retouching solutions. Most photographers rely on multiple apps to fulfill their workflow. Although we have grown accustomed to working with a few different software to get to the final result, it would be fantastic to have everything in one place.
Color theory for photography and retouching is more important than many would like to admit. Knowing how to create a visually strong color photography starts there. You can always go by the feeling, but failing to plan is planning to fail. Learning all about colors takes time and finding the proper resources is not an easy task.
A few days ago Blackmagic Design announced DaVinci Resolve 14. The all-in-one video editing software was published in public beta version at the same time, and a few people have played with it to see what the differences are. Amongst them, Casey Faris recorded his experience and explained what’s going to change from the version 12.
Instagram is a fantastic tool for photographers to promote their work. It’s not incredibly complicated to get the hang of it: post your pictures, add a description along with a couple of hashtags, and people can find your images. However, if you’ve been using it long enough, you may have noticed that your stream quickly looks like a mass of pictures with no continuity.
White balancing shots is not always as easy of a task as it seems. Sometimes, a gray card cannot be used, other times the lighting is too poor and the colors don’t come out perfectly. However, Blake Rudis from f64 Academy has found an extremely efficient and quick solution to color correct any shots in three easy steps.
As a photographer getting into video, it’s frustrating when you are not able to reproduce what you are used to with Photoshop. For example, the simple task of the replacing a sky in a frame can eat up a lot of time when you don’t know what you are doing. But thanks to DaVinci Resolve and Aram K, the process is actually much easier than you could imagine.
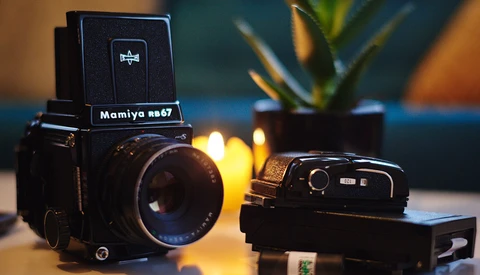
Getting into medium format is quite costly. It’s difficult to know if the investment is going to be worth it and if it’s going to match your current workflow. Medium format has a tendency to slow you down, kind of like film. When I tried my first Phase One, I couldn’t afford one. So I went with the cheapest alternative I could find, the Mamiya RB67 Pro-S.
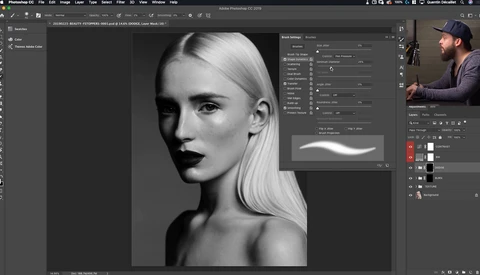
Masking plays a crucial role in the quality of your retouching. There are so many tools available to create and refine masks, that’s often times we forget the most basics and useful ones. One of them is a bit hidden and it seems like many don’t even know it exists!
The Broncolor Scoro was initially released in 2012 by the Swiss flash manufacturer. Five years later, they introduce a new release of the high-end power pack and it’s called the Scoros S WiFi/RFS2. Along with it, the bronControl app is made available for Mac and PC to make remote control of your units easier than ever.
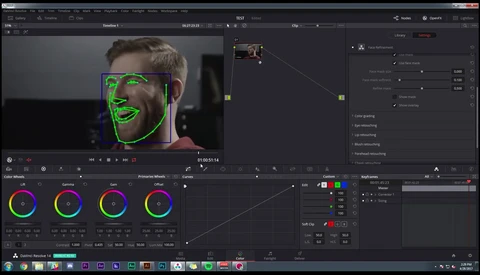
DaVinci Resolve is well known for color editing in the video world. But Blackmagic's goal is to create a complete solution for NLE, color, and sound. While 12.5 was already very convincing, the newly announced DaVinci Resolve 14 is even more so.
The Swiss flash manufacturer, Elinchrom, and the innovative video light maker, Light & Motion, announced today that they are joining forces to bring new game-changing products to the market. The news comes in right after Elinchrom made the Skyport Protocol open to other brands.
Photoshop offers so many different tools that achieving one simple task can be done in numerous ways. Finding the method that works best for you and the one that matches the result you have in mind is important. Greg Benz is back with a new tutorial and shows us how he uses the Perspective Warp tool to enhance his landscape photography.
When getting into video, filming may not be the biggest issue. Post-production plays a significant role and can be quite overwhelming. There is tons of software out there, and it’s difficult to know which is best for what. Learning how to use these programs is even worse when you are a photographer.
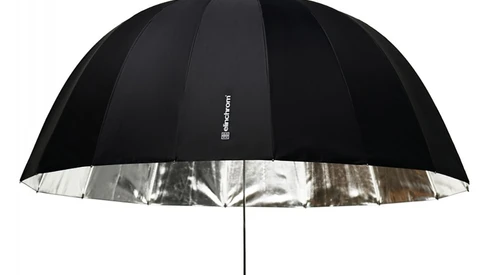
A few weeks ago Elinchrom announced their new adventure light, the ELB 1200. However, they didn’t release any pricing at the time, but they are now official. The Swiss flash manufacturer also recently added a few versatile light shapers to their already comprehensive range of products.
With digital photography, the ways to present our work have evolved and grown exponentially. Web galleries alone are numerous, and it can be difficult to find the one that matches your needs and expectations. But then, there are a few such as ShootProof that pretty much do everything most photographers need.
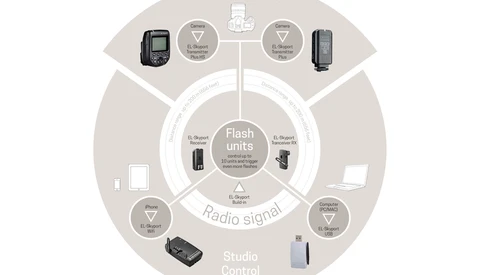
In recent years, the radio flash transmitter market has grown extensively. Every camera brand and strobe manufacturer has come up with its own system, but as if that wasn’t enough, some brands specialize in designing their own as well.
Importing files from a memory card onto a computer doesn’t seem to be a complicated task, and it shouldn’t be. However, it’s probably one of the most crucial parts of your workflow. If you forget a file on your card or format and reuse the wrong one, it can generate bigger issues than any photographer would like to face.
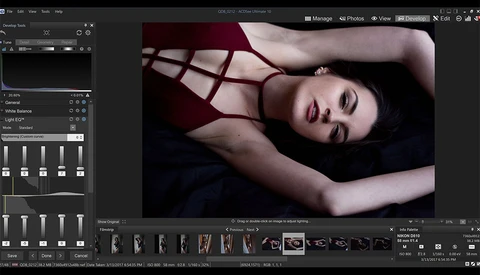
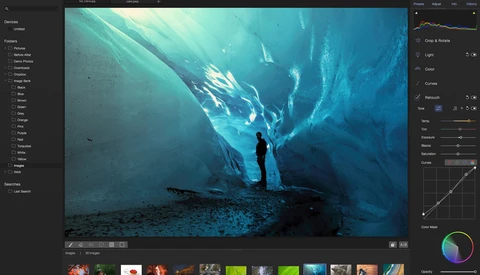
While most photographers and retouchers use Capture One and Lightroom, the raw processing software market is actually much larger than just two options. One incredibly appealing alternative to the big names is Picktorial. Its third version is being released today, and it comes with quite a few exciting features and is available at a very reasonable price.
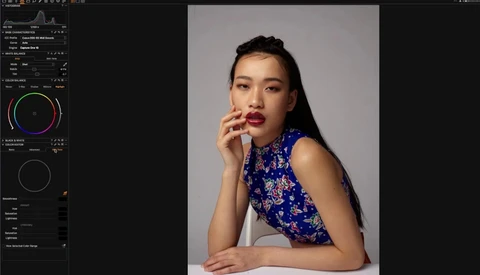
Pratik Naik was featured on a recent Phase One webinar and showed some of the techniques he uses when processing commercial, beauty, and fashion images in Capture One. Most of what he demonstrated was centered around color and was extremely instructive, no matter the viewer’s level.
Recently, I’ve found myself relying on cinematography educational content more and more to improve my photography work. The way light is constructed in movies and the thoughts a DP puts into framing their shots make the results look a tad more flattering and natural than what most photographers seem to be teaching and doing nowadays.
Learning and improving our craft should be as important as producing content. Online educational resources have made training and workshops accessible to everyone worldwide. One fantastic example is this year’s CineSummit. If you are into cinematography, want to get into it, or even if you are just curious to learn more about content production, then this is for you!
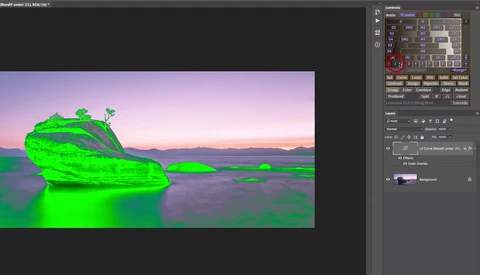
In one of my recent articles, I showed you how to create dynamic luminosity masks manually. In my opinion, it’s the best way to create masks based on brightness levels and confirming this idea is the introduction of a similar feature in Greg Benz’s panel, Lumenzia.
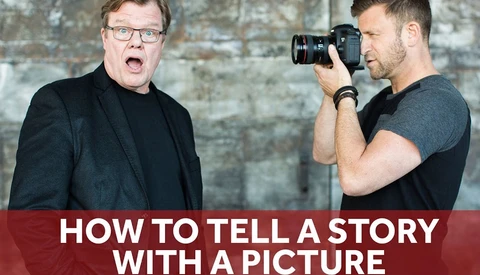
One of the differences between a great image and a snapshot is story telling. If your picture doesn’t narrate anything, it won’t serve any purpose. It’s crucial that your viewers understand what you tried to say with your work, but it's not always an easy task! Thanks to Joe McNally, we now have three tips to keep in mind for stronger journalistic images.
Joe McNally is one of those photographers that almost everyone in our industry knows. Perhaps you’ve seen his name in a Nat Geo, Life Magazine, or Sports Illustrated, or you’ve learned from his educational content, or maybe you simply have discovered him through his role as Nikon Ambassador. McNally is really everywhere.
There are tons of photography competitions out there, but not all are equal. In the wedding industry, I’ve found that the Junebug competitions always showcase some of the most inspiring, creative, and beautiful work out there. While the wedding season is about to start, the engagement one is coming to an end for many photographers.
Luminosity masks are well known amongst landscape and nightscape photographers but often underrated by many other creatives. They are an incredibly powerful tool and can help you apply adjustments only to certain areas of an image according to their luminosity. In past articles I wrote, I’ve shown different ways to create these masks.
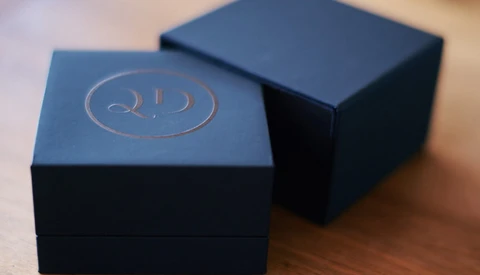
About a year ago, I shared a few tips to refine your wedding images delivery to your client with you. One of them was about using a branded flash drive with a box, making it look like a gift or a precious jewel. The only issue is, it can be costly to stock on those to keep up with the deliveries.
After releasing a tutorial video together, Phase One and Pratik Naik are teaming up again but for a 60-minute webinar this time. It’s your chance to see and learn all the color tricks the beauty and fashion retoucher uses to get incredible results with any image using Capture One Pro.
Alien Skin Exposure has long been known as a plugin for Photoshop and Lightroom. But since Exposure X was released, it’s trying to compete with the big names in the raw processing department. The software has grown into a standalone app and isn’t just a plugin anymore. Today, Alien Skin is announcing an update for Exposure X2, making it more powerful than ever.
Going through retouching related Facebook groups, it seems like the frequency separation trend is fading away. Some people even call the images edited with split frequency "filtered" as if it was as bad as using some kind of filter. Instead, many are learning to grow some appreciation for the art of dodging and burning.
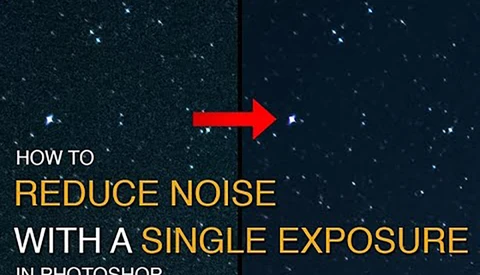
We have featured a few techniques to reduce noise on night sky images using multiple exposures. For a change, Greg Benz shows us how we can achieve almost similar results with images we shot in a single exposure. The process is slightly more complex than when having multiple frames, but surprisingly, the final image is quite clean!
Cold and moody processing is quite trendy lately. As I’ve been watching a lot of movies and cinematography tutorials, I began mimicking that cinematic feel in spite of myself. While lighting and makeup both play a big part in the final look, the post processing is critical as well. Here’s how to achieve it using Capture One!
Dodging and burning is an art in itself when used to clean up images. For example, when retouching beauty shots or portraits, it can take a really long time and require a high level of precision to yield beautiful results. What’s extremely frustrating is that our viewers and clients often don’t understand how much really goes into such work.
There are many different ways to learn photography. For me, one of the biggest keys to improving my craft has always been observational learning. I find that watching others do things I’d like to do is both inspiring and educational. It’s one of the reasons why I try to watch at least a couple of behind the scenes videos every day.
Camera movement can convey a lot more than you may think. Whether it’s intentional or not doesn’t matter. Your audience will feel a certain way depending on how you are moving the camera. So, before you go out and shoot your next video, be sure to watch Film Riot's latest tutorial in which they talk about the different movements possible and what you could use them for.
When asking people what they hate retouching the most, usually the answer is anything hair related. It requires a tremendous amount of precision and a lot of time. Something retoucher Pratik Naik seems to have, at least according to this video in which he fixes eyelashes to perfection while keeping them natural looking. Have you ever wondered how high-end retouchers achieve such result?
With the recent addition of albums to Instagram, photographers have a fantastic opportunity to add videos such as behind the scenes, short vlogs, or even short clips along with their images. However, if you are like me, cinematography is kind of a new world.
It’s not every day that you get a chance to learn from the best in our industry for free. Even if that’s just a 20-minute long tutorial, there’s always something to take away! Phase One teamed up with retoucher Pratik Naik to offer you a simple and comprehensive video on color toning in Capture One.
When looking at retouchers’ portfolios, you can separate the great ones from the rest by looking at their color correction. For example, when skin tones are not uniform, it makes the makeup artist look terrible just as much as the retoucher.
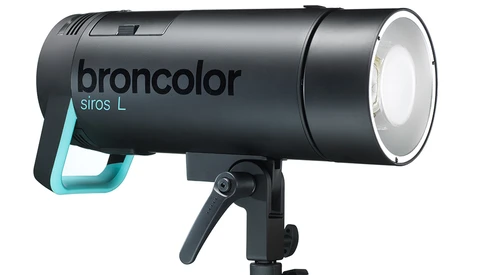
Broncolor is often referred as the top high-end flash manufacturer. Their units are all assembled by hand in Switzerland, and the Siros L is no exception to the rule. However, the latest addition to their product line is much cheaper than their other battery-powered flash, and it’s a monobloc unit, just like the Profoto B1.