
Ever since I started diving into studio photography the term “V-Flat” has been a big mystery to me. Google and YouTube have been the quintessential resource for photography knowledge and for whatever reason there isn't much detailed information on how to construct a V-Flat or what purpose they actually serve. It took time to sift through the noise of nonsensical DIY fabrication and even more time to unfold the enigma of this studio essential.
In preparation for this article, I asked around the photo community and many photographers knew of the term “V-Flat” but most had no idea what purpose they served or how they were made. Apparently, there is a grand perception that V-Flats are an elusive tool that only big studios and professional photographers can access, as you can’t buy them as your local camera store.
The term “Flat” comes from the world of Italian renaissance theater. Flats are large rectangles of lightweight foamcore which are used to create background scenery such as buildings or walls. They are easily movable and can create a sense of location and place with little time. In the photography world, it's common practice to hinge two of the Flats together, in turn creating a letter “V,” hence the name “V-Flats.”
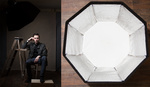
For me, it all started from seeing these huge Flats in play. I had witnessed Sue Bryce create magical natural-light portraits with her versatile V-Flats and my friend Josh Eskridge incorporate his DIY foam Flats in a series of incredibly unique light setups. I had to step up and make it happen.
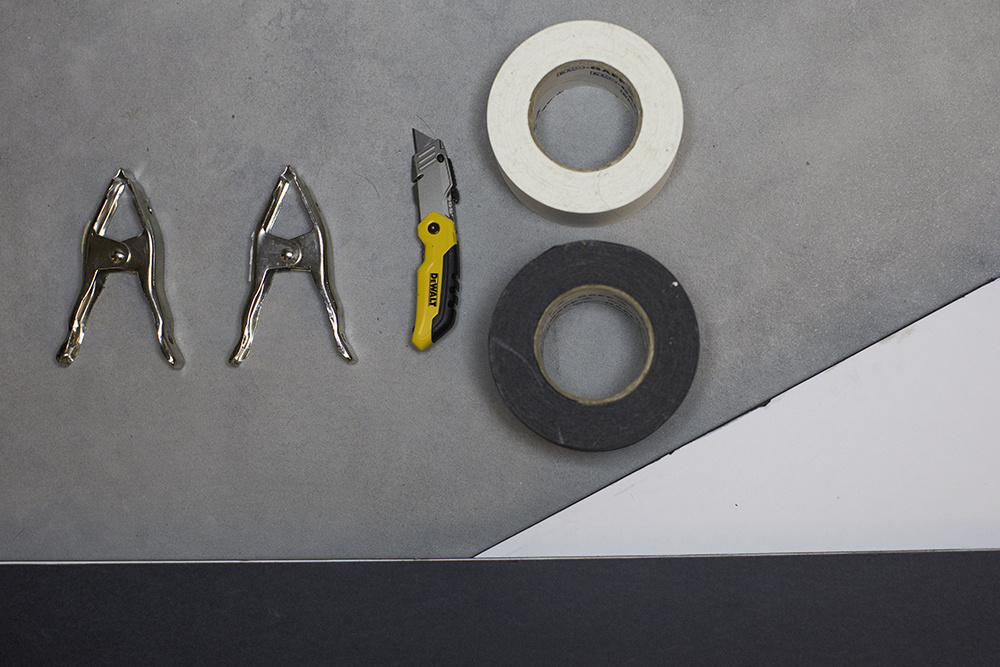
Tools
Construction is quite easy, but the most important thing is making sure you have ample room to do it. I have a very small living room studio, so it took some cleaning and "Tetris" to put the flats together. If you need to go outside, then go outside. Remember, you’re dealing with 8 foot pieces of foam board that should be handled with care.
- 4 Sheets - ½” 48” x 96” Black/White Reversible Gatorfoam
- Blade or Sharp Knife
- 4” Wide Black Gaff Tape
- 3” Wide White Gaff Tape
- 2 Clamps
Flats
After a day or two of phone calls and an deep exploration of the internet, I found the answer to what is the biggest conundrum of this whole construction; where to purchase the Flats. As photographers, it’s important for us to network and know people. If you purchase prints of any kind in your local market and happen to know someone who is employed at that lab, that person will probably know someone at a sign company or plastics distributor. Ask around or make some cold calls, you're bound to find some information. Just pick up the phone or draft an email to a local sign company.
Foamcore is lightweight and can be easily cut, but apparently it can breakdown and puncture with ease, therefore on the advice of my contact, I found Gatorfoam Board. Gatorfoam is high-quality polystyrene bonded between two layers of wood-fiber veneer and it’s dent/scratch resistant. Gatorfoam can come in various sizes, thickness, type, brand and color, so it’s important to know what you need before you call. In this case we need a solid thickness for strength and a Flat that is reversible, matte black on one side and matte white on the other. Pricing can vary, but I’ve found Gatorfoam can get expensive quick and may break upwards of $75 a sheet, depending on your local contact. This is what I use and what I recommend: ½” 48” x 96” Black/White Reversible Gatorfoam.
And, remember you will definitely need a big truck for transport.
Construction
Once you have the necessary tools, let’s start from square one.
- Stack two of the flats side-by-side(with one board slightly higher than the other to reduce fold tension) both on the black side and clamp off both ends so they remain in place.
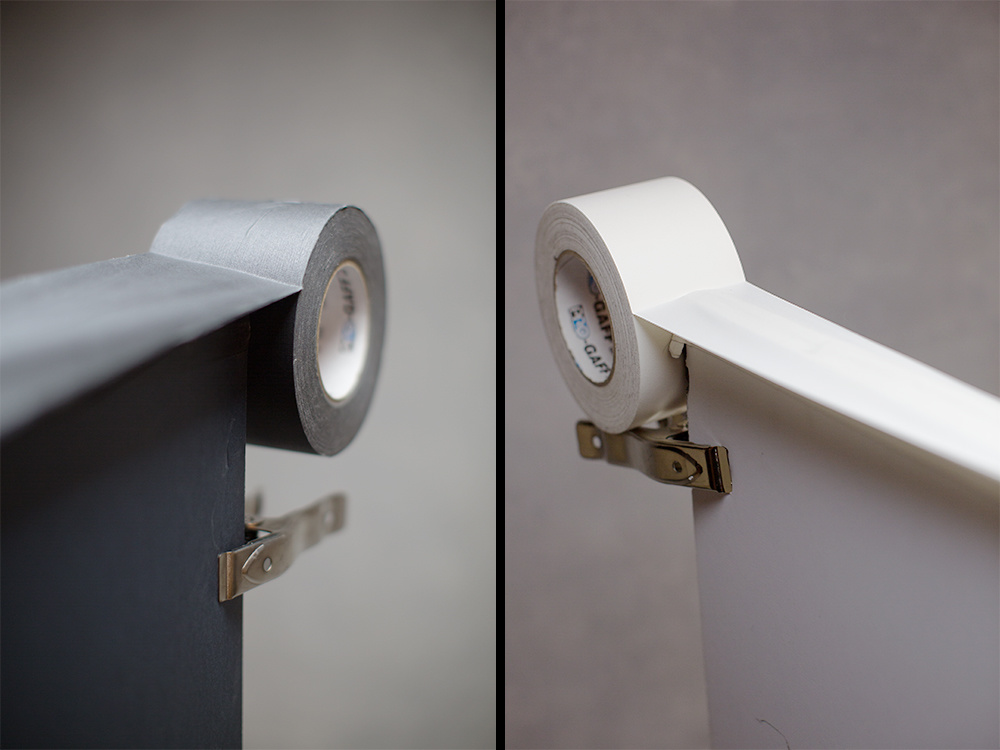
- Run the Black gaff tape along the center of the length of both boards.
- Fold the tape over and seal to each side. Cut off any extra tape with the blade.
- Remove the clamps and flip the boards over to the white side.
- Run the white gaff tape along the center of the length of both boards.
- Fold the tape over and seal to each side. Cut any extra tape with the blade.
- Stand the V-Flat up.
- Repeat this process with the other two flats.

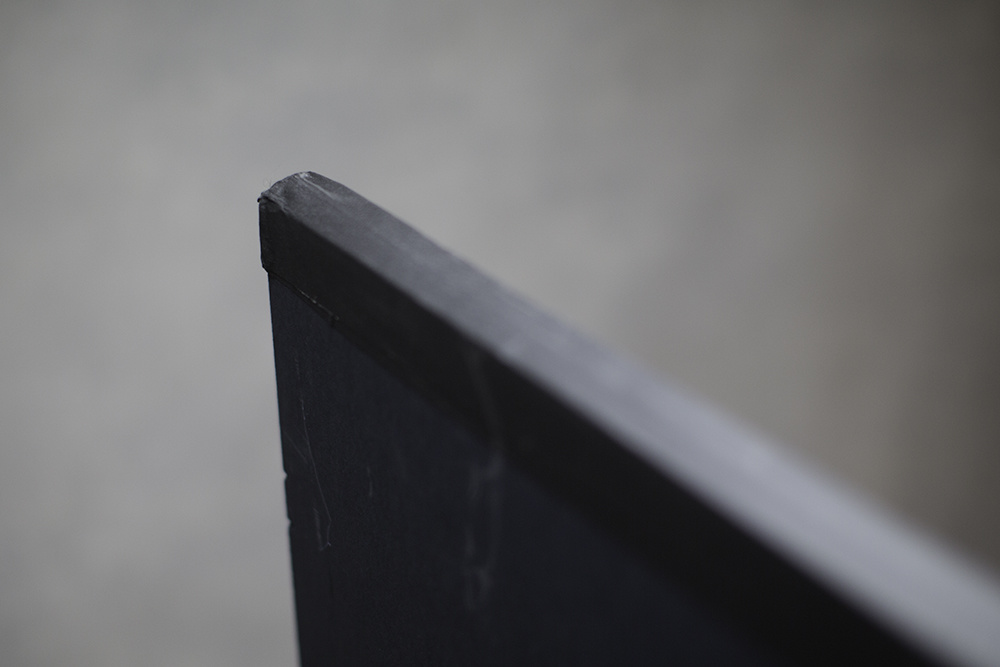
At this point, you may notice some tension when attempting to fold the two flats together. But, the beauty of gaff tape is that it can stretch. Slowly push the two flats together and the gaff tape should with stretch with the fold. The Gatorfoam will take the tension and not break under the pressure.
Just like that, you’ve got some high-quality studio V-Flats.

Why?
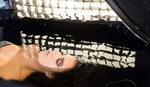
V-Flats are not only great for bouncing light and cutting light, but they are also great for building a set or using as a background. The matte white bounces light and is non-reflective, so it can be used as a solid seamless background resembling Savage paper. The black matte is great for cutting light and flagging light. I also use the black side of the V-Flats for background for not only my photos, but also for any live webcasts and podcasts.
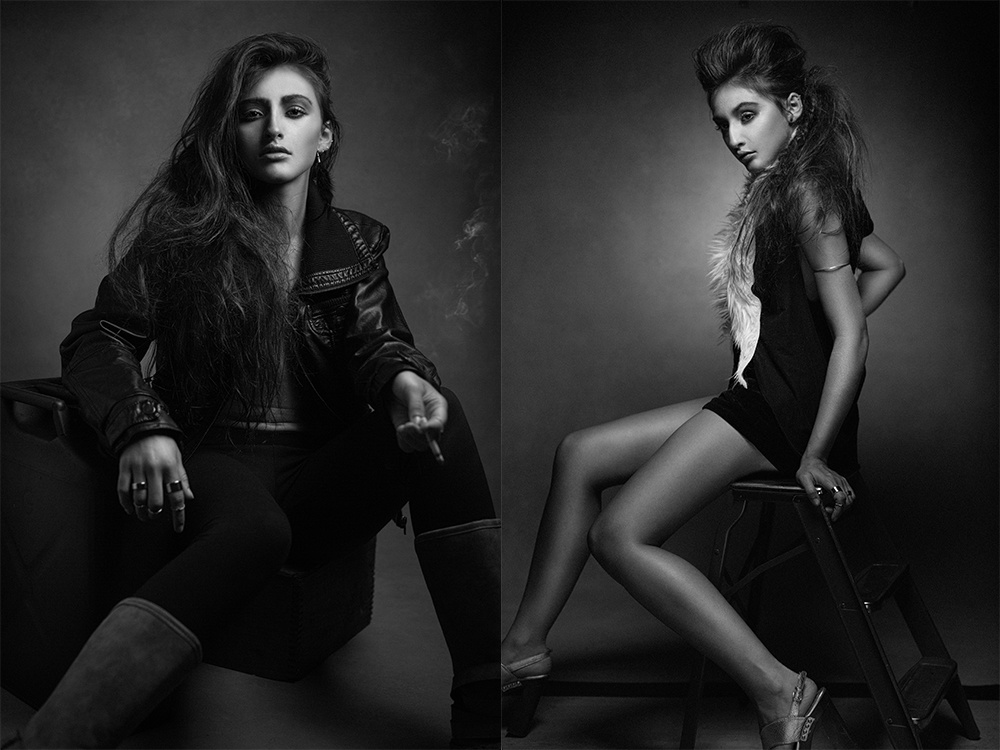

The versatility of V-Flats are endless and I feel as I have only scratched the surface of their use. I’m constantly finding new and inventive ways to use them, such as using them as flooring or creating background or even using them simply to create set separation, which gives the subject a private space. I’ve even found that they look good when they are included in the shot, which can create depth and dimension to the background.


If you’re like me and shoot in a living room studio space, V-Flats can be a crucial tool to creating those beautiful portraits that we constantly long for. Make some calls, make the investment and I guarantee you won’t regret it.
If you'd like to learn more lighting and shooting tips, consider checking out our Fundamentals of Fashion Photography course with Shavonne Wong or our more in depth Fashion and Editorial Portrait Photography tutorial with Clay Cook. If you purchase it now, or any of our other tutorials, you can save a 15% by using "ARTICLE" at checkout.


Clay how do you go about having clients coming into cramp studio? or a shoot with many people? I do many shoots on location and trying to keep studio rental expense on the low, and that's why I use my living room as studio ;-)
Awesome Boris! Check out my recent article! https://fstoppers.com/bts/transform-your-living-room-practical-studio-an...
I just realized, how about dry wall as alternative to v-flats?
Couldn't you just use regular foamcore? It is much cheaper, and less easy to damage. Also, if you are buying from a store, rather than having delivered, you would need to cut the board, so would' that be OK also, then just tape together?
Every time I look up something it all comes back to you! I saw your other tutorial and then somehow I went to the Sue Bryce website and then when I searched V flats, boom, it's you!
Quick question: The site selling the gatorfoam says the thicker sizes are sturdier. At Uline.com I can get 3 pieces of the 1/2" for $100 and they're 10lbs each, I can also get 2 pieces of the 1" and they're 13lbs each, so the 1" is double the thickness. other than a higher cost and getting less pieces is the 1" version a lot sturdier to be worth getting those instead of the 1/2" version?
Thanks for the article!
That gatorfoam. Jeeeez, they sell it like it's made of gold. Just need a light weight matte surface. Oye!
Read this article when it was posted in 2014. Sitting in my new studio in 2016 with all my supplies about to build it now ;)
Does anyone knows where can I buy some of this V-Flats? I am located in NYC
Online maybe? Thanks :-)
What brand umbrellas are you using here? My umbrellas stem usually sticks out a lot so its a bit tough to use in tights spots like this vid, but your umbrella stem doesn't even show.
Any idea on how to have vflats that can travel? something made of a fabric maybe?
I've heard something like "spiros" . Are these panels "spiros"?
I know there is the list of material but where to buy it?