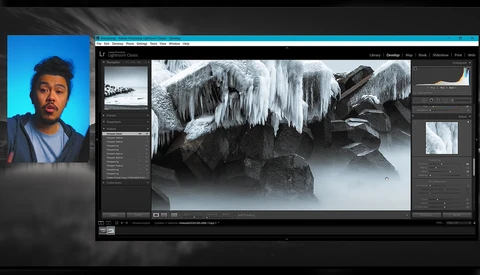
A Focused Tutorial on Sharpening Landscape Photographs
How essential is sharpening to your editing workflow? Do you actually know how the sharpening sliders work?
How essential is sharpening to your editing workflow? Do you actually know how the sharpening sliders work?

A few years ago, Adobe introduced an alternate way of processing images that could help reduce artifacts. In the intervening years, much of the benefits have faded away, until now. Can this technique find a new use in processing images from non-Bayer sensors?
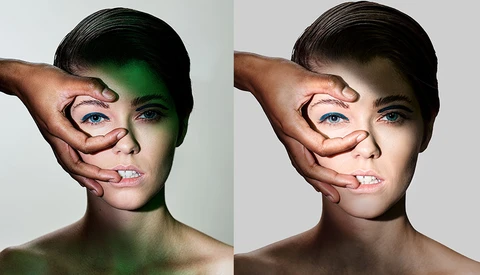
There are a lot of "edit-my-photo" type challenges going around because of restrictions on movement, but this one takes it to another level. Not only are the creators considered leaders in their respective fields, but the Photoshop editing workflow in this video is quite illuminating for anyone looking to learn how to utilize luminosity masks.

When you are new to Photoshop, some of the first things you should learn about are layers and masking. Now is an excellent time to work on your editing skills, and this fantastic video will get you up and running on how layers and masking work and what they are useful for.

Photoshop is a tremendously complex program with all sorts of hidden features and techniques. This excellent video features five tips for enhancing images using some techniques you might not have seen before.

While Lightroom is generally used for cataloging, global edits, and basic local edits and Photoshop is used for more advanced post-processing, there is a definite overlap between the features and capabilities of the two applications. This great video details when you should use Photoshop versus when you can afford to stay in Lightroom.
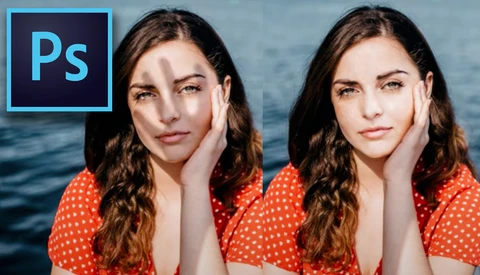
Last year, Unmesh Dinda of PiXimperfect produced an excellent tutorial on how to remove harsh shadows from an image using Photoshop. In this new video, he reveals a much faster way to achieve equally good results.
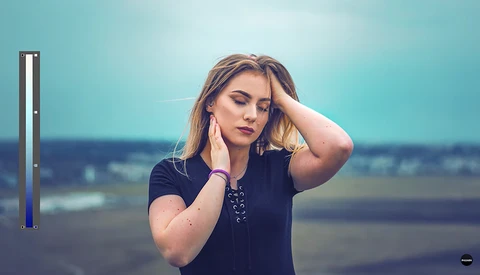
Color grading is one of the best places to have fun stylizing a photo and to add a recognizable personal touch to your images. This fantastic video will show you a quick, powerful, and versatile method for color grading your photos by using gradient maps in Photoshop.

In this video walkthrough, watch as I show you how I created this photo manipulation horror composite portrait image in Photoshop.
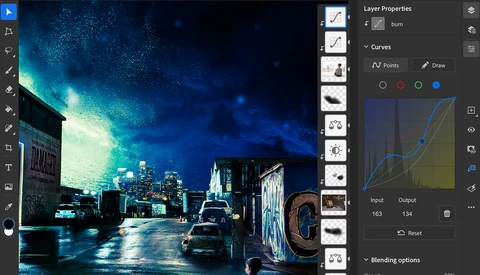
Adobe surprised everyone with a Photoshop for iPad announcement when they said it was "full Photoshop." Creatives were elated, but then later disappointed when that apparently meant the algorithms were the same as on desktop (good news), but the features were not (not so good). Major features such as Curves were not even available at launch, but today, at least some of that has changed.

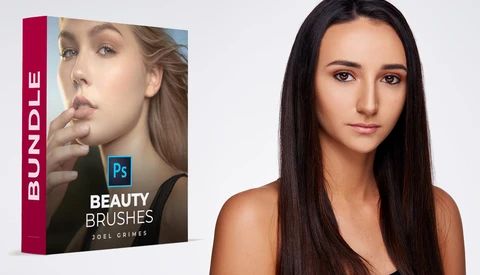
Last week, I sat down to do four portrait retouching courses from Chris Orwig. This enormous bundle of informative and accessible tutorials is packed with easily digested information. My confidence when it comes to editing portraits is now significantly higher.

Retouching a portrait in Photoshop often takes the use of a wide variety of techniques, all of which you must have a good grasp of to create a professional image. This fantastic video will show you how to use frequency separation, dodging and burning, color grading, and more to retouch a portrait in Photoshop.

The newly announced Microsoft Surface Book 3 is reportedly their most powerful laptop ever. So could it be good enough to destroy the competition? Namely, the new Apple Macbook Pro 2020. Photographers and creatives alike love Apple products for editing workflows, but could this be the beginning of the end for Apple's domination of the creative market?
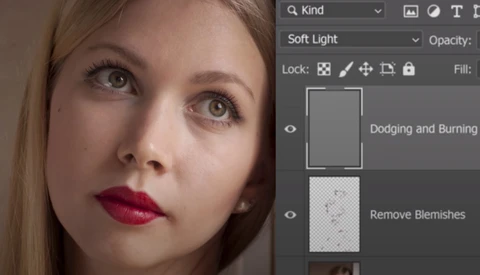
Creating a soft light layer and filling it with 50% gray has been a tried and tested Photoshop technique for as long as anyone can remember. However, why do we do this for dodging and burning, and is there a better way of working? This short video asks some surprising questions.

Replacing a sky used to be a tedious (though still often worthwhile) procedure, but in recent years, advancements in selection technology and even AI sky replacement tools have surfaced, making the job quite a bit easier. This great video will show you how to replace a sky using both Photoshop and Luminar 4.
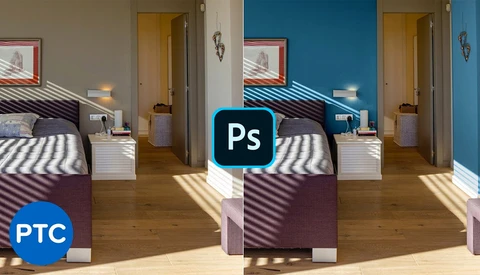
One of the most fundamental and useful things Photoshop can do is change the color of objects in a convincing manner. This excellent video tutorial will show you two different ways you can change the color of walls in Photoshop.
Frequency separation tends to have a bit of a controversial reputation, but when used carefully, it can be a great technique for specific retouching situations. This excellent video will show you how you can use frequency separation for retouching in Photoshop.
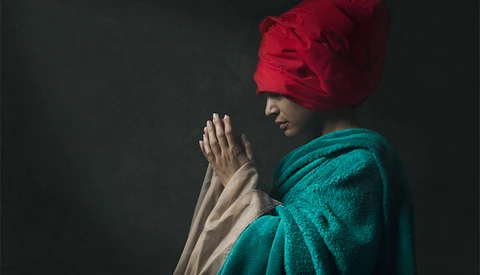
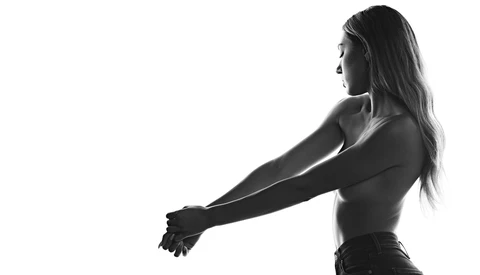
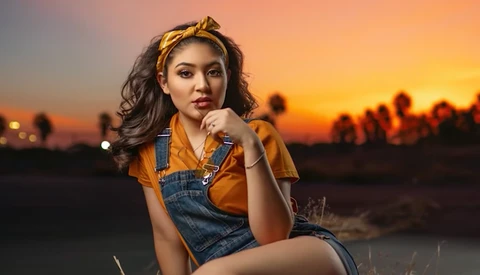
Mary Bel is a single mom of 2 teenage kids, works full time, and finds a small glimpse of love, through self-portraiture.

In this video walkthrough watch, as I show you how I created this stylized female boxer composite portrait image in Photoshop.

In this video walkthrough watch, as I show you how to use the Portrait Enhance features in Luminar 4.2.

Astrophotography takes a lot of technical savvy, patience, and careful post-processing, but the results can be absolutely stunning and well worth the time and effort. This excellent video tutorial will show you how to improve the colors in your deep sky images in Photoshop to make them really pop off the screen.

In this video walkthrough watch, as I show you how I created my "Neon God" cyberpunk image in Photoshop.

If you want a project at home that will improve your small studio photography as well as your Photoshop and compositing skills, look no further. This detailed tutorial takes you through the entire process of shooting Oreos falling into a glass of glue. I mean milk.

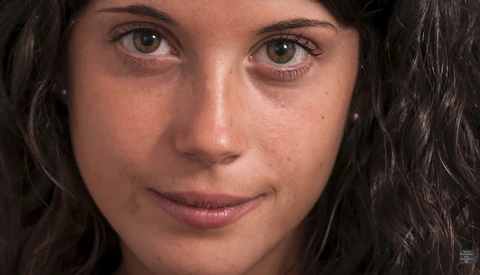
A ton of people have dark circles under their eyes, and if you shoot pretty much any genre with humans, knowing how to reduce them during retouching is a crucial skill. This excellent video will show you an easy and quick method for reducing dark eye circles using Photoshop.
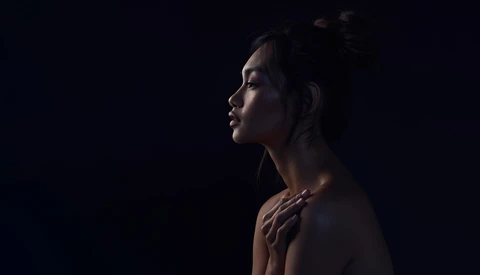
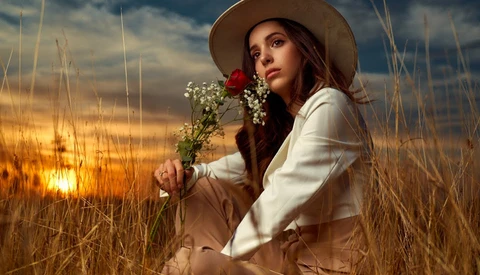
If you enjoyed Nathan Elson's last short-from tutorial in his How I Got The Shot series, you're going to love this one. Moody with just the right hints of drama.
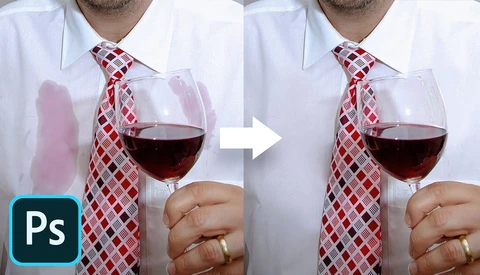
If you photograph events or weddings, you will probably end up with a guest who spilled something distracting on their clothing at some point. This excellent video tutorial will show you how you can use frequency separation in Photoshop to remove the stain without affecting the underlying texture, patterns, or folds of the clothing.
In this tutorial video watch how as I show you how to use the Luminar Sky Replacement tool in Photoshop.
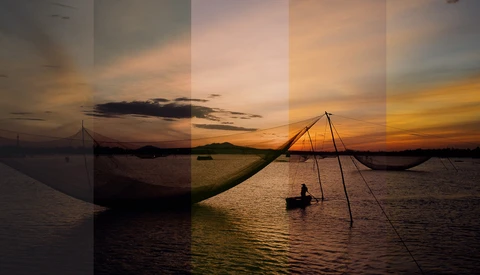
The Orton Effect is a common technique used on landscape photos that can lend your images a soothing, ethereal glow that can be a great choice for projecting a certain mood. This excellent video tutorial will show you how you can use Photoshop to add the effect to your own landscape images.

It's easy as a photographer to get caught up in having dozens of strobes and spending hours trying to get an image perfect in camera. It doesn't always have to be that hard, though, and in today's photography tutorial, I work through a mock advertisement campaign shot with just one strobe light.
We're certainly seeing an upsurge in behind the scenes tutorials. If you're looking for some great insight, look no further. I've talked about Nathan Elson's tutorials before, and I maintain that his series really stands out.
Posing, lighting, and shooting a portrait is only half the process of creating a successful image. To create a truly polished photo, you have to have the retouching skills to match. This excellent video tutorial will show you the full process of editing a portrait using Photoshop.
For anything you want to do in Photoshop, there are probably at least 10 ways to accomplish it. This great video tutorial will show you a less common way to bring emphasis to your subject's face in a portrait by using Photoshop.

It is quite impressive just how advanced editing and retouching tools have become, but even so, many of the world's best retouchers prefer a more fundamental, old fashioned technique: dodging and burning. This fantastic video tutorial will show you how you can use dodging and burning for retouching skin using Photoshop.
Late last year, Really Nice Images released their latest Lightroom preset pack, All Films 5. I've spent the last couple of months experimenting with it and will share my experience with it so far. I'll dig into the flagship features of creative profiles, native fading, and highlight protection to see if they are all they're cracked up to be.
Us photographers may be going a little stir crazy without new shoots to edit, so I propose an alternative.

When you are new to Photoshop, the Pen Tool can be one of the most difficult features to really become proficient in. Still, it is a very valuable tool and one that is definitely worth taking the time to learn and master. This great video tutorial will show you how it works and what you can do with it.

When working in Photoshop from home or on the road, the new Wacom One tablet can be a super helpful tool that matches up especially well with your laptop, giving you not only the control you get with a stylus and tablet but an additional screen as well.
An image with flat light can come across as forgettable and boring. Make your images more powerful and effective by shaping the light and guiding the eyes of the viewer to where you want them.

When you hear about selective color, you probably think of aesthetically questionable decisions involving a partially black and white image, but that is not what we are talking about in this case. The selective color adjustment layer is one of the most powerful to ways to make highly precise adjustments to color in Photoshop, and this excellent video tutorial will show you what you can accomplish with it.
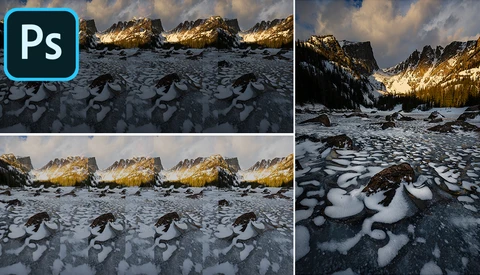
As you advance in landscape photography, you'll likely come across techniques such as exposure blending or focus stacking. But what if you want to do both?

It's a very mixed feeling: you are happy they like the shot, but you are also disappointed that it's not sharp. I'm going to share my way of dealing with the situation, but I am also curious about your way of handling the problem.

Given Photoshop’s complexity, it can be incredibly refreshing when someone comes along and explains not only how a certain tool works but also how to use it. This fantastic video from PiXimperfect runs you through how to use the Divide blend mode in Photoshop and packs in a free math lesson which will help you to understand why it does what it does.
You can not go on any photography-related blog these days without seeing some kind of negative post about Adobe, or an Adobe article without a comments section of people with their pitchforks and lanterns out.

Creating a successful black and white image takes a lot more than simply pulling all of the saturation out of a color photo. This excellent video tutorial will show you what you need to know to create more effective black and white images using Photoshop.

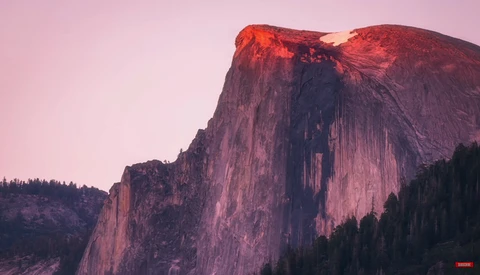
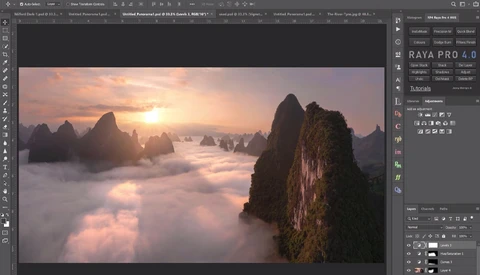
It’s amazing how a few simple insights can open up whole new vistas of possibility in your work. Here’s how a combination of camera work and composite editing were used to create an image of a cozy mountain-scape.
Lighting and shooting a good portrait is only half the work; after you have taken the winning shot, you still have to edit the image, which is where the other half of the magic happens. This excellent video tutorial will give you a comprehensive lesson on retouching a portrait using Photoshop.

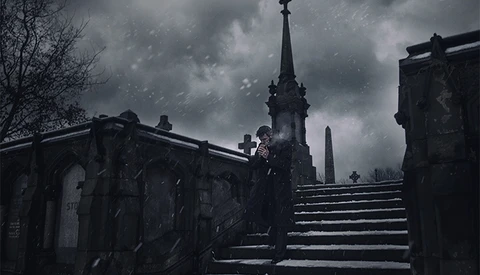
If you ever entered the dark depths of Deviant Art a few years back, you would have most likely stumbled upon the name Conzpiracy at some point in your journey. Like a modern-day urban legend, his complex manipulations of the macabre made waves through the DA community.

A long time ago, I got to visit a friend down in the south of England. We drank (quite a lot of beer), we ate (lots of chocolate brownies), and we set up to shoot a moody portrait.
It's always best to get it right in camera, but sometimes, there are cases where subtle things may go unnoticed but become visible later during the retouching process. Having the right set of tools is crucial.
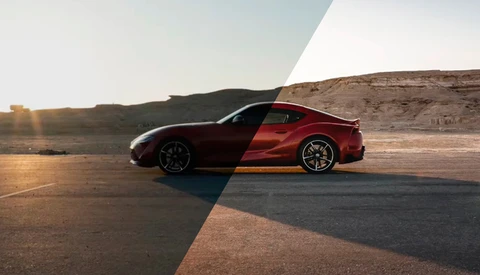
It is believed that good images in car photography are often achieved by using complex techniques and compositing, but you can still get good result by working on a single image in Photoshop.