
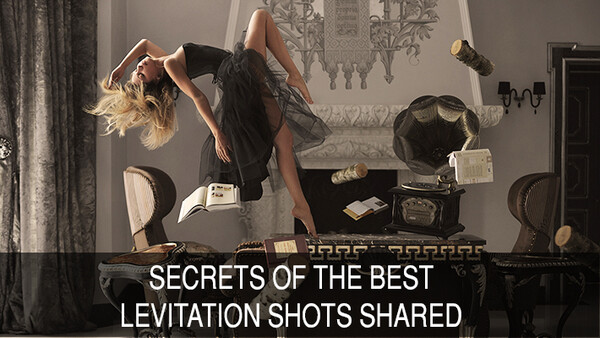
The first time I saw a levitation shot, I stared at it for 15 minutes in astonishment. I could not conceive how the image was captured; I was captivated by the story it conveyed, it was surreal, magical and awe-inspiring. Conceptualizing the image and executing it can prove to be rather difficult and meticulous. Thankfully, photographers who have mastered the techniques involved in levitating have decided to share their secrets with us.
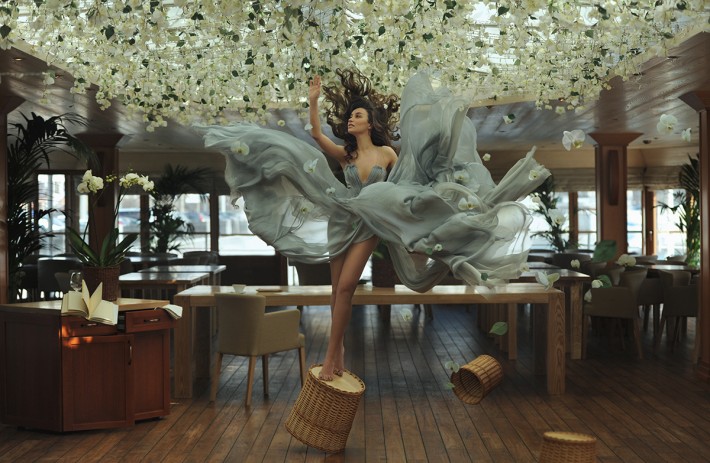
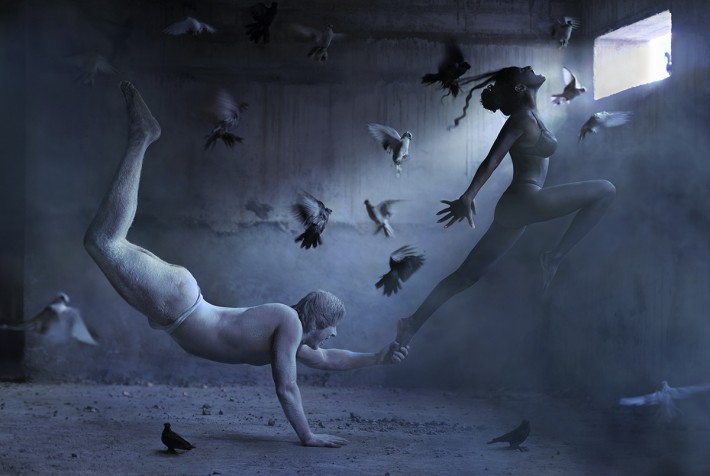
Photo Credit (Featured image and the above two): Ravshaniya - 500px | Website
I have heard that levitation images seem magical, but they don’t seem magical, they are magical. Because magic is all about challenging the impossible and that is what levitation shots are, they defy what is natural. Levitation images have been around for quite some time, they have been executed all around the world and yet every time you glance at one, your eyes can’t help but feel drawn to it. Some images are so well constructed that it’s hard to understand the “secret” behind it and that is probably why they are so fascinating; it creates a curiosity.
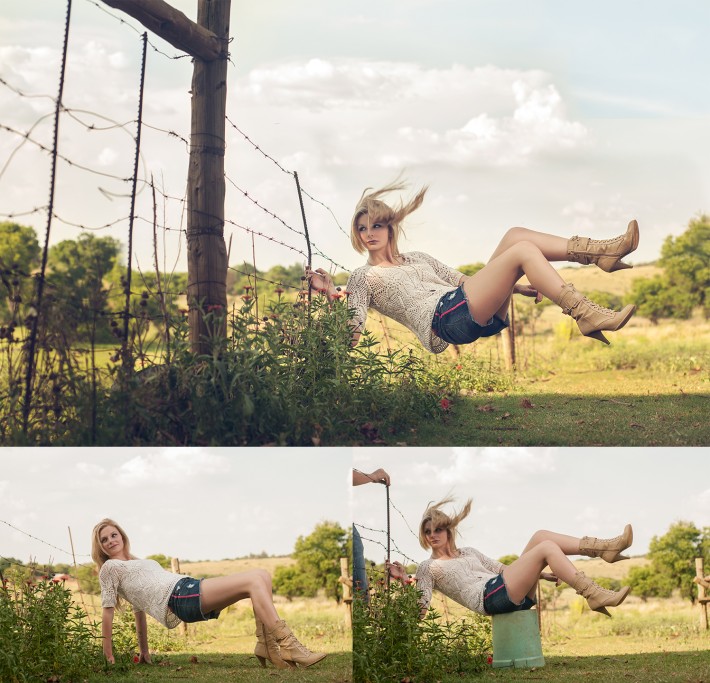
Photo Credit (above): Rey Vo Lution - 500px | Facebook - Nikon D90 50mm
The interesting thing about levitation shots is that because the concept of a floating subject is so enchanting, the rest of the image can be simplistic in composition. Rey Vo Lution, a seasoned levitation photographer states that while the composition can be simplistic, it is also of utmost importance.
It is important to note that post-processing plays an important role in levitation images and it’s impossible to get final results without Photoshop. The final image will most likely be a composition consisting of two or more photos.
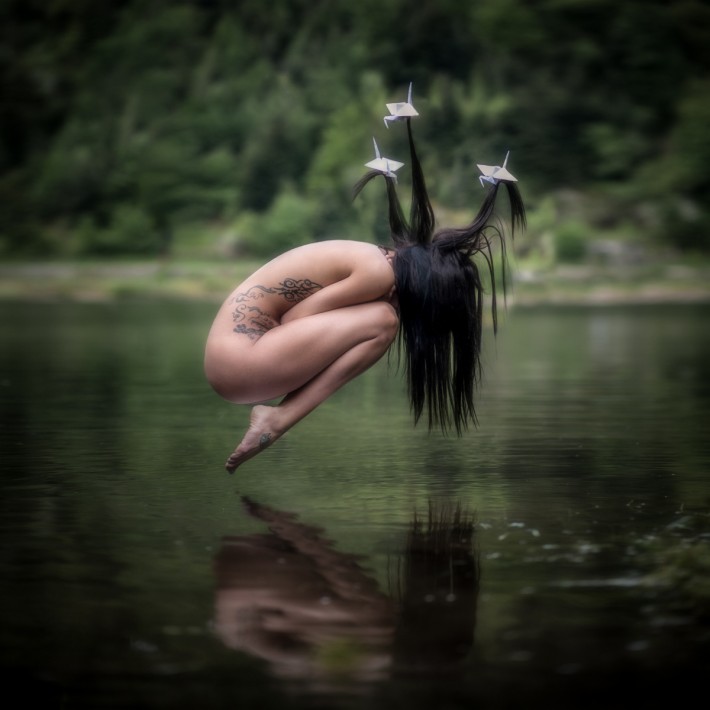
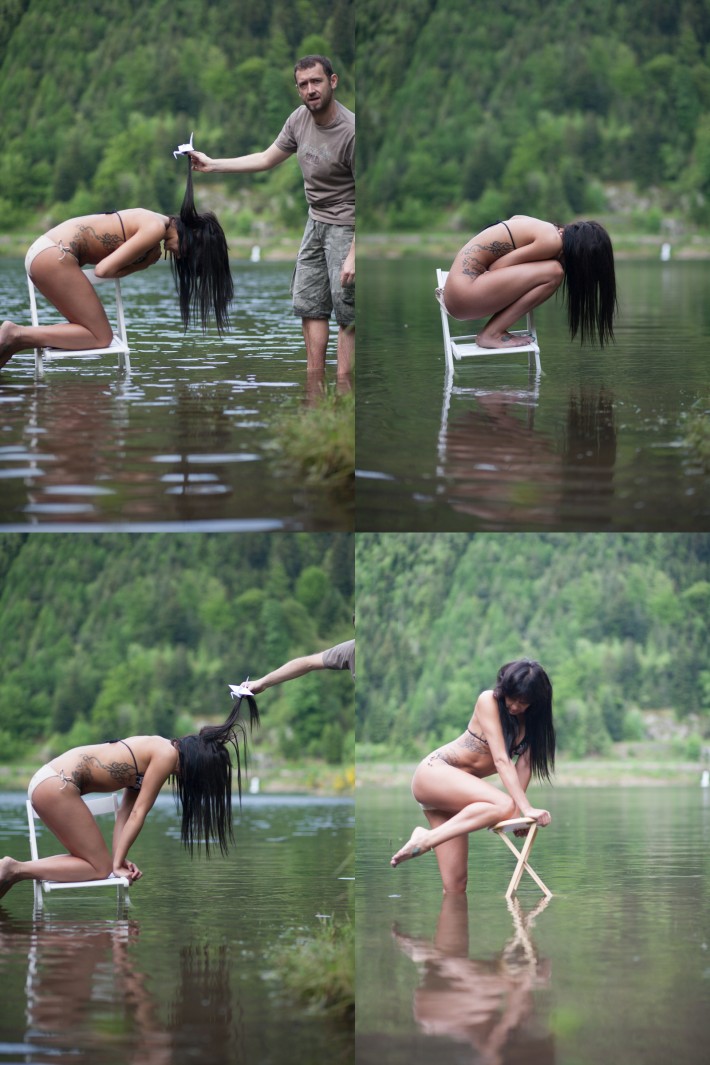
Photo Credit: Sebastien Barriol - 500px | Facebook | Website - Canon EOS 5D 85mm
The two main ways to achieve this are compositing completely different shots and “building” the composition or taking a few photos in the exact same position with the camera sitting on a tripod. For the image below, I took a shot of an empty room and then had my subject lie on a chair. I layered both images in Photoshop and just masked out the chair. I find that this way is a lot easier for those who are novices when it comes to Photoshop.
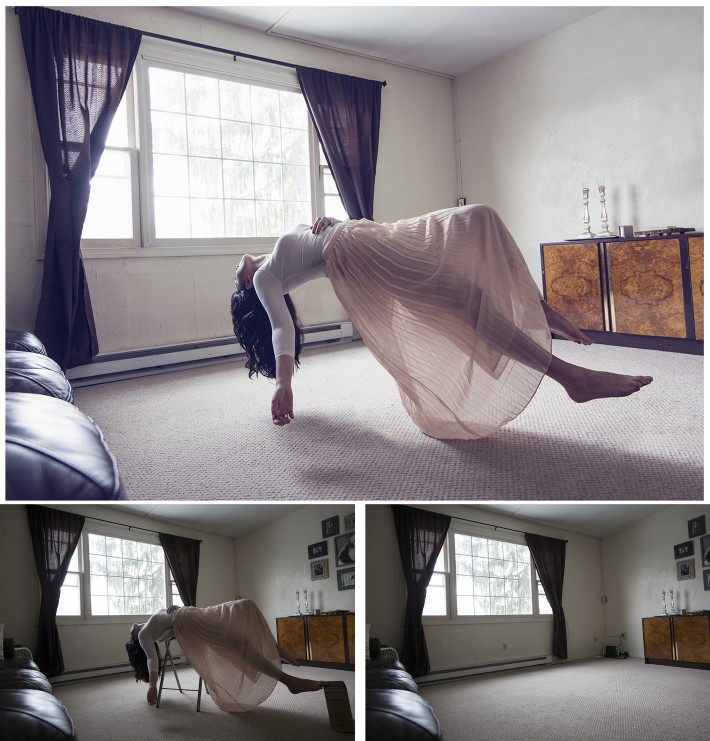
Photo credit: Dani Diamond - 500px | Facebook - D800 16-35
Once the idea of the levitation shot is conceptualized, a suggestion is to grab paper and pen. Brooke Shaden always draws her idea out and then goes into the field to capture asset of images that will help her build her composition. Drawing a sketch to visualize your idea, even if you can’t draw, can help you understand what you will need for the each image of your final composition.
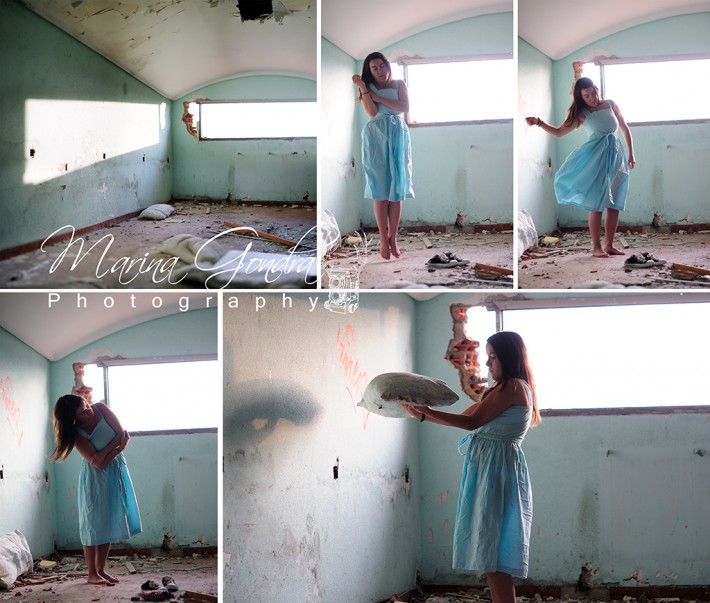
Marina Gondra says that "the difficulties of levitation depend on the position of the character. Sometimes, you just need to give a simple jump and other times your body needs to seem levitating in strange positions. Consequently, the clothing and hair take an important role inside the photograph. If the character is supposed to be floating, so are the clothing and hair."

There is always two different aspects in every levitation shot. There is the background and there is the character. Typically to capture the entire scene, the shot will have to be on the wider side. For the subjects to really stand out a narrow DOF is recommended. However, when shooting wide, the DOF won’t be shallow enough. To correct this, Marina uses the Brenizer method to create a very shallow DOF.

Photo Credit: Marina Gondra - 500px | Facebook
Here is a short time lapse of how Marina reconstructs the subject.
The angle shot at is extremely crucial as well. This is a matter of individual preference. Personally, I try to get down as low as possible and shoot my subjects upwards; the low angle makes the subject look a lot higher and further away from the ground.
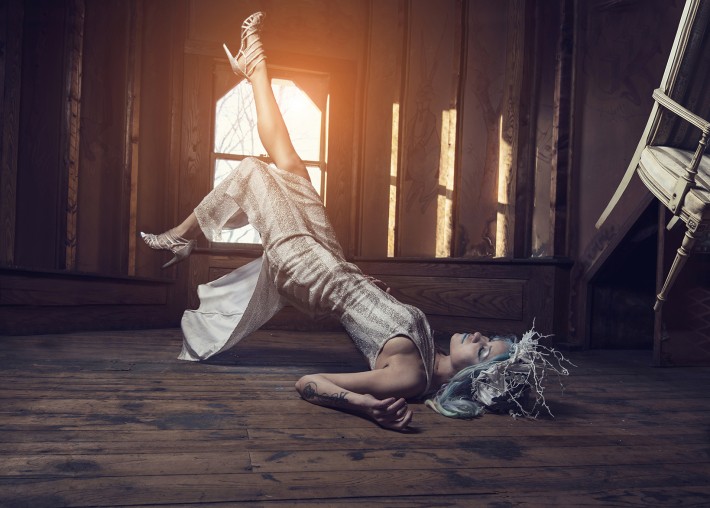

Photo credit: Dani Diamond - 500px | Facebook - D800 16-35
Once the background is captured, you should take the image of the subject. It’s recommended to try and take the pictures of the character and background in the same place and at the same hour. When it comes to compositions people look for the inconsistencies. Lighting and shadows are the first thing that will give away the fact that the photo was a composition of images, which is why shooting in both the same time and area is a smart idea. If this is not possible, the lighting will have to be processed in postproduction, which can prove to be difficult.
Although every aspect of a levitation shot is crucial, the most important part of the image is capturing the body of your subject in a natural position. Whether the subject is jumping or lying down, the body’s language has to match the levitation. Self-portrait photographer Marina Gondra sometimes practices in front of a mirror before shooting herself. You can also take into account that you will be able to rotate the image in Photoshop, so you can jump in a simple way without hurting yourself.
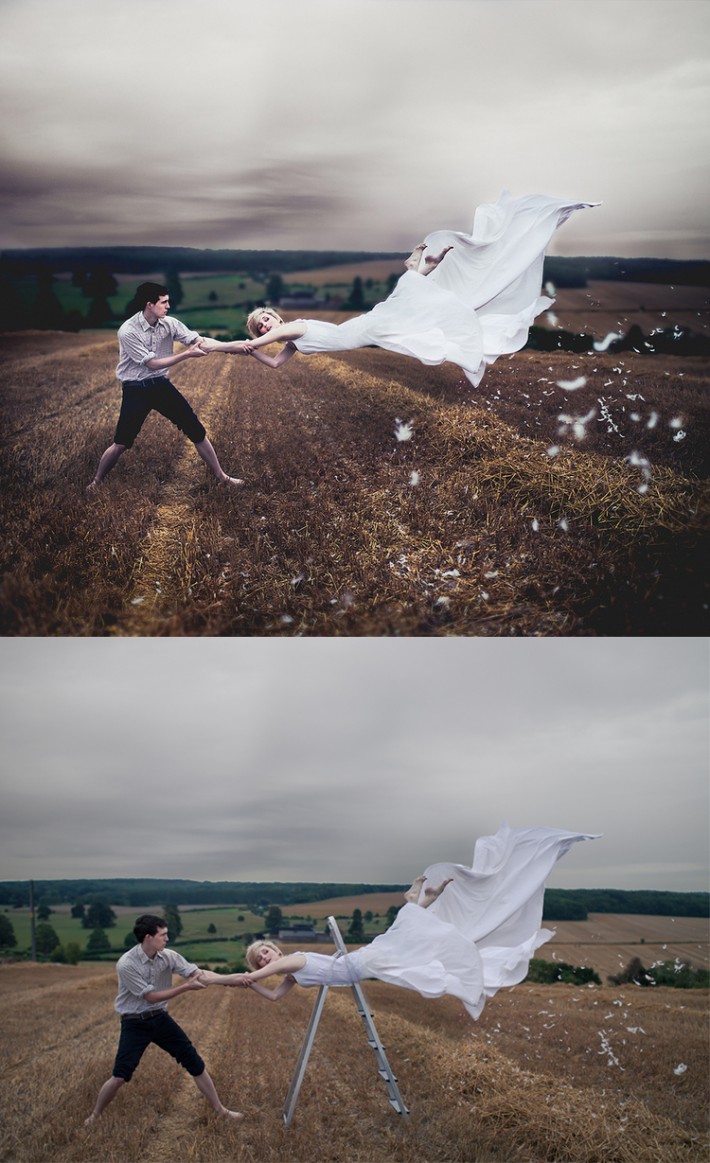
Photo Credit: Luke Sharrat - Facebook | 500px
Try to shoot with a shutter speed of at least 1/200 or higher. If there isn't much light, just raise the ISO. You don't want the images coming out blurry from slow shutter speeds. To make things easier you can concentrate on the body for one shot, then the dress and eventually the hair. It may be hard to blend the images in Photoshop but like all other genres of photography, practicing is the key.
The great thing about levitation images is that it let’s your imagination run wild. It takes creativity to a whole new level.
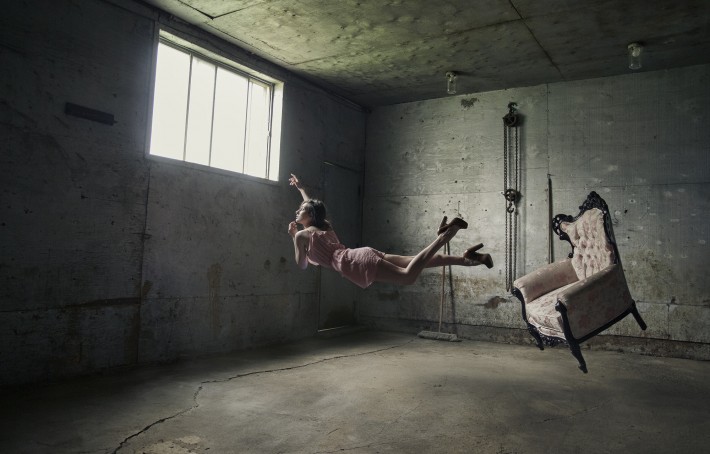
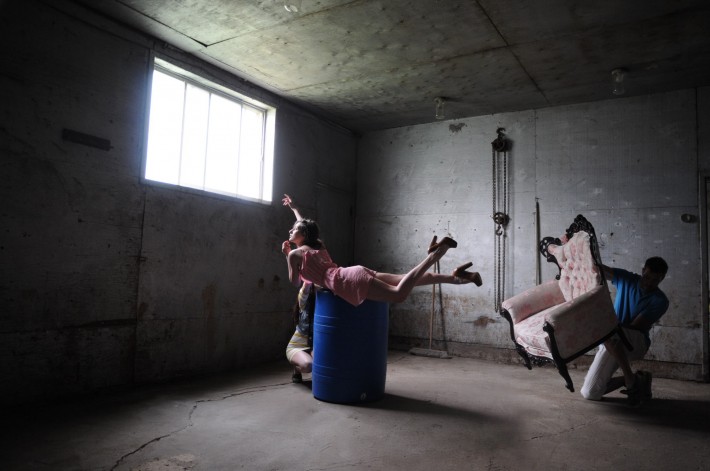
Photo Credit: Jay Russell - 500px
Using a wired or wireless (if you plan to take self portraits) is highly recommended. If your camera moves even a drop between shots it can be annoying to realign them later. I happen to use this (Canon Nikon) which has some advanced options for my astrophotography but a cheaper one will do the job as well.
Cant wait to see your results! As always feel free to add me as a friend on Facebook and tag me!
Dani Diamond | Facebook | Facebook Page | 500px | Instagram


Join the Fstoppers community for free
-
Post comments and join in the discussions
-
Browse the site ad-free
-
Share your work and get featured in the community
-
Compete in the photo contests for fun and prizes
30 Comments
This is great. I have to say, from experience, levitation shots are much easier to make look natural on your stomach. It's pretty difficult to balance on your back on one point without making it look to obvious.
Kyle show me examples, it actually sounds like an awesome idea.
Awesome article as usual Dani!
Wes my man, thanks.
love seeing behind the scenes stuff like this
Here's my levitation series with modern dancers
http://pixelsandwich.zenfolio.com/p198621974
I have been wanting to try doing this for the longest time. great article Dani.
Mo thanks man
excellent article Dani ! man soon i will be saying to everyone that i am your friend ....
Leon thanks man. What have you been telling every one till now? haha
till now i just shifted the subject of any Dani related conversation to my unfortunate dirt biking experience lol
Beautiful! Great article!
Super article! Thanks for writing this up !
That's freaking cool!!! Thank you for sharing.
Wow, Dani, this is simply awesome! Gotta try this!
awesome stuff!
playin' around ;)) http://eugen-brodner.blogspot.co.uk/2013/08/elements.html
Great stuff, I really wanta try one of these at a wedding.
Really cool article...awesome accompanying images too!
I've been waiting all day to read this article NOT on my phone, so as to do the images justice. Excellent article and really excellent research! Thanks!
I did a tutorial on this a few years ago if anyone is interested in watching. http://www.youtube.com/watch?v=SAaysLCRE7E
https://www.facebook.com/media/set/?set=a.537790919616414.1073741857.38…
None of my shots photoshopped anything out. I had over 130 subjects in Dallas, TX, jumping and this is my "FLOAT" series. Enjoy!
-Rhombi Survivor
wow !! worth trying one of these.
Thanks the pictures are verry helpfuls :)
I love this!! Levitation is now my next project!!
this is awesome..
Thanks for the post Dani. Here are some of mine but with no wire or photoshop trickery; only color editing: http://grav0.tumblr.com
Another tutorial here : http://alainpre.free.fr/tutoriels/photo-divers/levitation/index.php
In french but you can choose langage.
Here are my No-PhotoShop Levitation Shots and how I did them: https://youtu.be/Lh72JqjfCBE
l ways wanted to try this, thanks for the help :o)