Pye Jirsa is a director, photographer and educator. Founder and Partner of Lin and Jirsa Photography, a boutique Southern California wedding and portrait photography studio, and SLR Lounge, a photography education website, Pye devotes his time to helping photographers develop their shooting and business skills.
It's quite common to shoot photo sessions in unimpressive locations; it goes with the territory when shooting on-the-go and outside of a studio. Fortunately, we have options to help us transform boring locations into beautiful backdrops, and it’s easier than you think. Making simple light modifications and quick edits in post can mean the difference between creating average imagery versus creating imagery that impresses your clients.
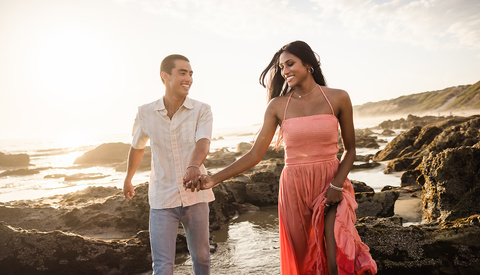
Photographing a couple from up close can drastically change the way your image feels. Getting up close with a wide angle lens creates a sense of action and aliveness that draws the viewer in.
Don't get me wrong, natural light and golden hour are gorgeous and a huge part of what we do. But, in addition to these types of photographs, we have built our name on imagery that differs from the typical wedding or couples photograph. Our studio (Lin and Jirsa Photography) has become known for unique and epic environmental portraits. While almost every client wants golden hour imagery, these stand-out epics help draw clients to our brand in the first place.
All it takes is this simple composition tip to take your portraits to a new level. In this video and article, I'll be demonstrating this tip and how you can use it in post-production to completely transform your photographs.
Lighting can make or break a fitness portrait. Our goal is to highlight the form and definition of your subject as well as the movement if the intended photo involves action. In this tutorial, I'm going to walk through a few basic fitness photography lighting techniques.
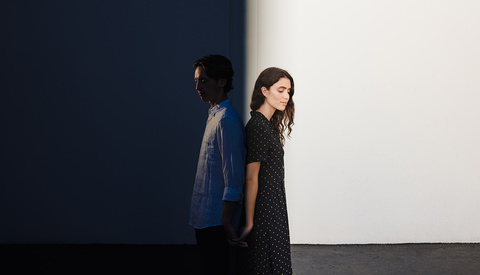
In-camera special effects are a great and fun way to emphasize a story in photography. Many of these special effects that seem high production are actually quite easy to accomplish using the tools we already have or are easy to get. Today, I'll be showing you how to create one of my signature portraits, the Day vs. Night.
Phone photography has come a long way since its flip phone origins. Today, you might not even be able to tell the difference between a photo taken by a phone and a dedicated camera.