Big Changes to Capture One 20: Here's What's New
Capture One is rolling out a noteworthy free update today that greatly improves the photo editing software’s healing and cloning brush tools, plus adds another long-requested feature.
Capture One is rolling out a noteworthy free update today that greatly improves the photo editing software’s healing and cloning brush tools, plus adds another long-requested feature.
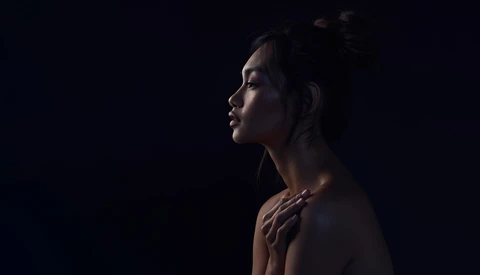
If you enjoyed Nathan Elson's last short-from tutorial in his How I Got The Shot series, you're going to love this one. Moody with just the right hints of drama.
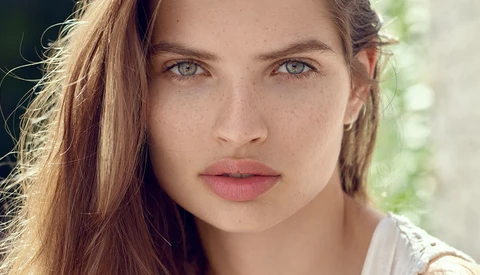
Retouching is crucial to the process of creating a successful portrait. If that is something you would like to learn more about, this fantastic video tutorial will show you the process of retouching a portrait in Capture One.
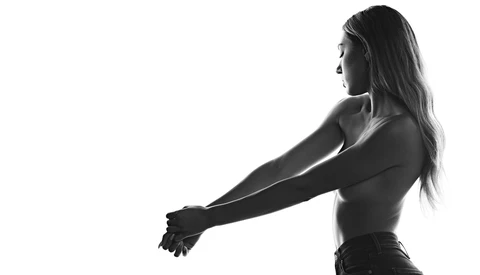
We're certainly seeing an upsurge in behind the scenes tutorials. If you're looking for some great insight, look no further. I've talked about Nathan Elson's tutorials before, and I maintain that his series really stands out.
His first episode of "How I Got The Shot" is up and ready to watch. Sit down for a beer with Elson.
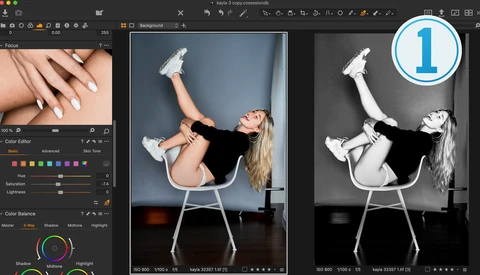
Capture One is multifaceted image processing and asset management software. As a raw processor, it is considered the gold standard, supporting over 500+ cameras, and with it comes a uniquely powerful tool-set for developing, color grading, and tethering. But that is just the tip of the technological iceberg that is Capture One.

Capture One is a great tool for processing raw files, but it lacks one key feature found in Adobe's Camera Raw: the ability to export files as Smart Objects. While that feature seems a way off, there is a cool workaround hack that lets you come close.
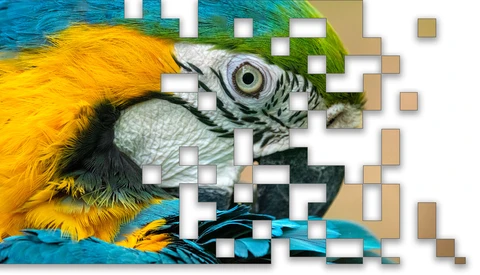
Ever wanted to correct a mistake with your exposure or try a cool post-processing technique, only to find that the results weren’t all that you’d hoped? Image data may have inadvertently been lost in your workflow. These five steps can help ensure you have the best chance for technical greatness!
On the road today, but got a bit of news that should make fellow Capture One and Fuji users quite happy.
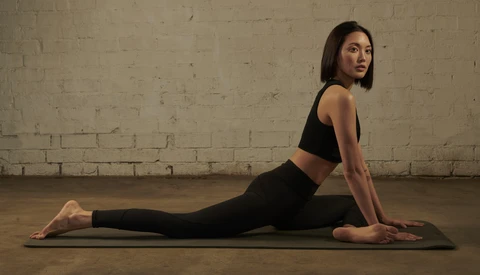
As a commercial photographer who tethers at every shoot, I’ve always relied on Tether Tools cords as part of my workflow. So, I was excited to hear that they had launched a wireless offering and wanted to put the new Air Direct through the paces.
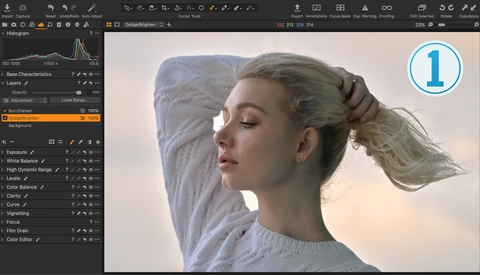
Today, we're going to discuss how dodging and burning can improve your photos and show you how easy it is in Capture One 20.
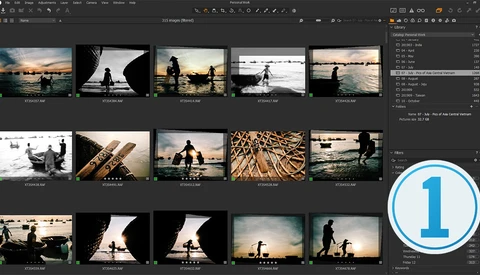
Choosing the software to suit your specific needs is not an easy decision for most. A quick search of internet forums will introduce you to zealots from all sides who will tear down anyone who doesn’t use their chosen software. It’s unhelpful at best. As someone who has played for both sides over the past few years, I’ve had a good look into both Capture One and Lightroom.

We all know that Lightroom has its ever-growing list of issues. Yet for IT-illiterate folk like myself, the change can be daunting. However, my move to C1 is perhaps the best thing I have done in 2019.
There are plenty of things about Lightroom that bug me and despite being a hardened user of more than 6 years, I thought it was about time give something else a go. The newly updated Capture One caught my attention and opened my eyes.
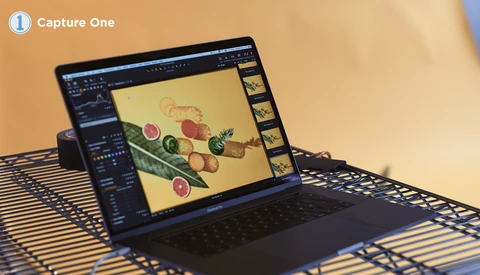
Capture One 20, the newest version of the photo editing and organization software, has released today. Adopting a new, year-based naming convention, Capture One 20 boasts a number of improved features from Capture One 12, centering around refining the user experience.
If you're looking for a raw processor that does more and are not currently using Capture One, it's likely that in your quest for a solution, Capture One has crossed your mind. Making the switch to Capture One from Lightroom, for example, is easier and quicker than you think, and right now, with Capture One's Black Friday sale, it's the perfect time to buy.
The landscape of the portrait photographer has certainly been in flux over the last decade, in which time we’ve seen photos of people go from unreal alabaster-like skin to something much more real, color grading become prominent, and image resolution grow, even though the consumption of images has moved largely to smaller screens.
For those of you who keep hearing about Capture One, but wondering if it’s worth the trouble, this one might be for you.
I am not old. At least that’s what I tell myself in the mirror each morning between Googling cures for arthritis and wondering how my body can ache before I’ve even started my day.
“Is it difficult or different” should be the stock response to commentary that Capture One is either difficult or has a long learning curve, because the two terms are often conflated, and the reality is C1 is easy (especially the latest versions).
Learning any new photography software can be challenging and time consuming. Even when we learn enough to do basic image edits, we often overlook tools that would speed up our process or give us better results. That's why we teamed up with Quentin Decaillet to produce The Complete Capture One Editing Guide.

When it comes to editing software, there are dozens to choose from, however Capture One takes the cake. Find out why in this article.

If you are an avid instagram user, you have probably noticed that almost all professionals tether their cameras with bright orange cables to a computer, there is a lot of kit involved in this and finding all the parts can be tricky when you don't know what you are looking for.
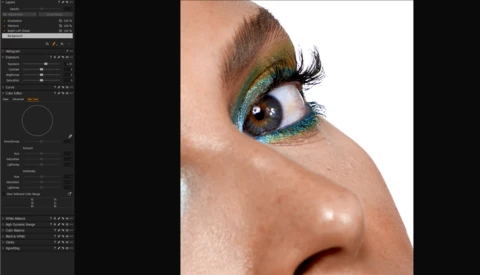
To a lot of photographers, the idea of spending any extra money on another raw processor is too much. But if you have the money, Capture One is worth it. Especially if you work with skin.
A few weeks ago, Capture One released a version specifically tailored for large studios and businesses. While some could have thought the Danish company was moving all its efforts towards this market, it's actually far from the truth! It was just a step to carry the needs of all professionals.
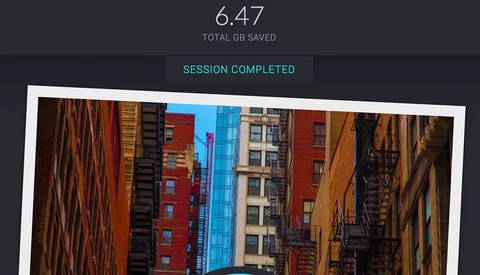
The creators of JPEGmini, the popular photo-resizing application and plug-in for Lightroom and Photoshop, have announced that the plug-in is now available for Capture One as well.
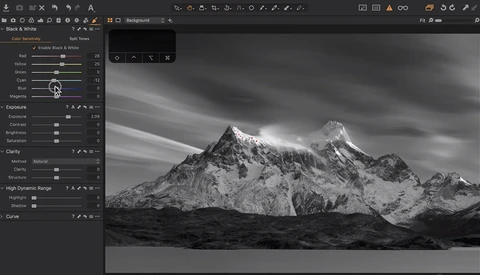
Capture One is known as a serious tool for serious photographers, and there is no doubt that you can get some serious results by taking the time to dig in and master its myriad of features. One great way to utilize C1 is to take advantage of its black and white conversion engine to generate some truly stunning images.
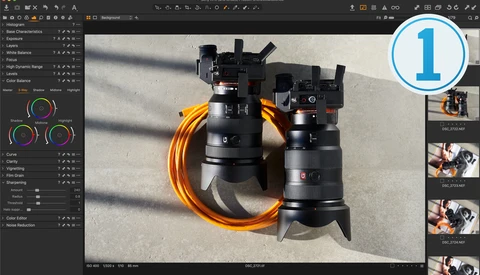
This is the second in this series of posts highlighting some of the differentiators between Capture One and Lightroom. As with the first, if you’re reading this, the likelihood is that you are or were recently a Lightroom user and are curious about a better software solution with which to treat your images.
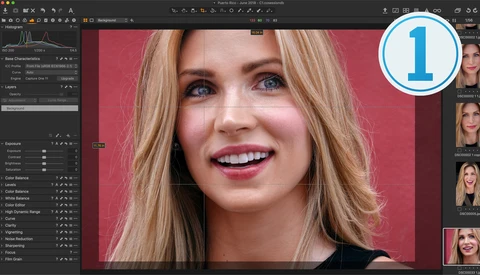
Capture One is one of those programs that, once learned, is hard to do without, but due to the common experience of learning post-processing software within an Adobe ecosystem, anything different like Capture One can appear less intuitive or more challenging, even if it isn’t.
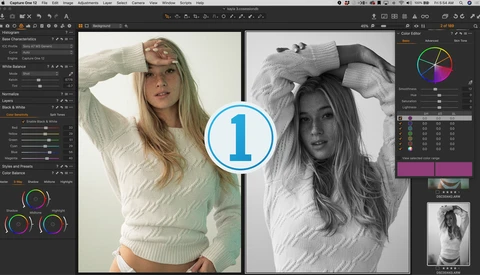
If you’re reading this, the likelihood is that you are currently or were recently a Lightroom user and are looking for better software with which to treat your images. That quest to find the best software is not necessarily an easy one, but it is necessary.
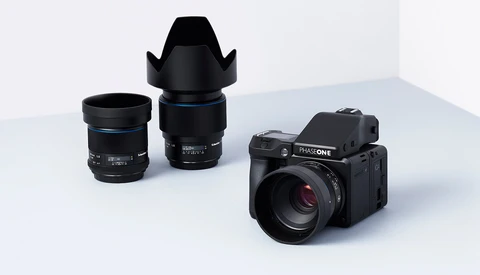
Phase One has announced a few new tricks coming to their IQ4 camera system including a way for the sensor to combine multiple readouts into one raw image, yielding more detail.
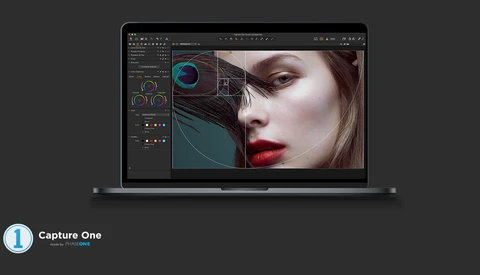
Capture One has evolved over the past few years to become the powerhouse it is now. With its newest release, it turns into even more efficient software, thanks to the addition of Capture One Studio.
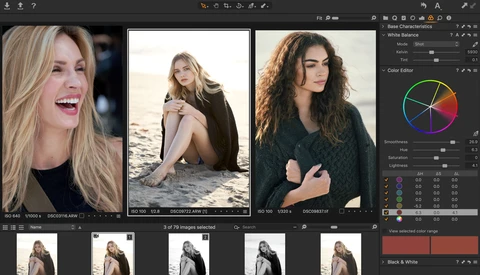
What is Capture One Express? Simply put, it’s a totally free and simplified version of the Capture One editing software that still offers the same superior raw handling ability as the Pro version.
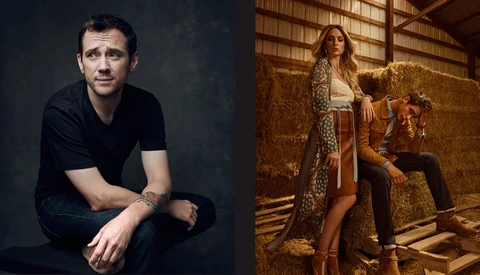
One of the most important steps of the editing process when it comes both to making your images look professional and adding a touch of personal style is color grading. This excellent video tutorial will show you how to complete the process on two different images using Capture One.
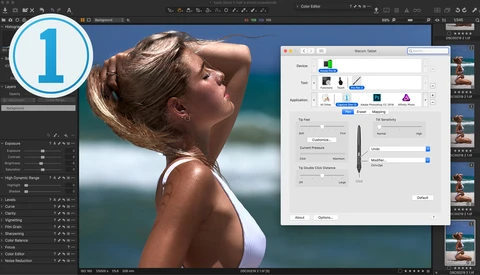
There aren’t many things photographers unanimously agree on, but the desire to improve post-processing results and reduce the time required to do it is one. With so much of a photographer’s time spent behind a computer, anything that not only expedites but enhances the experience is welcomed with open arms, and using a Wacom pen tablet is one such thing.
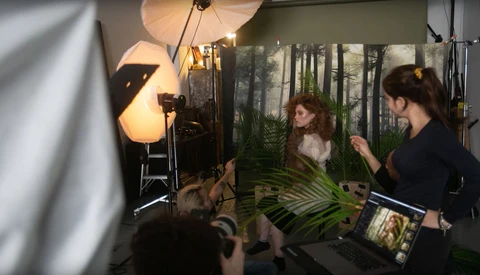
When you see portraits of people in exotic locations, do you think they are actually shot on location? Or do you think the background has been composited in using Photoshop? In this article, see how Lindsay Adler created these on-location portraits in a forest without leaving the comfort of her studio.
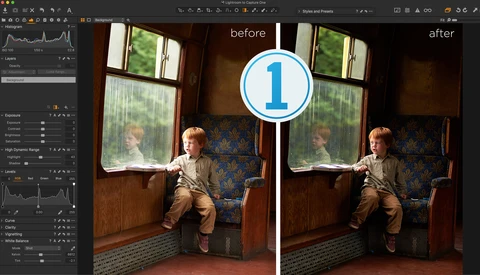
It’s amazing what mid or entry-level hardware can deliver when you pair it with great software. The best software will be able to make up for some of the weaknesses and exploit every ounce of its strengths – ideally with relative ease. That's what we'll see here with Capture One's Luma Range tool.
Making the switch to Capture One from Lightroom is easier and quicker than you think. There’s this perception that given the two pieces of software are from different companies, moving your Lightroom catalogs to Capture One is some arduous and protracted process, that you’ll have to start from scratch with all your images, re-edit, re-rate, and create whole new folder structures.
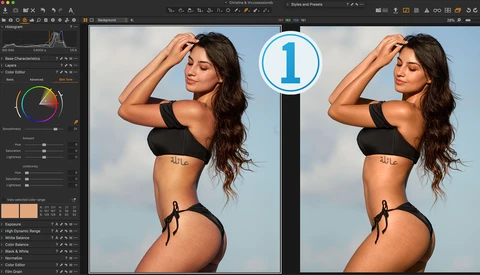
How do you spot a good retoucher from a novice? It's in the skin. Sure, that’s an oversimplification, but one thing that separates the best from the lesser is how they treat skin.
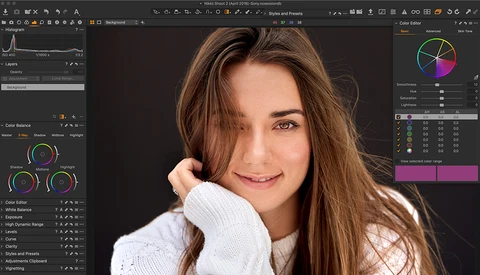
Capture One is multi-faceted image processing and asset management software. As a raw processor, it is considered the gold standard, supporting over 500+ cameras, and with it comes a uniquely powerful toolset for developing, color grading, and tethering. But that is just the tip of the technological iceberg that is Capture One.

Mastin Labs released their popular Kodak Everyday Pack for Capture One 11 and later on Windows and macOS. Check out the latest emulsion emulation after the jump.
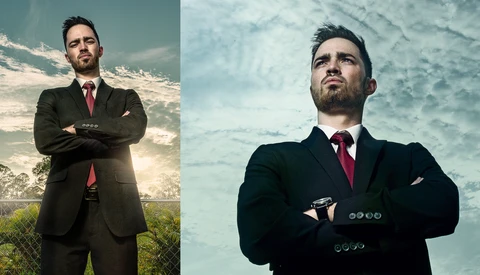
What happens when the sun is setting and you want to get a balanced exposure of the setting sun in the background and your subject? The reality is you can't without the use of a strobe and high speed sync. In this article, I’ll share with you how I was able to get a perfect exposure on my subject and the background using high-speed sync.
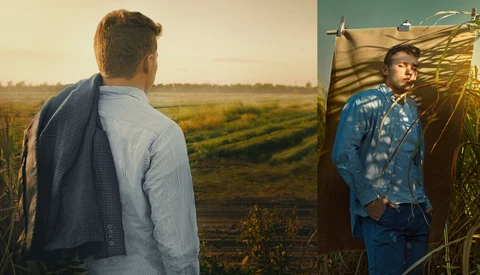
When you see an incredible location in images, often our gut reaction is, that it must be Photoshopped or that you need to go to an epic location to get great shots. In this article, see how I shot these cinematic portraits on the side of a road in my area by using just one camera and one lens. No fancy lighting or Photoshop.
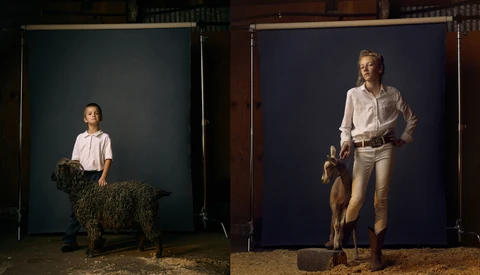
In last week’s article, I introduced you to the inspiring work of Minnesota-based fine art photographer, R. J. Kern. This week, I connected with him again and was able to gain insight into what it took to create his most recent project, "The Unchosen Ones". If you were inspired by his work last week, I can assure you you'll be blown away by this one, too.
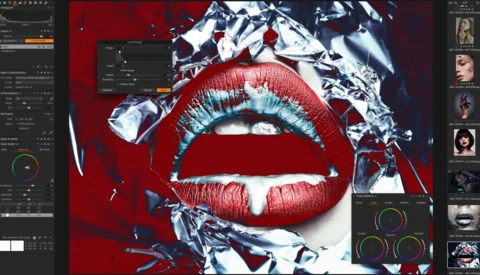
Capture One Pro 12 was released at the end of 2018, and since then, it has made my workflow drastically more efficient. Let me share some of my tips to help you supercharge your workflow with this latest version.
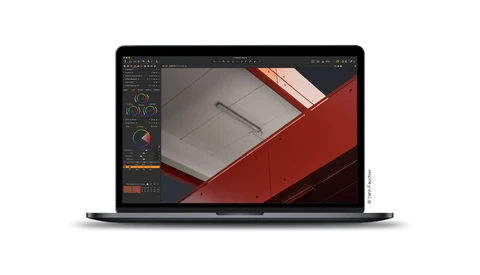
Phase One is having a sale on their latest Capture One Pro Sony 12 photo editing and cataloging software. If you only shoot with Sony cameras, pick up a perpetual license for $109 today.
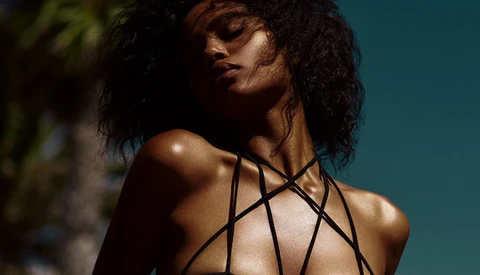
Capture One recently introduced a new Editorial Color Grading Styles Pack. With this new release, you can get the signature editorial looks of Michael Woloszynowicz, Marie Bärsch, and Pratik Naik.
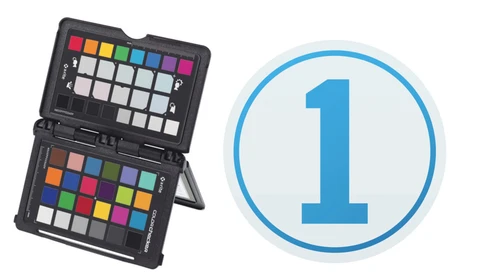
The day has finally come. Capture One users can finally use the XRite ColorChecker to create camera profiles and get proper true-to-life colors in our photos. The necessity for a proper color workflow is imperative for anything you plan on printing, or duplicating in any way (Especially when working with brands).
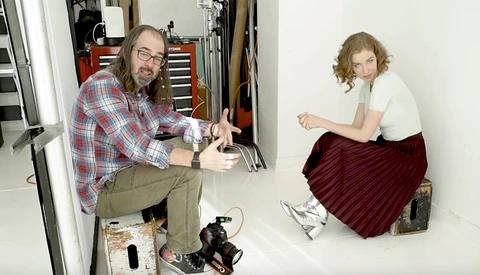
Are you looking for a quick setup to photograph a group of individuals? Perhaps you only have a few minutes to set up and need a consistent look across all your subjects. Well, then this single light high key setup should be part of your lighting library.
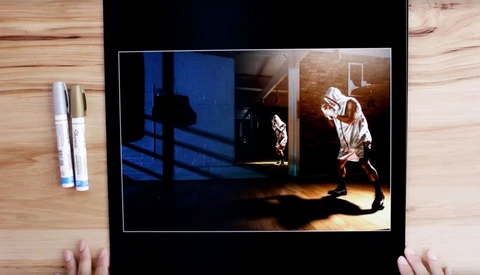
Have you ever wondered what went into creating the most iconic images? In this insightful breakdown, see how photographer Alexis Cuarezma shot one of his favorite images.
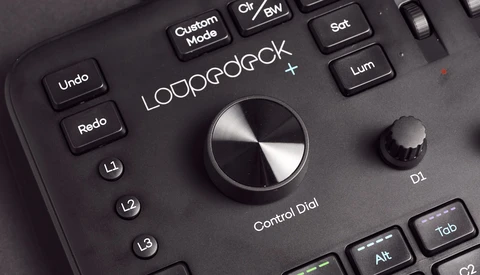
Loupedeck have released a version of their software that plays (somewhat) nicely with Capture One Pro. Today we’ll take a look at what you can expect and what we think could be improved.
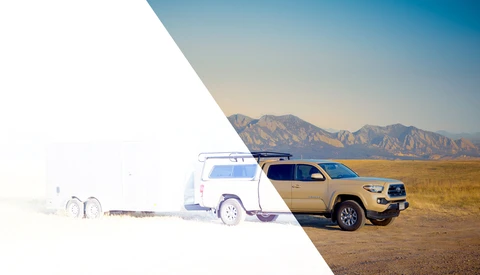
Every now and then, it's nice to be reminded of how spoiled we are and how much information really lives inside our raw files. Whenever we capture a raw image, we have a plethora of information at our disposal. That's all well and good, but this one example really helps bring it home.