
10 Free Photoshop Brushes All Photographers Should Have
If you use Photoshop, then I'm sure you use brushes in some way on your images. If you only ever utilize Adobe's default brushes, you are seriously missing out.
If you use Photoshop, then I'm sure you use brushes in some way on your images. If you only ever utilize Adobe's default brushes, you are seriously missing out.

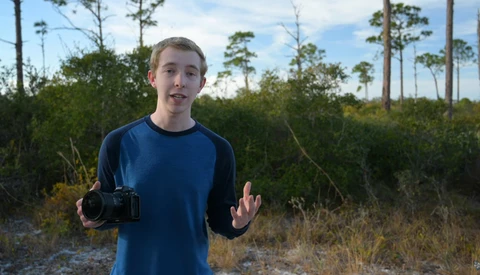
When you need a photo with deep depth of field that is sharp across the entire frame, it might not be possible to do so in just one shot. Focus stacking is a technique that allows you to get sharper images with deeper depth of field. It is a relatively easy and straightforward technique, and this fantastic video tutorial will show you everything you need to know to use it for your own work.
For all its tremendous complexity and variety of features, perhaps no aspect of Photoshop is more important than layers. If you are new to the program, this excellent video tutorial will show you everything you need to know about layers, including what they are, why they are so useful, and how to employ them in your work.
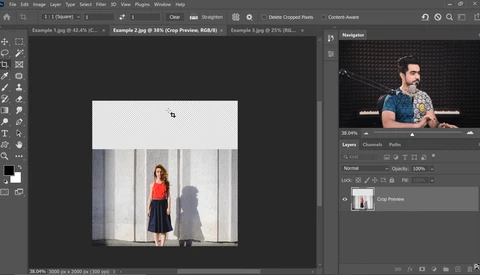
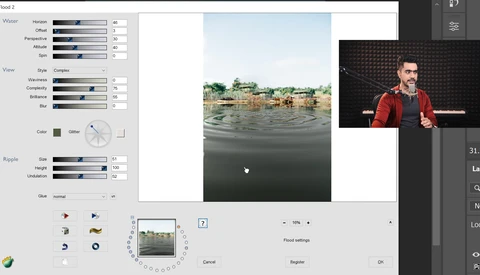
Have you ever taken an image and wished you'd taken a step farther back or used a slightly wider lens? Well, there may be hope yet.

Long exposure photography is a staple of the craft and a right of passage for beginners, but if you have some photos or a time-lapse that wasn't a long exposure and you think it might have looked good as one, look no further.
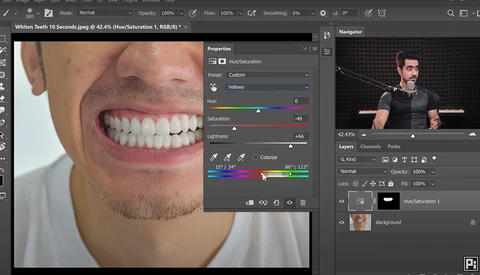
Whether it is weddings, portraits, or something else, any genre in which you photograph people will require you to whiten a person's teeth at some point. This quick and to-the-point video tutorial will show you to easily and efficiently do that in just a few seconds using Photoshop.
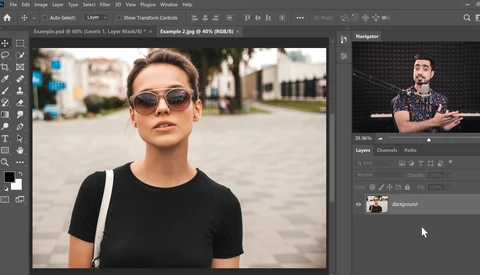
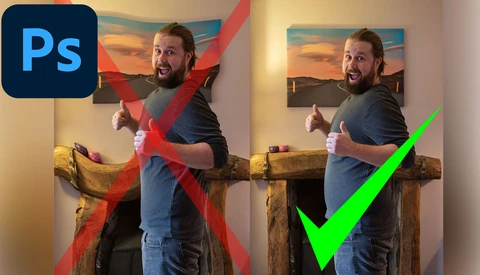
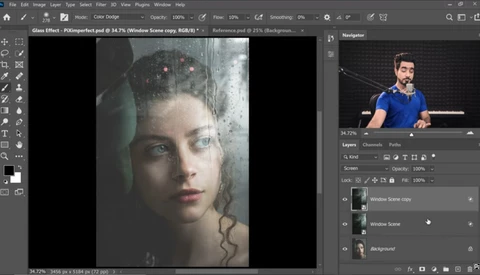
Extending backgrounds is sometimes needed when you have a great shot, but the composition was a little off or the backdrop was just slightly too small. In this tutorial I'll show you two ways you can extend the backdrop in Photoshop CC with clean results.
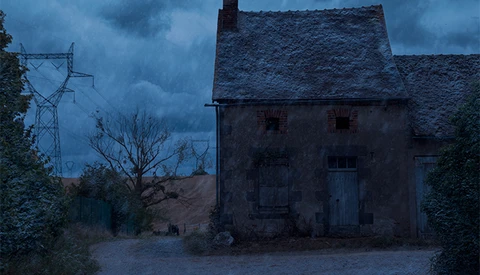
Nathan Elson is back with another installment of his How I Got the Shot. As always, it's the little details he shares about his process that makes tuning in so valuable.

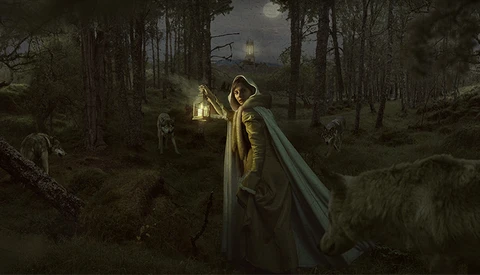
In this Photoshop breakdown, watch as Dean Samed walks you through his process and layers, to show you how he created this synthetic lifeform art.

Artificial intelligence is fast becoming one of the most sought after features for image editing software, but which one is right for you? We've rounded up the five best AI image editing software for you to choose from.

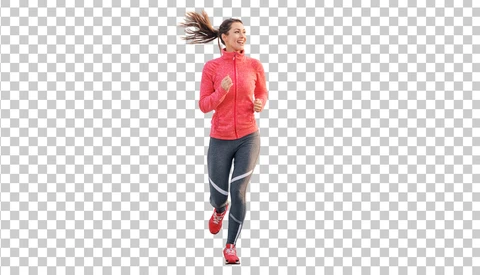
In this video tutorial, watch as Dean Samed shows you how to cut-out figures for composite in Photoshop. This is Samed's preferred method which he says gives the sharpest results.
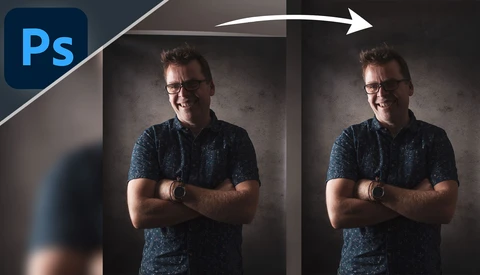
Where once editing was a sly activity most people wanted to hide, creating the illusion that the images came straight from the camera, now it's a generally accepted part of the process (even if it always has been part of the process!) A great way to engage with your followers and show just what can be done with a photo is to show before and after images, so you may as well do it properly.
In this video tutorial, watch as Redouane Naouri shows you how to create snow in Photoshop. There are many ways to do this, but this technique is one I have not seen before.
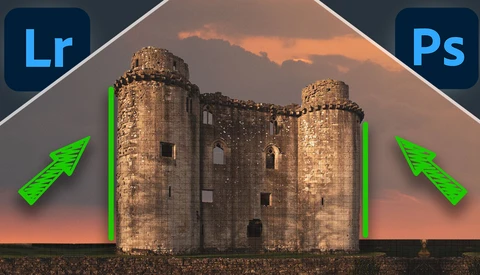
Correct buildings that appear to lean back away from the camera with three techniques using both software and hardware, it's simpler than you'd think.
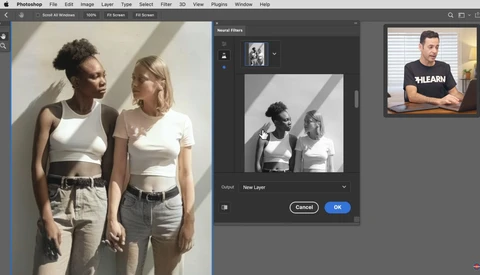
Photoshop has been embracing A.I and neural filters over the last year or so, and one that has grabbed a lot of attention is the automatic colorize filter. But how good is it for coloring black and white images?
Vignettes are by far one of the most common and effective ways to draw your viewers' attention to the subject of your photo, but you can get far more control and creative freedom by customizing the process instead of using Photoshop's built-in tools, and this fantastic video tutorial will show you how to do so.

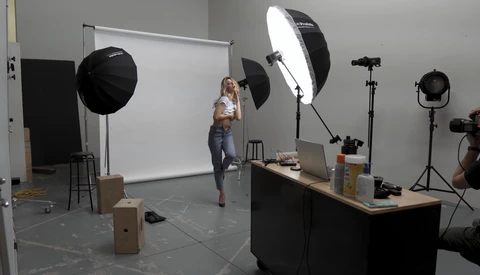
If you're interested in taking pictures of vehicles and wonder what it takes to get a commercial grade result, sit back and enjoy a complete walkthrough.
Bracketing your exposures and automatically blending them together in your preferred software is probably the handiest way to get the most dynamic range from your camera without introducing a load of noise. But how can you blend shots accurately when your subject is moving?

In this video tutorial, watch as Dean Samed gives you the low down on all things stock image related. The video is from the perspective of a photo manipulator.
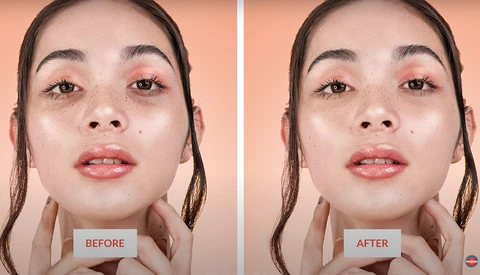
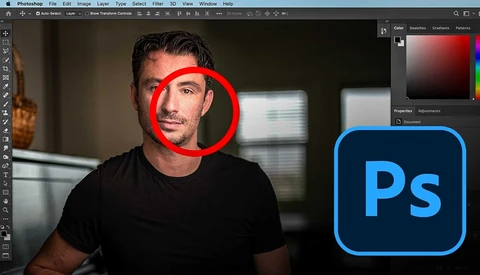
Of all the cosmetic imperfections you might be asked to retouch, one of the most common by far is dark circles under the eyes. This great video tutorial will show you how to easily and convincingly remove them using Photoshop, and it will only take a minute to learn how.
In this Photoshop layer breakdown, watch as I talk you through all the various Photoshop layers that it took to create this huge composite.

In this video tutorial, watch as Abbey Esparza shows you how to use advanced blending with Blend if in Photoshop.

If you’re in the market for a speed boost when editing, times are tough. AMD’s new 5000 series processors are incredible, and NVIDIA’s 3000 series cards are blazing fast, but both are incredibly difficult to find. Until you can get your hands on some new hardware, there’s still some smart ways to improve your computer’s performance in Lightroom and Photoshop.
Levels is a popular tool in Adobe Photoshop and one many use or at the very least are aware of. But what if it's not the right choice after all.

The difference between the saturation and vibrance sliders might seem small or even imperceptible at times, but the two have distinct purposes and functions that make them useful for separate applications. This fantastic video tutorial will show you the differences between vibrance and saturation as well as how to use them to improve your photos.
Knowing how to pose your subject, light them properly, and take a good photo is only half of what it takes to create a good portrait. Knowing how to retouch your subject effectively while still maintaining a natural look is the other half of creating a successful portrait, and this fantastic video tutorial will show you how to do it.
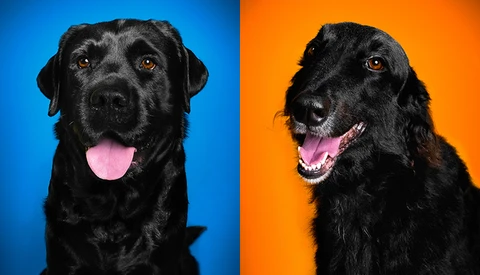
Have you ever wanted to take a decent photo of your pets? Maybe you want to print them or post them to social media, but don't have a studio? Check this out.
There are few tasks in Adobe Photoshop that are more irritating to do, and as a beginner, that irritation is increased tenfold when you need to cut a subject out from an image. Well, if you're a beginner who wants to add this skill to their repertoire, start here.
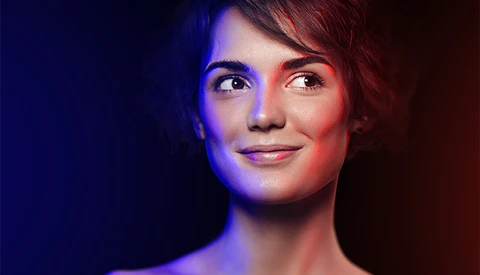
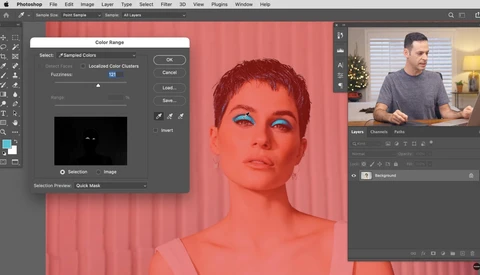
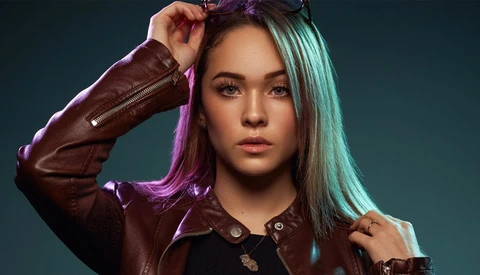
In this video tutorial, watch as Redouane Naouri shows you how to create a gel color lighting effect in Photoshop.
In this video tutorial, watch as Abbey Esparza shows you the best ways to use select and mask in Photoshop. Using select and mask can be tricky, to select hair, but this tutorial will show you how to do it in seconds.
Learn how to liquify portraits in Photoshop CC, without the world-bending errors you've likely seen all over the internet where straight lines stretch space time around the subject.
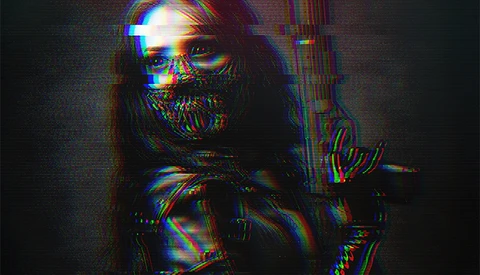
In this video tutorial, watch as I show you how to create a cool glitch effect in under five minutes in Photoshop.
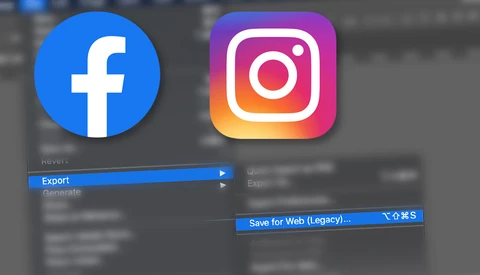
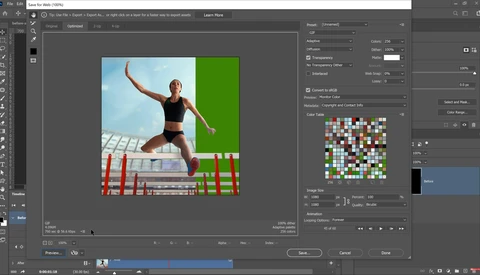
When you upload your image to Facebook or Instagram, are you noticing a loss in image quality? Are you uploading optimized images for social and the web?
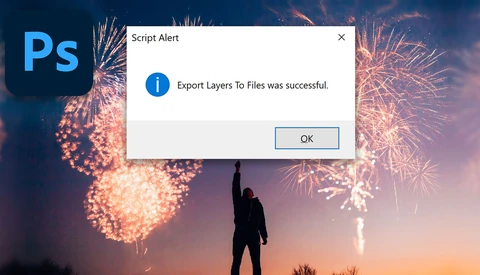
When saving layers into separate files using the in-built Photoshop script we always get this annoying string of numbers at the start before the filename. But now I'm going to show you how to make a quick tweak to change that forever.
If you are looking at creating more composite images in Photoshop, want to have a new tool at your disposal for future images, or want to spice up some older photos on your hard drive, this tutorial might be for you.
Whether you're a veteran of Photoshop, or you're just starting to dip your toe in those complex waters, making selections is something you'll need to be au fait with. So, here are the five best tools for doing so.
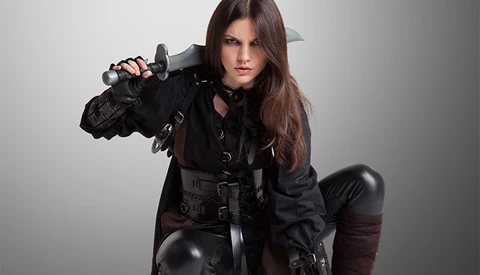
In this video tutorial watch as I show you how to turn skin pale and hair gray in Photoshop. I have used these two techniques on many images now, and this way is far more adaptable than simply using a desaturate filter.

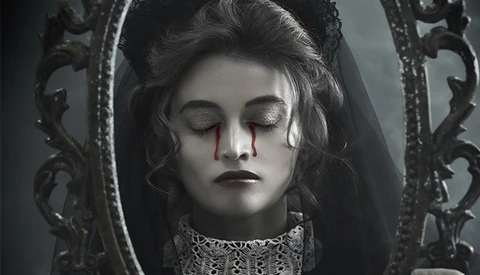
In this video tutorial watch as Abbey Esparza shows you how to create supernatural eyes in Photoshop. This is a great tutorial for anyone who wants to create creepy conceptual images.
In this video tutorial, watch as Dean Samed shows you how to create shadows in Photoshop by showing you three tips and mistakes to avoid.
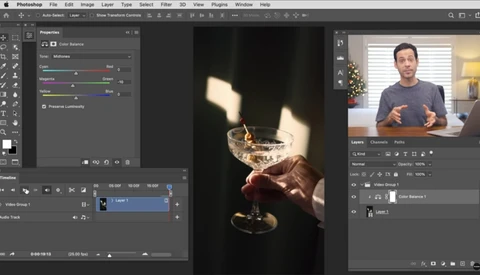
Color grading can make or break footage, no matter how impressive the clip is. But did you know you can color grade in Photoshop? If you're not familiar with Premiere Pro or other video software, this could be very useful indeed.

Artificial intelligence is pervading every corner of our digital lives, and Adobe is powering their editing software with Sensei, their artificially intelligent tool. But so far, it's lacking the ability to deal with the common issue of sensor spots automatically in Lightroom, which would make our lives much easier.

In this video tutorial, watch as Abbey Esparza shows you how to create a doll eye effect in Photoshop and why you need to use them. This is a great tutorial for anyone who works within the fantasy genre.
If you have a portrait that is a little bland, or you're looking to add a skill to your retouching locker, this may be the technique for you.
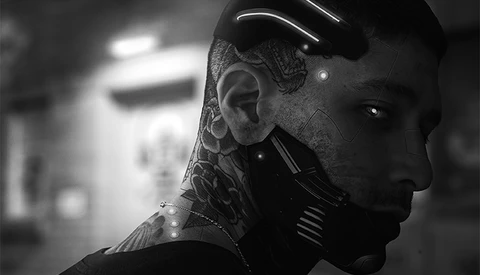
In this video walkthrough, watch as I show you all the steps it took to create this black and white cyber noir composite in Photoshop. This is a full walkthrough showing my process from beginning to end.

In this video walkthrough, watch as Dean Samed shows you all the steps it took to create this evil Santa composite portrait in Photoshop. This is a full walkthrough showing Samed's process from beginning to end.
Lighting and taking a great portrait is certainly a challenge, but it is only half of what it takes to create a compelling image, as you will need to have top editing skills in addition. This excellent video tutorial will show you how to edit a portrait in Photoshop from start to finish.
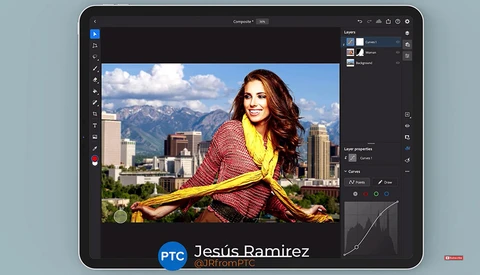
Photoshop on iPad has continued to grow and now offers a lot of the functionality of the desktop version while on the go. There are some differences in its usage, however, and if you are new to the app, this fantastic video tutorial will show you everything you need to know.
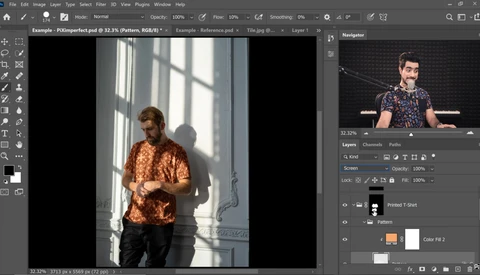
Was your portrait lacking the interesting wardrobe you wanted it to have? Are you planning a shoot but can't attain the range of garments you're after? Well, here's how you can revolutionize pieces of clothing in post.
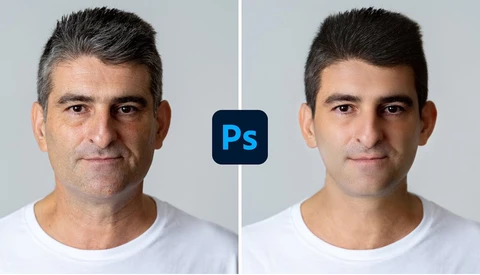
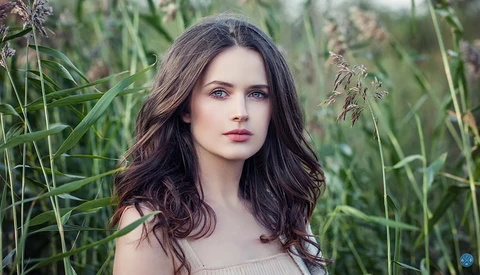
Photoshop is a powerful tool for retouching a person's appearance, and one of the most impressive things it can do is convincingly make someone look younger. This fantastic video tutorial will show you how to adjust all of a person's features to take away years from their appearance.

In this video walkthrough, I will show you all the steps it took to create this neon homage to Synthwave in Photoshop. Synthwave is a genre of music that has striking conceptual imagery to accompany the albums.