

by
Alex Cooke
A Beginner’s Guide to Adjusting Hue and Saturation in Photoshop
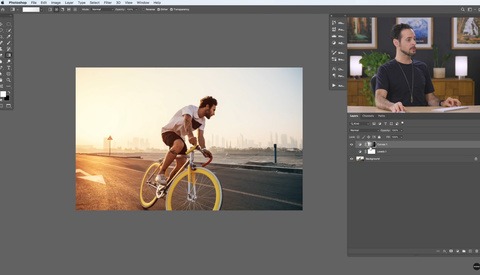
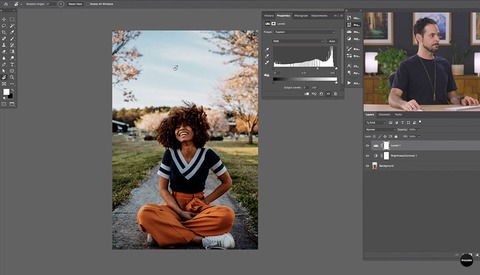
Photoshop has lots of powerful tools to improve your images and help you develop a personal style. Two of the most fundamental of those are the HSL and Color Balance tools. This helpful video tutorial will show you how to use these tools to change the color of anything in Photoshop.