
by
Clinton Lofthouse
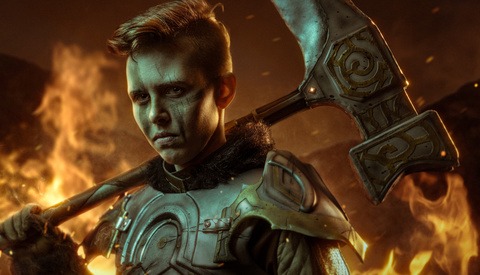
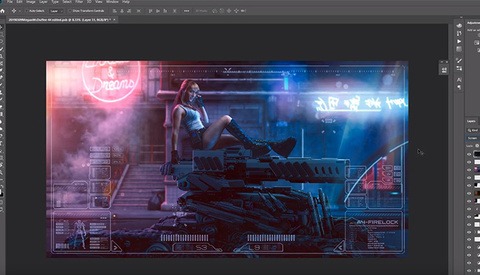
Create a Cyberpunk Scene on Photoshop
Cyberpunk is very "in" at the moment. With the impending release of the video game and the rise of Synthwave music, a lot of cyberpunk art is being created.