Lightroom

Adobe Lightroom is where most photographers spend a significant portion of their working lives — and knowing it well makes a real difference to both the quality of your output and the speed of your workflow. This section covers Lightroom from practical angles: import and organization, raw processing, masking and local adjustments, color grading, and the workflow habits that separate efficient photographers from those drowning in a backlog.

Radial Masking In Lightroom Classic: How to Make Your Edits More Natural

A radial mask in Lightroom can fix the kind of “almost” photo that keeps bothering you, where the light is close but not landing where the eye should go. If you rely on Lightroom to shape mood, depth, and attention, this tool changes what you can do without making the edit look like an edit.

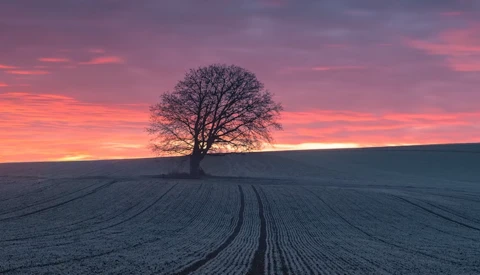
How to Use Lightroom to Enhance a Winter Photo

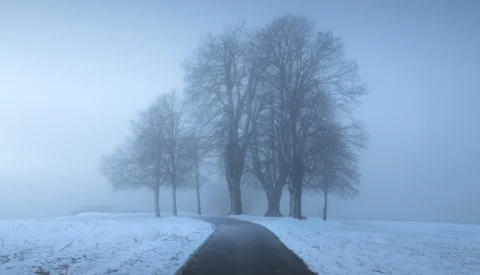
Lightroom Classic can make a winter scene look clean and accurate, but that is not always the look you want. If your snow scenes keep feeling bland or strangely “digital,” this edit shows how to use white balance and local control to push mood without wrecking the file.

How to Quickly and Easily Edit a Portrait in Lightroom

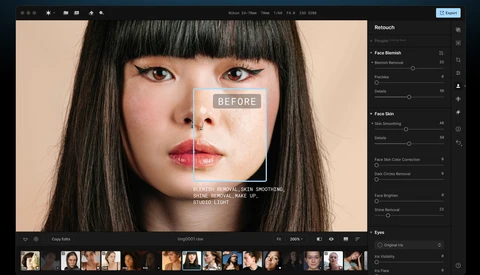
Portrait retouching in Lightroom often stalls when you get stuck doing the same careful selections again and again. This video puts the spotlight on a faster path using Lightroom Classic’s built-in AI masking, with results that still look like a human made the calls.

A Beginner's Guide to Creating a Lightroom Catalog

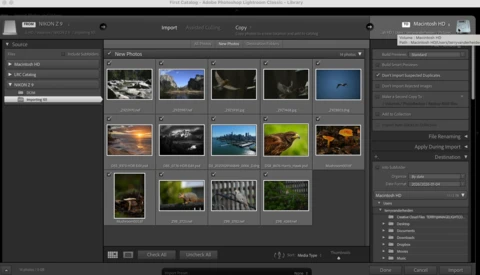
Catalog problems rarely start with editing. They start the first time you import a card, pick the wrong destination, and build a library that is spread across places you did not intend.

Intersect Masks: The Control You’re Missing in Lightroom

Masking in Lightroom can be the difference between an edit that looks clean and one that looks like you forced it. If you rely on quick global sliders, this is the kind of skill that quietly fixes the problems you keep seeing in skies, edges, and small details.

Before You Buy the Sony a7 V

While gear reviews can offer a lot of secondhand insight and opinion, there’s nothing like being able to try out the camera for yourself. While there is no way for us to let everyone interested try out the camera physically, this might be the next best thing.

Sky Masking in Lightroom: The Fix for Halos and Gaps

Sky masks in Lightroom look effortless until you push exposure and discover halos, gaps in leaves, and messy edges around roofs and ridgelines. Get this wrong and the sky starts bleeding into everything that should stay crisp.

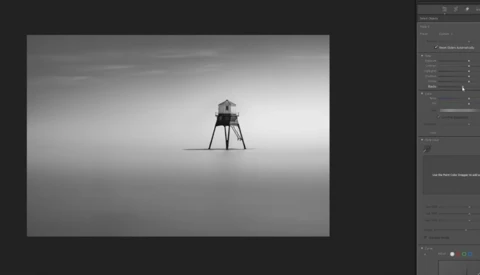
Beyond the Raw: How to Craft a Minimalist Fine Art Masterpiece

There is something about a lighthouse that demands a certain kind of stillness. I’ve spent more hours than I care to admit standing in the wind, looking at these structures—whether it’s Poolbeg Lighthouse in Dublin or a lonely sentinel on the coast of Portugal—waiting for the light to match the mood I see in my head.

The Lightroom Masking Shortcuts That Stop Bad Edits Fast

Masking is where Lightroom edits either look clean and intentional or start to fall apart at the edges. If you have ever nudged Exposure and realized you changed the whole frame instead of a small area, this topic will save you from that kind of mistake.

AI Dust Removal Just Landed in Lightroom and Photoshop

AI dust removal just became a one-click step inside the Adobe apps you already use, and it changes how you handle every sky, studio backdrop, and clean wall. If you’ve ever exported a “finished” set and then spotted sensor grime in the exact same place across 30 files, you know how quickly that turns into a late-night repair session.

The Lightroom Object Selection Trick That Beats “Select Subject”

A clean subject mask can make the difference between a shot that looks alive and a subject that looks pasted onto the frame. When Lightroom grabs the branch, the background, and half the subject in one sloppy selection, your edit turns into cleanup work instead of creative control.

How to Get Crisp Detail Without the “Over-Sharpened” Look

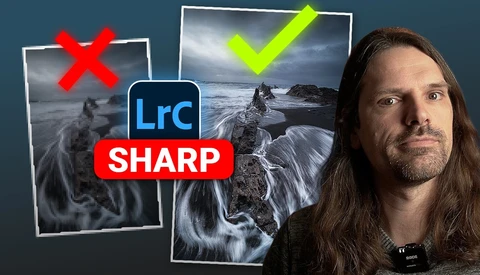
Sharpening is where a solid edit can quietly fall apart, especially once you export for the web and everything gets resized. If you want crisp detail without crunchy edges or noisy skies, you need a method that matches the way you actually share images online.

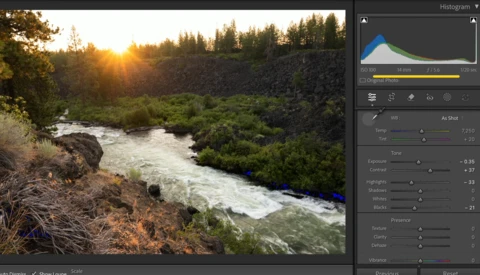
How to Actually Use the Histogram in Lightroom Classic

The histogram in Lightroom Classic is a fast lie detector for exposure, even when the image on screen looks fine at a glance. Learn to read it and you stop making edits that look good on your monitor but fall apart in prints or on other displays.

A Better Starting Point For Colors That Pop

Color can fall apart fast when a scene has bright sky, dark shadows, and a lot of mixed tones in between. If Lightroom Classic is part of your workflow, a small change at the very start can steer the whole edit toward cleaner, richer color without turning the file into a gimmick.

Lightroom Masking Tricks That Fix Backlit Scenes

Backlit scenes are a trap: the background looks fine, your subject falls into shadow, and global sliders only make the frame feel fake. If this keeps happening, the fix is less about “more exposure” and more about controlling where the light appears to land.

Use Lightroom AI To Find Sharp, Eyes-Open Keepers in Seconds

Lightroom Classic now has an AI Assisted Culling feature that can scan a whole shoot and tell you which frames actually meet your standards. When you are staring at rows of nearly identical portraits after a long session, that kind of help can keep you from wasting hours on basic sorting.

How to Rescue a Dark Photo in Lightroom Classic

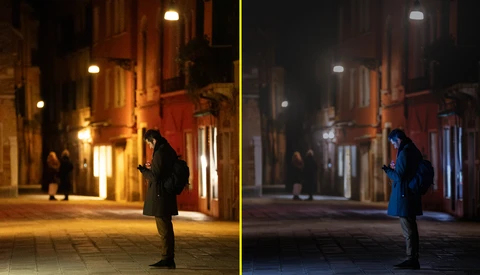
Night scenes in near darkness look dramatic, but they are some of the easiest images to ruin with missed exposure, motion, and noise. If you shoot moving subjects at night, you probably have a folder of frames that feel too dark and too messy to bother editing.

Subtle Lightroom Masking Tricks That Make Your Landscapes Glow

Lightroom Classic’s masking tools give you more control over light, color, and depth in your images. If you skip them or only use the basics, you end up fighting flat scenes and blown highlights that never quite match what you saw on location.

Lightroom Masking Tricks to Create Cinematic Landscape Light

Turning a flat landscape raw file into something moody and dramatic is often the difference between an image you forget and one you remember. When you see how far a single frame can go in Lightroom with careful cleanup, masking, and color work, you start to rethink what is actually possible in post.

A Natural Lightroom Workflow For Landscape Photos

Editing a raw landscape file in Lightroom often decides whether an image feels lifeless or close to what you saw on the trail. This video walks through a complete landscape workflow that keeps the edit grounded in reality instead of turning everything into neon drama.

Smart Masking Shortcuts to Speed Up Lightroom Classic

Masking in Lightroom Classic can feel slow and clumsy when every move depends on the mouse. Keyboard shortcuts change that, letting you move faster, stay in the flow, and spend more time actually shaping the image instead of hunting through panels.

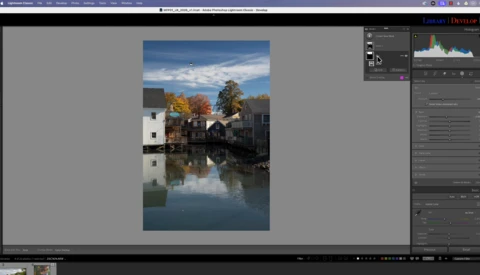
How to Create Dramatic Autumn Landscapes With Lightroom

Color contrast is what turns a flat, gray landscape into something that feels deep and alive. Learning to build contrast between warm and cool colors is one of the fastest ways to rescue files that would otherwise feel dull.

Stop Fighting Lightroom Masks and Let Them Work For You

Lightroom hides a lot of power behind menus you probably ignore and shortcuts you might not even know exist. If you spend hours editing, small changes in how you use masks and ranges can add up to cleaner images and faster decisions.

The Simple Masking Workflow That Makes Sunrise Pop

Color grading can turn a flat sunrise into a scene with shape, depth, and energy. If you shoot high-contrast landscapes, nailing tones in the sky and keeping detail in the foreground is where Lightroom’s tools earn their keep.

Cut 1,000 Shots to 100 Keepers With Lightroom’s New Tool

Lightroom Classic 15.0 adds Assisted Culling that uses AI to find sharp, usable frames fast. If you shoot people, sorting by “eye focus” and “eyes open” cuts wasted time and keeps soft poses from sneaking into client picks.

Stop the Chaos: How to Build a Repeatable Raw Editing Workflow

If your photo editing still feels chaotic, bouncing between endless sliders without consistent results, the issue isn't your software; it’s your strategy. Let’s explore how Mark rectified his biggest mistake after a decade in the field, transforming raw files into finished artwork with effortless precision.

Even Out Blotchy Skies With One Slider

Lightroom’s fall update adds a small control with big impact on color control. If you fight uneven skies or blotchy foliage, this new option helps you smooth or separate tones without wrecking the rest of the frame.

New Lightroom Classic Update Fixes Everyday Editing Frustrations

Adobe Max always brings major updates, and this year’s release of Lightroom Classic 15 adds several tools that quietly change how you edit. These aren’t cosmetic tweaks. They’re small, functional updates that save time and make editing more precise without forcing you to rethink your workflow.

Perfecting Skin Color: A Five-Step Lightroom Workflow

Perfect skin color isn’t just about getting exposure or contrast right. It’s about understanding how sensors interpret light and how color balance shapes emotion. You’ve probably seen portraits that look too green or too pink even when the lighting seemed perfect. The secret lies in how your camera reads color and how you correct that before touching any creative edits.

Common Photo Editing Mistakes and How To Fix Them

Let’s discuss key insights from a professional photographer on common editing mistakes and effective strategies for enhancing photo editing skills. Find out the importance of intention and thoughtful adjustments to achieve impactful results.

The Lightroom Trick That Makes Any Subject Pop Instantly

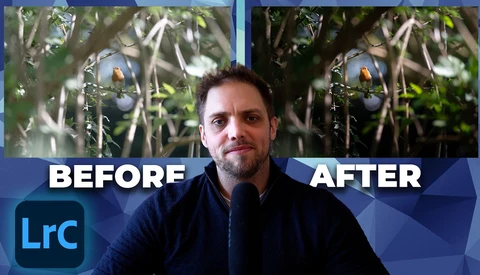
A small shift in tone and light can completely change how a subject draws the eye. When your background competes with your main focus, the story of your photo loses strength. This tutorial shows how a few careful Lightroom moves can restore that clarity, making your subject stand out without looking artificial.

How to Bring the Drama Back to Your Sunsets in Lightroom

The right edits can turn a dull sunset into a showstopper. Color, light, and local adjustments all work together to create warmth and contrast that feel alive. This tutorial walks through how to transform a flat raw file into a vibrant sunset image with rich tones and clean detail.

Lightroom Classic Masks That Save Time

Masks in Lightroom Classic are no longer niche tools. If you shoot wildlife, landscapes, or portraits, smart masking decides whether an edit looks polished or clumsy.

The Lightroom Sliders That Define Black and White Photography

Black and white photography lives or dies by how well you handle contrast. The right balance of tones separates lifeless gray from depth and emotion. When editing, three tools in Lightroom decide which side your images fall on: clarity, texture, and dehaze.

Lightroom vs Photoshop: What to Use and When

Lightroom and Photoshop solve different problems, and knowing where each one shines saves time and gives you cleaner results. If you juggle hundreds of files from a shoot, the choice you make here changes how quickly you get to selects worth sharing or printing.

Fix Harsh Exposure Imbalances in Lightroom With Simple Masks

A dark subject against a bright sky creates a common problem. The scene loses depth, and important details disappear. Fixing this issue is about more than pulling up shadows; it’s about maintaining the natural look of both highlights and dark areas without sacrificing one for the other.

A Simple Lightroom Trick That Makes Light Pop

When you edit a photo, your main job is to guide the eye. You’re choosing what deserves attention and what should quietly step back. Cameras don’t see light and color the way you do, so the edit is where you bring that vision back to life.

Why Your Lightroom Edits Look Inconsistent and How to Fix Them

When you edit your photos, it’s easy to feel lost in endless sliders and panels. You might move contrast, shift white balance, or adjust tones only to second-guess yourself and end up with an image that looks inconsistent from the rest of your work. Editing is not about pulling every lever. It’s about knowing which changes matter most and how to use them with intention.


Adobe’s Generative AI Credit Rules Explained for Lightroom and Photoshop

Adobe has made big changes to how its Generative AI credit system works, and if you use Lightroom or Photoshop often, you need to understand the details. Credits are required for most AI-powered tools, and how many you get depends on when you signed up for your plan, as the difference can be significant,

How to Fix Harsh Light With Simple Lightroom Masks

Shooting in harsh midday sunlight is something you’ll probably avoid whenever you can, but sometimes it’s your only option. That kind of light can leave you with dull results, which makes editing an essential part of the process.