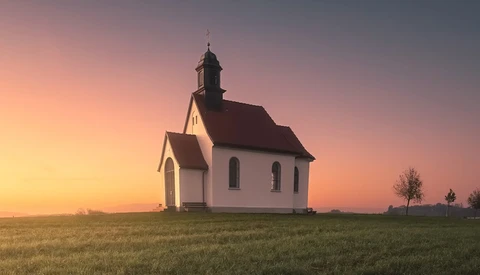
Get Pro-Level Edits with Lightroom’s Color Range Masking Tools
Understanding how to fine-tune colors in your images can dramatically improve your final results.
The calibration panel in Lightroom Classic is often overlooked, but it’s one of the most powerful tools for color control. If you want more precise control over the colors in your photos, this panel offers unique options that go beyond the typical adjustments like white balance or the hue/saturation/luminance (HSL) sliders.
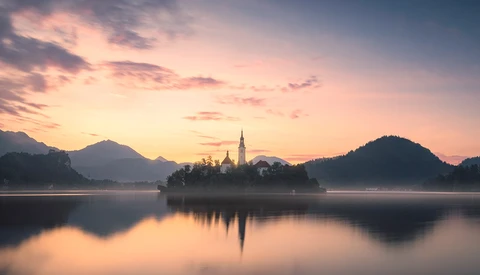
Pastel color grading is a subtle yet powerful way to make your photos stand out, and you can achieve it easily with some simple tweaks in Lightroom. If you’ve ever wanted to experiment with color grading but felt overwhelmed, this method offers an approachable way to elevate your work.
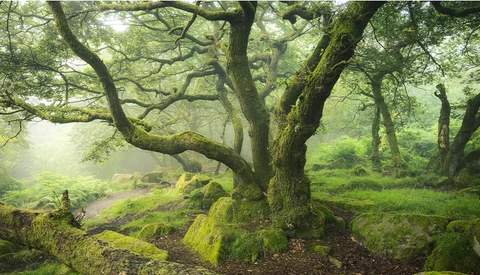
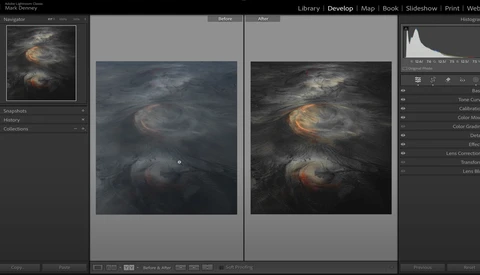
If you want your photos to have that painterly, moody feel, editing is key. It’s possible to achieve stunning results with just a few thoughtful adjustments, even when nature doesn’t provide ideal conditions.
Whether you have been using Adobe Lightroom for years or are brand new to it, there are always little efficiency tricks or subtle features you can use to make your editing more efficient. As a long-time Lightroom user, I even found a few of these tricks new to me!
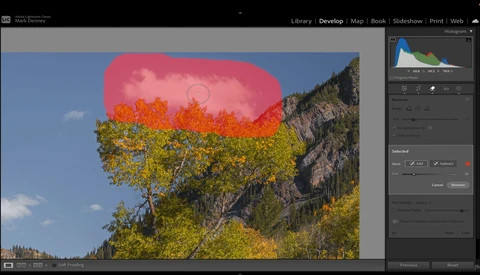
Luminosity and color masks can change the way you edit photos, giving you more precision over adjustments. These tools allow you to make targeted changes based on brightness or color in specific areas, rather than affecting the whole image.
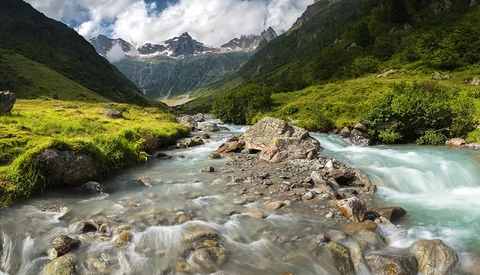
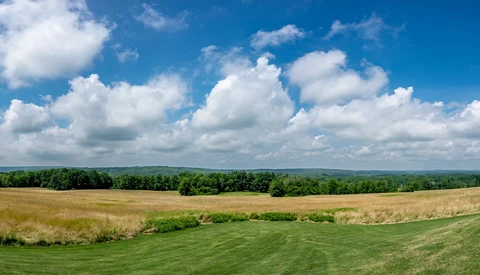
Editing large expanses of green grass can transform an otherwise flat image into something much more dynamic. It’s not just about pushing the contrast slider up and hoping for the best. To make an image pop, especially when working with grass or other natural elements, you need to approach it with more precision.
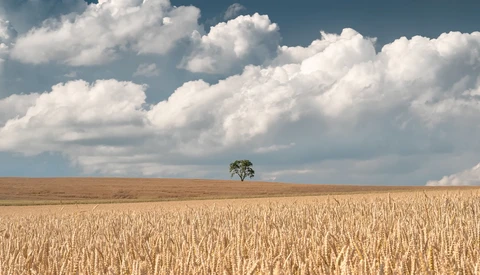
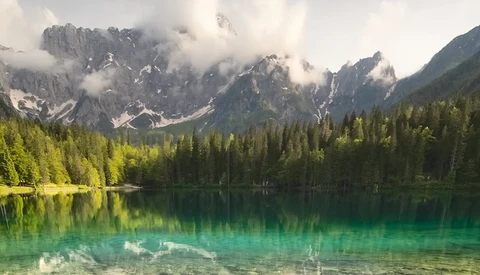
Color processing can be a tricky subject, especially when you want to make sure your landscape photos look natural but still stand out. Whether it’s light, contrast, or the subject itself, each plays a big role in how colors are rendered in your final image.
We've covered Mylio products before; recently, they relaunched their Mylio photo manager. Think of Mylio as having some of the features of the Lightroom catalog, with some higher-end features as seen in Peakto. Now the company has just announced Mylio SecureCloud (powered by Backblaze), a cloud storage service the company says is born from a simple idea: our digital memories and important files deserve the highest level of privacy and control.
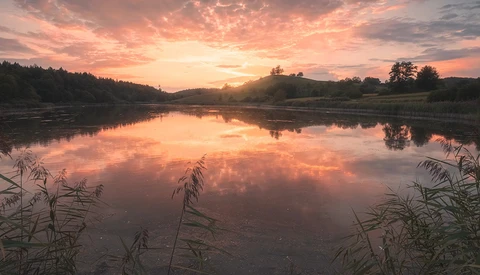
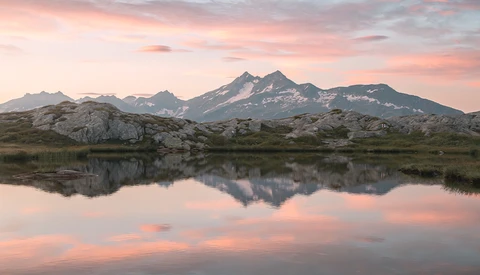
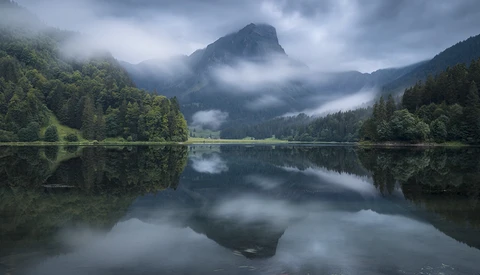
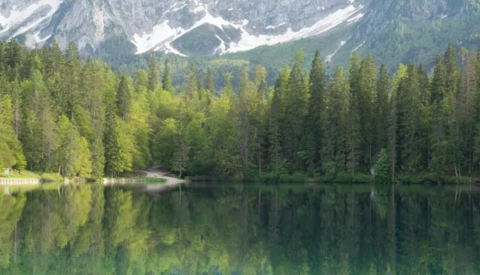
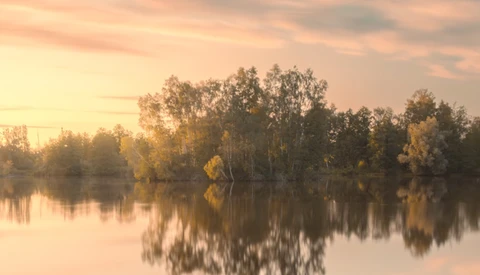
Water reflections can transform a basic landscape photo into something captivating, but they don't always look their best straight out of the camera. With a little fine-tuning in Lightroom, you can make those reflections more vibrant and balanced. It's a quick and easy technique that can instantly elevate the look of your landscape photography.
Knowing what you can do in post-processing before you even take the shot is a powerful skill. It transforms how you approach photography, allowing you to capture scenes with the confidence that you can shape them later to fit your vision. In this example, you start with a rather dull image, lacking contrast and vibrant colors, and transform it into something stunning.
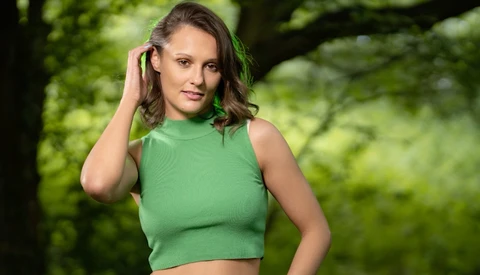
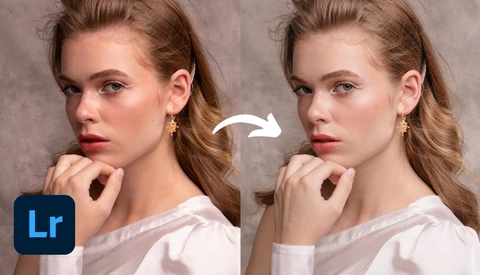
Balancing color grading with the preservation of natural skin tones is key to producing professional-quality portraits. This guide focuses on simple but effective methods to create a clean, cohesive look across your images, without sacrificing the details that matter most.
Here is how you can make your images look sharper and cleaner with a little bit of Lightroom editing.
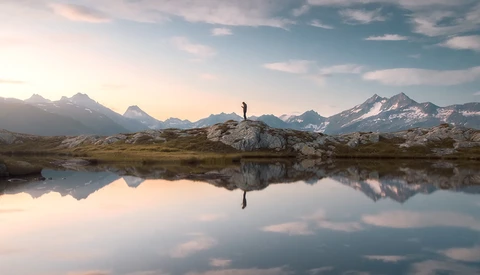
Creating a glowing light spill effect can dramatically alter the mood and atmosphere of your landscape photos. Here's how to do it in Lightroom.
Adobe Lightroom has continued to improve as various tools inside the software have matured. One area in Lightroom that has made tremendous advances is masking, but are you maximizing the masking options in your photo editing to take advantage of these impressive features?
Skin tones can be tricky, especially when using on-camera flash at events like weddings. The bright light often washes out the natural color, leaving skin looking pale or flat. However, there’s a quick and effective method in Lightroom to bring back those natural tones.
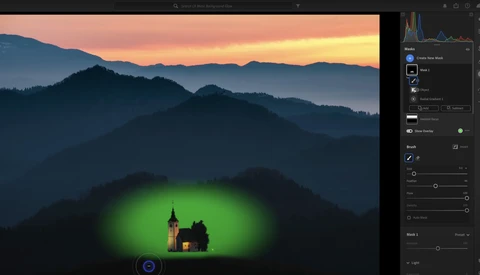
Lightroom’s masking tools can dramatically transform an image by targeting specific areas for enhancement. Here's a look at a powerful approach to editing using them.
Knowing how to adjust colors during photo editing can greatly improve your images. In this video, Albert Dros gives nine awesome tips on how to do it.
Creating magical light in your photos can turn a good image into something truly captivating. If you’ve ever struggled with making a bright, contrast-rich scene feel more dynamic and visually appealing, this tutorial might be exactly what you need.
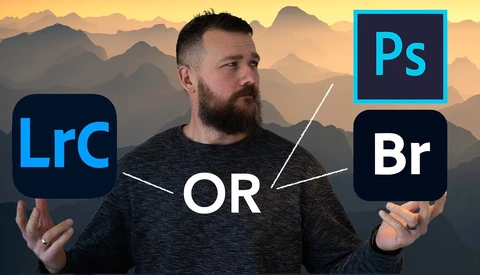
Many photographers often wonder whether to use Lightroom or Bridge and Photoshop for managing and editing their images. Deciding between them isn’t just about preference—it’s about efficiency, ease of use, and how you prefer to organize and edit your images.
These Lightroom tricks can transform your photo editing workflow. Simple yet powerful, the techniques will help you make precise adjustments, add creative effects, and change background colors effortlessly.
Using Lightroom's masking tools, you can bring out details and create depth that makes objects look strikingly real. This tutorial will guide you through the process.
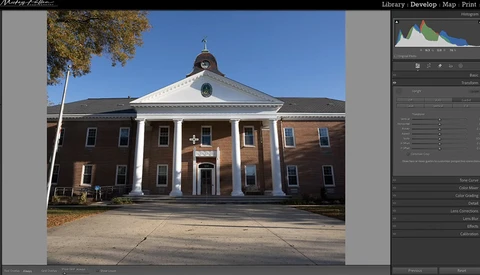
Correcting your images in Lightroom can make a world of difference. Two essential tools are Lens Correction and Transform. These tools help ensure your photos look their best by fixing common issues like chromatic aberration and perspective distortion.
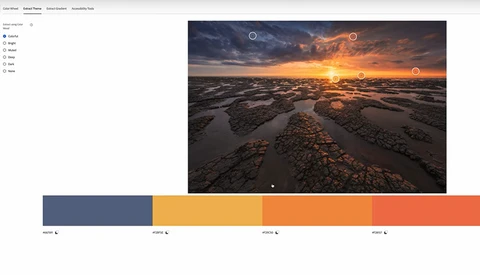
Color grading can transform your images. It's a straightforward process using Lightroom.
Enhancing your photos by targeting specific areas with masks can dramatically improve their quality. Here's an advanced technique that will help you take greater control.
Mastering contrast in your photos can make a significant difference in their impact. Lightroom's masking tools will help you target midtones is a powerful way to enhance overall contrast and make your images stand out.
Yes. There really are hidden secrets inside Adobe's photo processing software. Let me show you one of my absolute favorites that you can use to add easy borders to your photos. It's all hiding in plain sight inside Lightroom, Lightroom Classic, and Photoshop.
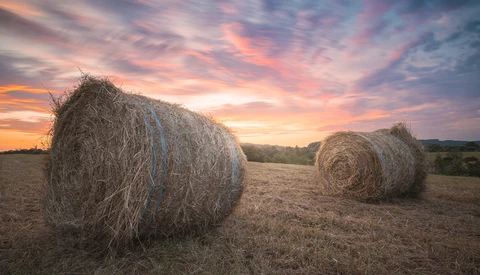
Here's a simple way to improve your landscape photos using Lightroom.
A few months ago, I started processing all my raw photos with a new Lightroom plugin. It led to a significant increase in image quality, as I show in this article.

The new generative AI remove tool in Lightroom is exciting but can be unpredictable. It’s important to know how to use it effectively under different situations.
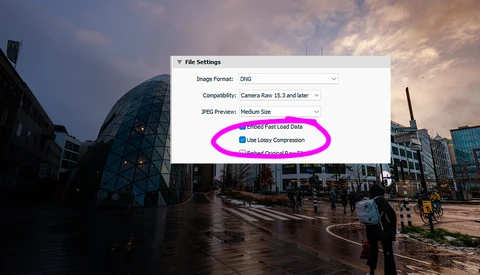
Once, photographers converted their precious raw files into DNG files, which promised to be future-proof. There might be another reason: there is a DNG file format with lossy compression. Could this be future-proof and save disk space at the same time?
Masks are an essential tool in photo editing. This fantastic video tutorial will show you one of the most useful types of masks in Lightroom.
Enhancing the subject of an image is all about using the right techniques. The key tool here is masks, which allow you to control various elements of your photo with precision.
Learning the workflow from experienced photographers can help you understand and apply various techniques effectively. Here's a seasoned photographer's landscape editing process.
Expanding a photo in Lightroom without using Photoshop can be a real time-saver. Here's how to do it.
The new generative remove feature in Lightroom Classic simplifies removing unwanted elements from your photos. Here's how it works.
Using Lightroom’s object selection mask, you can target specific areas in your photos for precise adjustments. Here's how to get the most from it.
Understanding how to effectively organize and manage your photos in Lightroom Classic can streamline your workflow, especially when working with large catalogs. If you've ever struggled with keeping track of your images or knowing which ones to edit, this system could be a game-changer.
Restoring an underexposed raw file can seem daunting, but it's possible with the right tools and techniques. Proper editing brings out the hidden details and enhances the overall quality of your images.
Knowing how to approach and execute post-processing correctly can substantially enhance your final images. This fantastic video guide will show you how to get it done in Lightroom.
Transforming a basic image into a stunning photograph often only takes a few simple adjustments. Here's how to pull them off in Lightroom.
Editing workflow can be a nuanced topic, especially as technology evolves and personal styles develop. This helpful video tutorial will show you the workflow a Lightroom pro uses.
There are many ways to perform dodge and burn in Photoshop. But have you ever tried to introduce color into the process? Matt Shannon shows you how in this great tutorial video.
Editing dramatic weather images can be challenging but rewarding. This helpful video guide focuses on using Lightroom to enhance such photos.
Editing photos to add life, depth, and dimension takes them from good to great, but it's important to learn how to enhance images while keeping them natural and appealing. This helpful video tutorial will show you how to do that in Lightroom.
Dodging and burning is an editing technique that allows you to selectively adjust the brightness and darkness in specific areas of an image. This technique can add depth and dimension but can also lead to several common mistakes. This fantastic video tutorial will show you three common mistakes and how to fix them.
Transforming a bright summer photo into a moody look can dramatically change its impact. This helpful video tutorial will guide you through some techniques in Lightroom that can help you create that look.
Lightroom Classic’s survey view is an underused tool that can really speed up your photo selection process. By allowing you to compare multiple images side by side, survey view can help you quickly identify your best shots and streamline your workflow. Here’s how you can use it in your workflow.
Lightroom’s masking tools are essential for emphasizing different parts of your photos. This helpful video tutorial highlights the practical steps to improve your images by using these tools.
Editing a landscape image is not just about enhancing the picture, but about bringing out its full potential. This fantastic video tutorial will show you how to do just that using Lightroom.