Black and White Editing in Lightroom Simplified
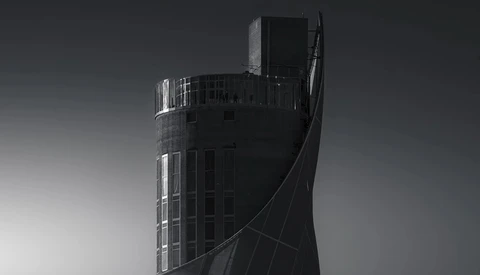
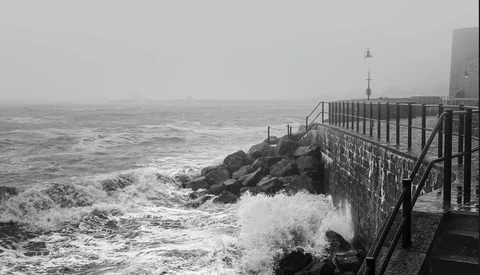
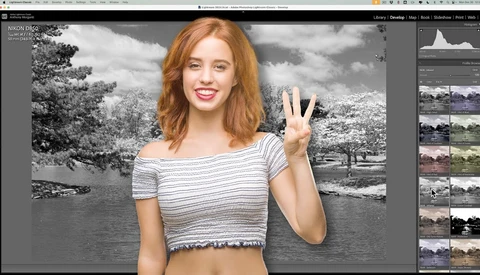
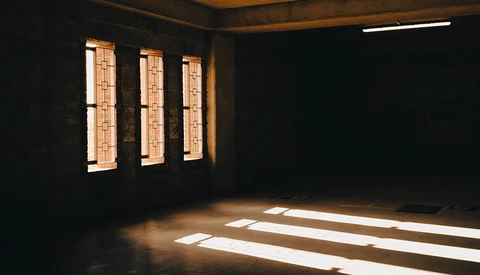
Converting color photos to black and white can highlight textures and contrasts in ways color cannot. Here's how to do it in Lightroom.
Editing your photos is just as important as capturing them. By mastering a few key tools in Lightroom and Photoshop, you can fix imperfections, enhance details, and transform an image into something extraordinary.
Editing photos on mobile devices has come a long way, and it’s now possible to create professional-quality images without touching a desktop. Here's how to do it on an iPad.
Crafting a compelling edit starts with a solid foundation. In this tutorial, you’ll learn how to create a striking dark blue aesthetic using only Lightroom Classic. The process covers cleaning up distractions, adjusting basic settings, and enhancing the image with detailed masking and color grading.
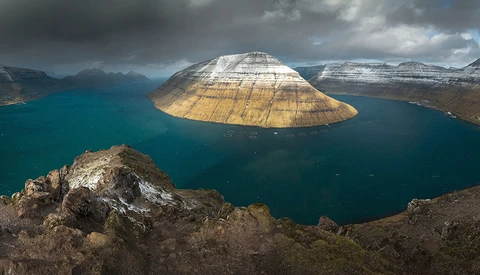
When I first discovered photography, I was immediately drawn to landscape photography. From day one, I started trawling through photography-related sites and looking at how other photographers captured the world. However, I discovered panoramic landscapes when my photography college lecturer brought a Fujifilm GX617 to class one day. When I saw what it could produce, I was hooked. While unable to afford the GX617, I wanted to replicate the look and feel of the pictures it created with my own camera. So, I researched whatever was available on the internet then and started experimenting with my camera.

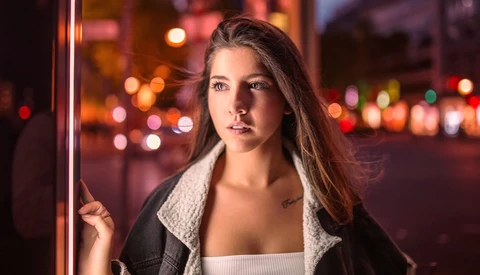
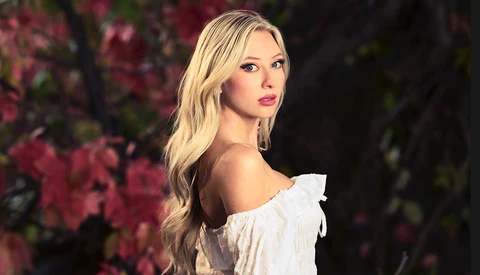
Editing portraits isn’t just about fixing mistakes—it’s about bringing out what’s already great. With the right tools and techniques in Lightroom, you can refine lighting, color, and detail to make your subject stand out.
Editing photos effectively is all about balancing precision and creativity. Small adjustments can bring out details, enhance colors, and shift the viewer's focus. This helpful video demonstrates how to make impactful edits using basic tools, masking, and color grading, showcasing practical techniques for a polished result.

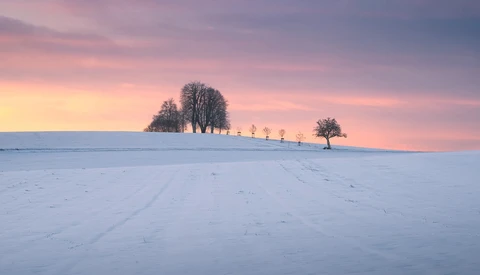
Replacing skies in photos can transform an ordinary image into a striking scene. Whether you’re battling overexposed skies or lackluster lighting, Photoshop’s sky replacement tools provide the flexibility to create dramatic compositions.
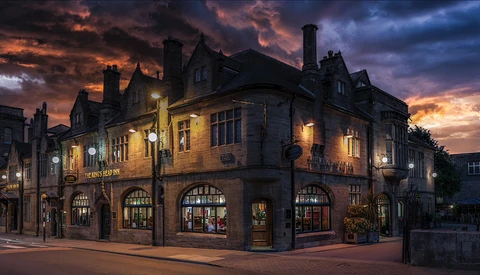
Holiday lights and festive displays offer a unique opportunity for creative image-making. Capturing them in busy public spaces, though, can present challenges with crowds and distracting elements. By using advanced techniques like stacking multiple exposures and editing in Photoshop, you can achieve clean, polished results while preserving the vibrancy of the scene.
As creatives, we rely on our tools not just to keep up with our ideas but to enhance and streamline the creative process. The Huion Kamvas Pro 27 aims to be that kind of tool—a professional pen display that blends cutting-edge technology with thoughtful design catering to professionals across various disciplines. Whether you’re an illustrator sketching intricate designs, a photographer editing your images, or an artist bringing your creations to life, the Kamvas Pro 27 promises to deliver.
When Adobe updated Lightroom Classic, they introduced a feature called Content Credentials. This tool provides a way to establish ownership of your images and track how edits, including AI tools, were applied. Whether for contests, client work, or personal projects, Content Credentials offer additional transparency and security for your photos.
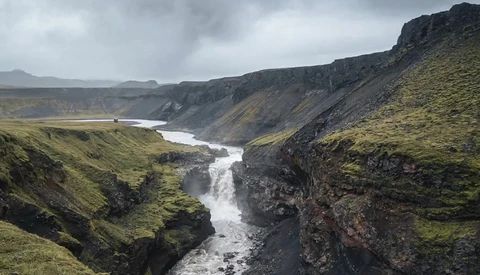
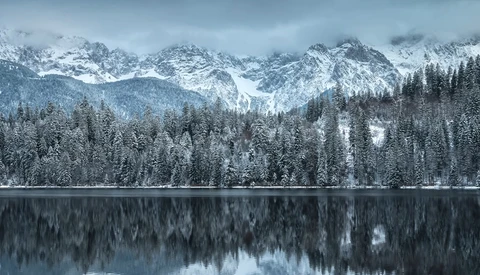
Editing is a critical part of landscape photography, letting you shape images into representations of what you saw—or imagined—in the moment. Whether you aim for realistic refinement or experimental creativity, post-processing helps you discover what matters most in your work.
Masks in Lightroom have become much more powerful, offering a way to fine-tune your edits with precision and creativity. Here's how to get the most out of them.
Creating clean, natural-looking portraits that stand out often depends on mastering a few simple but effective techniques.
Custom vignetting can subtly improve your images, drawing attention to your subject in a way that looks natural and intentional. Instead of relying on preset sliders, creating custom vignettes in Lightroom lets you control exactly how light and shadow interact with your composition.
As photographers, one of the first things we learn is that we should always shoot in raw. This gives us the most flexibility and data to work with in editing, with the drawback being large file sizes that have gotten even larger over the years. What if you could have all the flexibility of a raw file at ten percent of the file size?
Lightroom offers a range of tools that can simplify your workflow and make editing more efficient. These tips are practical, easy to apply, and especially helpful for repetitive editing tasks.
Whether it’s a stray sign or a person in the background, Lightroom’s updated tools make cleanup simpler than ever.
If you want your photos to stand out with a bold, cinematic feel, creating a darker aesthetic can help you achieve that. Here's how to achieve that in Lightroom.
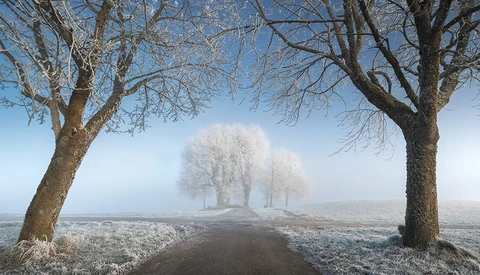
Fog can transform the mood of an image, creating a sense of depth and drama. While it might seem like a task best suited for specialized editing software, Lightroom Classic provides an easy and flexible way to achieve this.
By learning how to adjust tone, color, and details systematically, you gain control over your creative process, ensuring each image meets your vision. This tutorial walks through every panel in the Develop Module of Lightroom, offering practical insights for improving your workflow.
Editing skies in landscape photos can be challenging, especially when you want to create a vibrant, natural look. Using Lightroom’s tone curve is an effective way to add depth and color without overcomplicating your workflow.
Lightroom Classic has plenty of features, but not all of them are obvious. Some of its most helpful tools are hidden behind shortcuts or specific menus, and knowing where to look can make editing faster and more efficient.
Photo editing doesn’t have to be complicated, even with a program as powerful as Lightroom. With the right techniques, you can make significant improvements to your images while streamlining your workflow.
The ability to edit portraits entirely in Lightroom without switching to Photoshop is becoming more common. This is especially true for on-the-go editing on devices like the iPad, which sync seamlessly with Lightroom on desktop.
Learning how to use curves is crucial if you want full control over tonal values and color adjustments in your images. Whether you’re editing photos in Adobe Lightroom, Photoshop, or even working on video in Premiere or DaVinci Resolve, understanding curves allows you to fine-tune brightness, contrast, and color with precision.
Consistency in your photo edits can elevate your work and save time, especially when working with a large number of images. Lightroom presets are a practical way to develop a style and apply it across multiple photos, streamlining your workflow and maintaining your unique visual identity.
Lightroom Classic offers tools that can elevate your photo editing significantly, but some of the most powerful features remain underused. One of these tools, intersecting masks, allows you to refine your edits with precision. It’s versatile, easy to use, and adaptable to almost any photography genre, from portraits to landscapes.
Using the right tools can transform how you approach your edits, especially for landscapes. Lightroom’s intersect feature offers a powerful way to create precise adjustments, making it invaluable for a range of edits.
Picture controls, picture styles, and picture profiles are a few of the names they go by, depending on your camera brand. But what are they, and how can they help you create images and make editing easier?
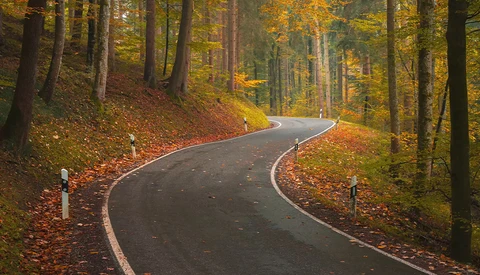
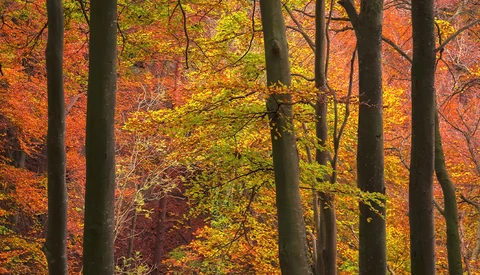
Color contrast can completely transform a landscape photo, adding depth and drama that draw in the viewer. This tutorial explores how to use Lightroom to balance color tones for maximum effect in autumn shots, from the initial HDR merge to targeted adjustments that bring out the richness of each part of the image.
Woodland photography can be uniquely challenging because natural forests are chaotic by nature. Trees may tilt in various directions, branches and leaves create visual clutter, and composing a balanced shot is tricky. For those aiming to create cleaner, more harmonious forest scenes, certain editing techniques can make a real difference.
A well-placed light effect can turn an ordinary landscape photo into something vibrant and dynamic. By controlling light and shadows in Lightroom, you’ll achieve a realistic glow that brings out key elements, creating a sense of atmosphere that feels as true to life as being there.
Creating a strong image is more than just pointing a camera—it’s a detailed process of planning, capturing, and finally, editing. The editing stage in particular is where you bring out the colors, light, and mood you intended, creating a finished piece that truly reflects the moment and story you envisioned.
Using masking techniques in Adobe Lightroom, you can guide the viewer’s eye and create a dynamic feel that makes a photo stand out. This tutorial dives into how to enhance depth and contrast in your images, transforming a flat-looking shot into one that feels alive and immersive.
Landscape photography often calls for highlighting details like clouds, rocks, and foliage to give your photos depth and character. With a few targeted adjustments, you can make those textures and contrasts stand out naturally.
Editing autumn photos requires a mix of thoughtful adjustments and creative techniques. Sometimes, achieving those rich, warm tones can be tricky, but there’s a way to make it easier with a lesser-known profile setting that can instantly improve your images.
For centuries, art was created in a physical form and limited to one original copy. If an artist wanted attribution, they could sign or carve their name into the artwork. No matter where the art traveled, the attribution traveled with it. Today, much of our work is shared digitally, where watermarks or crediting do not appear alongside the art. Widespread adoption of the new Content Credentials standard may give digital artists the recognition they deserve.
Lightroom Classic 14.0 has introduced updates that aim to refine the editing process, from enhanced tools to smarter file management. For those who spend hours perfecting images, these changes could make a big difference in productivity and ease of use.
Masking is one of the most powerful tools in photo editing, especially when you're looking to bring out specific areas or elements in your images. If you’re not already using masking in Lightroom or Adobe Camera Raw, you’re missing out on some of the most precise control you can have over your edits.
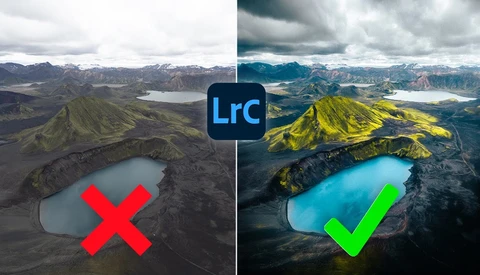
Polarizing filters can make your skies richer and your images more dynamic, but what if you could achieve that same look without any additional gear? With a few strategic tweaks in Lightroom, you can create that deep blue sky and high-contrast look, making your landscapes more vibrant and engaging.
Complex lighting in outdoor scenes often hides important details in both the brightest and darkest areas. Knowing how to bring out those hidden elements through careful editing can elevate your photos to the next level.
A common misconception in landscape photography is that using the lowest ISO setting always results in the highest quality images. I frequently encounter this question and concern in my YouTube comments. Therefore, I thought it would be the perfect opportunity to share a video and article discussing the importance of ISO.
A photo can sometimes look flat or uninspiring, but with just a few tweaks, it can become vibrant and engaging. This video tutorial explores straightforward editing techniques in Lightroom Classic that can elevate your images without overwhelming them with heavy edits.
Retouching photos can sometimes feel like an endless process that pulls you away from enjoying your photography. Finding a more efficient workflow is key. If you’re spending hours adjusting sliders and curves, you might be missing out on capturing more great shots.
In this article, I share the photo editing workflow I use for all my photos, and if you want to achieve high-quality results, this is for you.
With fall just around the corner, you might be wondering how to make the most of the changing foliage in your photography. One way is through some simple adjustments in Adobe Lightroom that can enhance the natural colors and give your images that warm autumn feel.
Lightroom Classic can get cluttered quickly if you’re managing a large catalog of folders and collections. Finding the ones you access frequently can become frustrating, especially if your organization style is all over the place. There are a few quick tricks you can use to make your go-to folders and collections stand out, saving you time and hassle.
Editing mistakes can lead to images that don’t look polished or professional. Editing is not just about pushing sliders around—it's about recognizing and correcting issues that might not be obvious at first glance. This video addresses some of the most common editing mistakes in Lightroom and how you can fix them.