
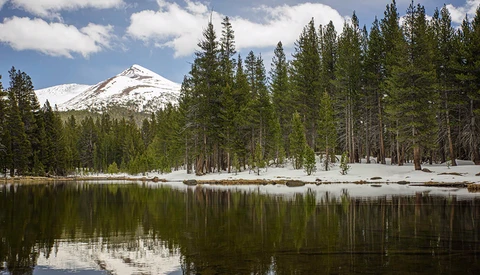
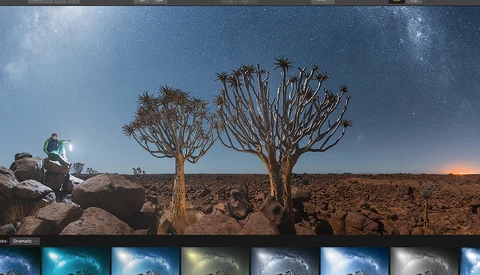
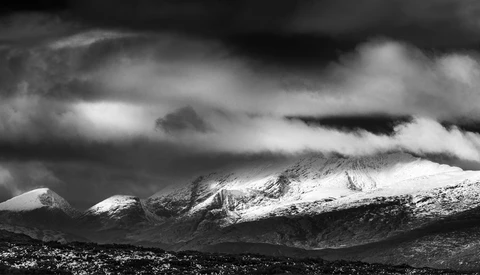
The Power of the Dehaze Tool
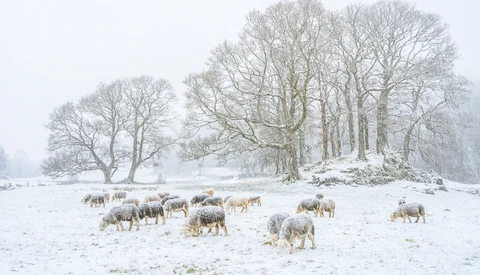
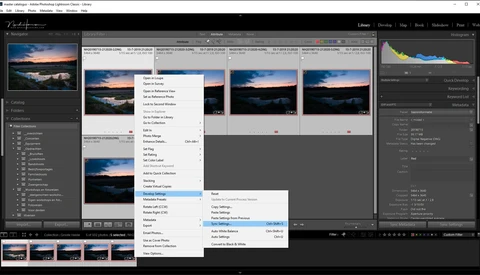
The Dehaze tool in Adobe Camera Raw and Adobe Lightroom is fantastic for landscape photography. Here are some examples of its use.
The Dehaze tool in Adobe Camera Raw and Adobe Lightroom is fantastic for landscape photography. Here are some examples of its use.
Ansel Adams loved editing his images in the darkroom and often spoke about it. More importantly, he saw it as an important role in creating the final image that he had visualized when he took the shot.
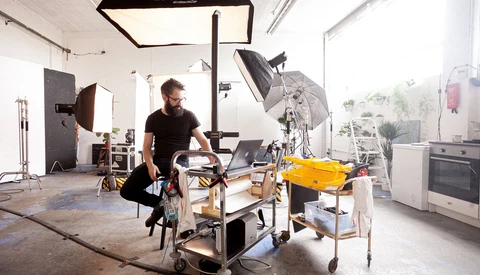
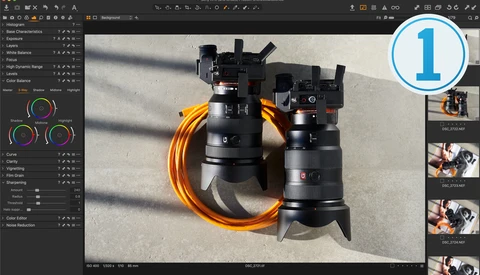
If you are an avid instagram user, you have probably noticed that almost all professionals tether their cameras with bright orange cables to a computer, there is a lot of kit involved in this and finding all the parts can be tricky when you don't know what you are looking for.
Lightroom is undoubtedly a great tool for Digital Asset Management (DAM). Some people use it for Digital Asset Management and Editing while others use it just for Digital Asset Management and do all of their editing in Photoshop or some other external application.
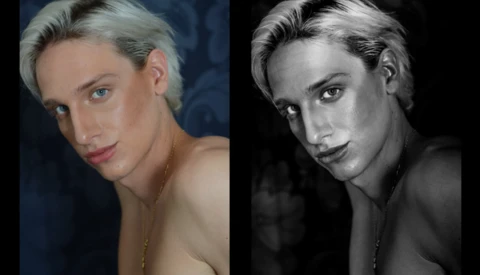
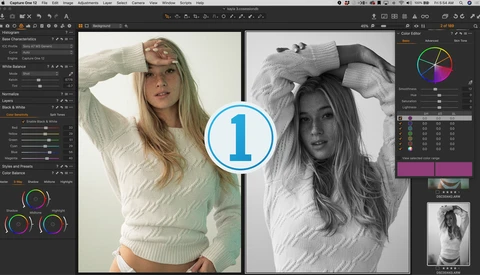
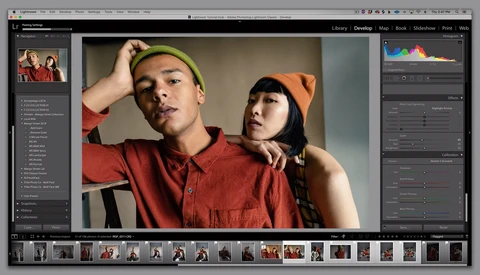
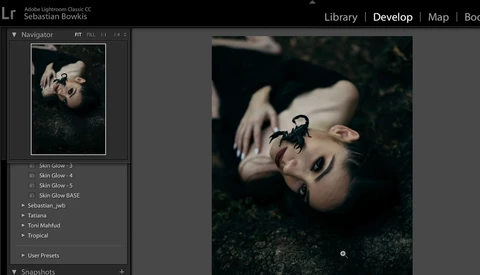
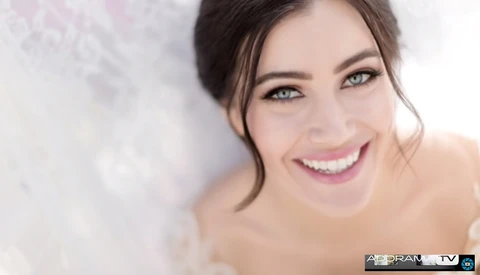
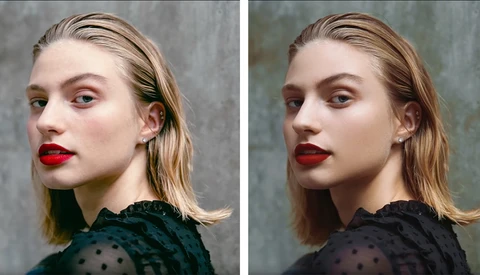
In this quick guide, I'm going to demonstrate how I edited a particular set of portraits for a magazine. Taken as part of the Face of London Runway 2019 contest, these black and white images were shot in studio and processed with a combination of Lightroom and Photoshop.
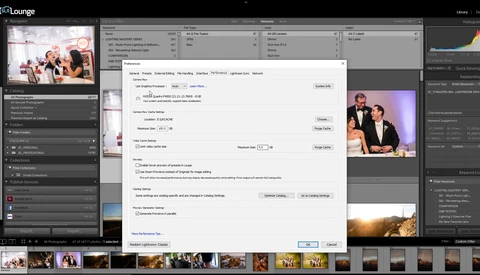
If your Lightroom isn't running quite how it used to, or you think it's being generally sluggish, here are some recent tips to speed it up without having to dip into your pocket money.
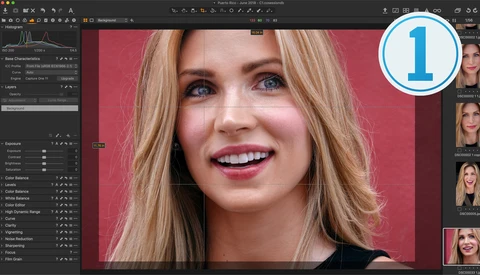
One question I often get from my photography students is: "What the heck is that graph?" I often enjoy teaching photography even more than creating it, but explaining concepts like the histogram is one of the tougher parts of teaching photography.

While Lightroom remains one of the most popular options for processing raw files, it is far from perfect. Thankfully, where Lightroom fails, the Loupedeck+ picks up the slack.
Lightroom is a crucial tool for many of us, but no matter how well versed you are on the software, you might still be making mistakes.
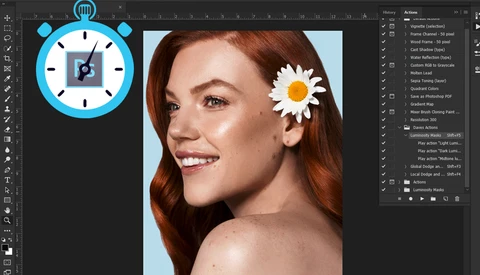
When it comes to photography, the most time consuming part of the process is the editing. Retouching a beauty photo can take 3 hours with no breaks. Because of this, I’ve been trying to find new ways to be more efficient without cutting corners.
As a photographer you are probably confronted every now and then with unacceptably high noise levels. This may occur when using extremely high ISO levels, or perhaps when lifting shadows too much in post processing. You can try to reduce noise by one or two sliders in Photoshop, Lightroom, or similar software, or by stacking a couple of photos.
Loads of photographers enjoy a little light entertainment during the often monotonous process of editing photos. When you’ve got to bang out edits on a 10-hour wedding or work your way through vacation photos, it’s nice to have something playing in the background. However, recent studies suggest that whether you listen to music or podcasts or binge-watch your favorite shows, you might be hindering your creativity.

Retouching is an essential part of the photography process. A photo does not get published without some finishing applied in post production. Automation tools such as presets and actions help speed up this process, but there is a danger in using them. This article discusses the problem with presets.
This is the second in this series of posts highlighting some of the differentiators between Capture One and Lightroom. As with the first, if you’re reading this, the likelihood is that you are or were recently a Lightroom user and are curious about a better software solution with which to treat your images.
When you move beyond the technique of capturing people with appropriate lighting, while maintaining a flattering expression and pose for the subject, what should you be adding or recreating in your imagery next?
Capture One is one of those programs that, once learned, is hard to do without, but due to the common experience of learning post-processing software within an Adobe ecosystem, anything different like Capture One can appear less intuitive or more challenging, even if it isn’t.
If you’re reading this, the likelihood is that you are currently or were recently a Lightroom user and are looking for better software with which to treat your images. That quest to find the best software is not necessarily an easy one, but it is necessary. While you may change camera bodies, lenses, lights, locations, and styles, the one constant that touches all of your images is the software used to develop them.

Scanning film has always been a bit of a pain. However, with time comes progress, and Nate over at Negative Lab Pro has been doing some awesome work, making scanning C-41 film using a DSLR or mirrorless easier than ever. However, using Negative Lab Pro with a flatbed scanner has always been a bit lacking. That just changed with Negative Lab Pro 2.0 and an unlikely partner: Vuescan.
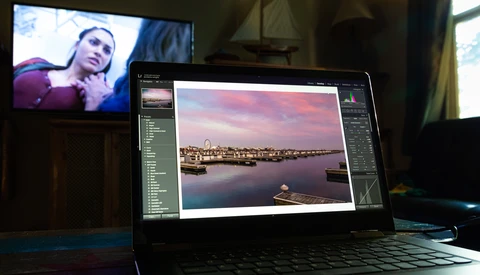
I worked as a travel photographer for 8 years. In this period, I shot hundreds of thousands of images. As this part of my career came to a close, I wanted to have a portfolio of images that represented eight years of commercial travel photography. In this article, I’ll share how I used Lightroom and the Creative Cloud to edit a large body of work into a portfolio.
What is Capture One Express? Simply put, it’s a totally free and simplified version of the Capture One editing software that still offers the same superior raw handling ability as the Pro version.

You use Lightroom to process batches of images because you know how important efficiency is. But if you're not fully utilizing Lightroom's available rating (and sorting) options, you're not running as tight a ship as you could.
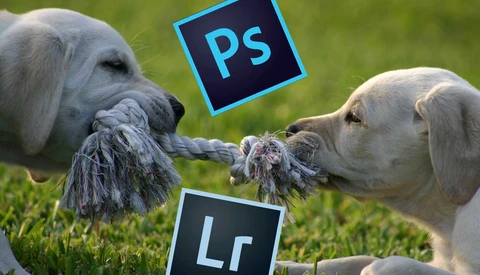
"That's been Photoshopped" is something you hear often but have you ever heard anyone say "that's been Lightroomed"? Does your answer to that question tell you which form of software is better, or which you need more?
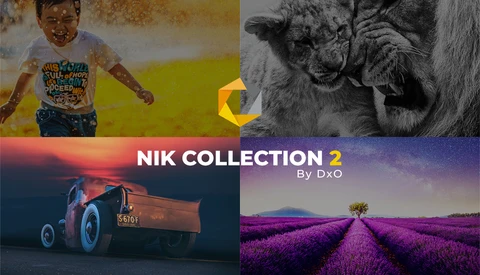
Many of us remember the debut of NIK Tools in 1995. They were a powerful set of plugins for Photoshop that did color adjustments, created lovely black and white images, and could sharpen images and lower noise in them. Just about every photographer I knew snapped them up at $500.
That's right, Adobe users, they just added yet another slider into the already fairly extensive bag of tricks. There are probably several schools of thought, as to whether or not the programs needed another slider to control functions similar to sliders already present in the software.

It has been some time since Adobe last released a new control to Lightroom, and as such, I was very keen to try out their latest addition — the “Texture” slider. Since a good majority of my work is underwater, I was of course interested in what value it could add to underwater images. As I have quickly learned, this new feature is a great tool for underwater photographers — particularly those who struggle with backscatter in their images.

One of the most basic yet effective ways you can improve an image is to shape the light through selective lightening and darkening. This great video tutorial will show you how to use radial filters to shape your subject and capture the viewer's attention using Lightroom.

We spend quite a bit of time studying how to perform more extreme edits, and while those techniques certainly come in handy quite a lot of the time, knowing how to create a simple, clean, natural-looking image is an important skill. Whether you're a beginner or more experienced, this great video will show you how to easily get that look in Lightroom.
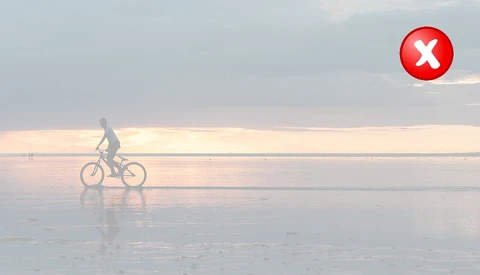
Lightroom's Dehaze tool can be a lifesaver in certain cases, bringing back photos that you might not have been able to recover otherwise. But that doesn't mean you should always use it whenever you see a bit of fog or haze in your photos. This great video shows you the ins and outs of the tool and discusses the best and worst cases for its usage.
If you recently updated to the latest version of Lightroom, you may have noticed a new slider near the top of the Develop module: Texture. With many different ways to add this sort of effect to a photo already in the program, you might be wondering if and how this new slider is different. This great video will explain what the Texture slider affects and show you comparisons with things like clarity and sharpening.
Lightroom is an intricate program full of hidden features and tricks that can both improve your images and make your workflow far more efficient if you know how to use them properly. This great video will show you five hidden features and tricks you might not have known about before.

Adobe's updates to apps across the Lightroom lineup today include a new Texture slider under the Presence pane for a finer alternative to clarity, tutorials created by photographers you know so you can follow along with their edits, additional tools that help others collaborate to add images to albums with you online, and more.
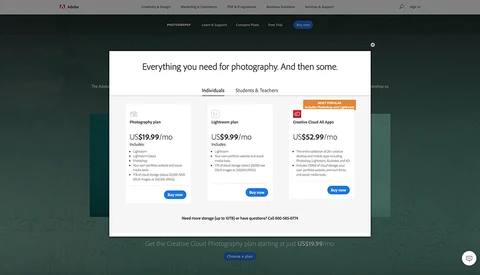
Thursday, PetaPixel pointed out Adobe's incredibly popular $10 per month Photography plan was missing from its website. What's really going on is a bit more complicated, but it could mean big changes are coming for photographers that rely on one of Adobe's best deals.
If you're new to photography and you want to know how professional photographers get their colors looking the way they do, this video will show you how. Lightroom is a powerful photo-editing piece of software and also one of the most used across the photography industry.
With popular software in a perpetual state of change, it's always useful to keep an eye out for videos which offer tips and advice for things you may have missed.
Trying to create an overall feel or style for a collection of images can be challenging, especially if there is a large amount of diversity across a set that you want to present together. In this short video, photographer Julia Trotti explains how she uses Lightroom to create a cohesive collection of images.
A lot of cityscapes and cinematography of urban settings are moody and it's a very popular aesthetic. Here's how you can achieve the look with your own images using Lightroom.
Making the switch to Capture One from Lightroom is easier and quicker than you think. There’s this perception that given the two pieces of software are from different companies, moving your Lightroom catalogs to Capture One is some arduous and protracted process, that you’ll have to start from scratch with all your images, re-edit, re-rate, and create whole new folder structures. But that perception is not reality.
Light and airy photos are one of the most popular looks nowadays for weddings, lifestyle portraits, and more. This excellent video will show you how to edit your images to get that look using nothing more than Lightroom.
Perhaps one of the most underutilized areas of Lightroom is the Detail panel. Nonetheless, it offers some very useful functions that can make a large difference in the final look of your photos, and it's well worth getting to know how all the features work. This helpful video will show you all you need to know.

The local adjustment brush is one of the most convenient and efficient ways to make edits in Lightroom, but with a bit of work, it can be even more useful. This helpful video will show you a great trick for getting more out of the local adjustment brush in Lightroom.
For almost every photographer who shoots bulk works of images, Lightroom is an essential tool. But we often make the costly and frustrating mistake of letting our Lightroom catalogs grow too large.
It didn't seem like very long ago that I reviewed Luminar 3, and while I liked the editing features, I dislikes the fact that if you weren't using Luminar's "Lightroom lite" catalog feature you were stuck with it and couldn't turn it off.
If you're a Lightroom user, then one of the first tasks you might perform after import is culling your images. So, how do you hide images you've rejected from the library grid view? Like me, you might have been left scratching your head.
There is no doubt that when it comes to editing, there are a million different ways to do it.
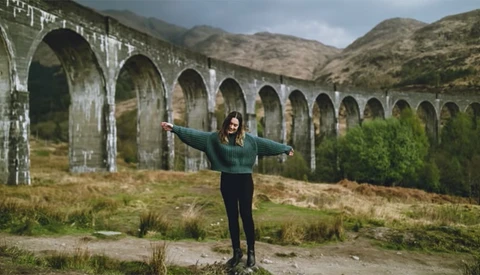
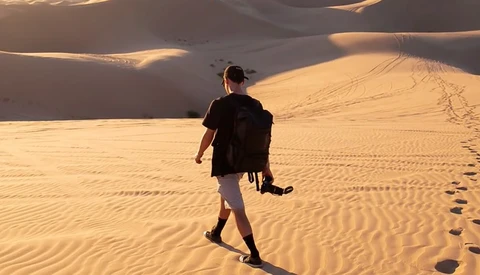
Thomas Heaton is a travel and landscape photographer based in Northeast England. The photographer took to his YouTube channel with an audience of over 300,000 subscribers to share a tutorial on how to improve your landscape photography using Lightroom.
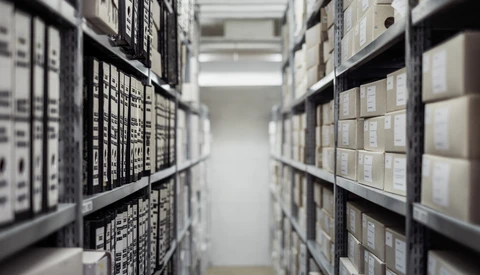
It's not a glamorous topic, but managing an ever-growing photo catalog is something we all face. Here are a few smart ways to get yourself on the right track with Adobe Lightroom to spend less time searching and more time editing and delivering.
If you've often been shooting in what seems like dramatic light only to get back to your computer and realize that the images are kind of so so, then you're not alone. However, in certain situations, what seems like a dull and unimpressive image might just need a little tweaking to take it to another level.
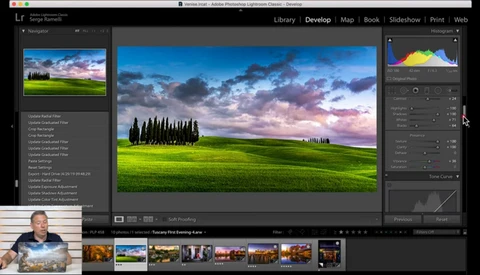
Creating high quality, print-ready, stitched panoramic images takes more work than simply switching your iPhone over to "Pano" mode and scanning the horizon with the cell phone. In this tutorial, Serge Ramelli walks through each viable step in the process of creating quality panoramas.
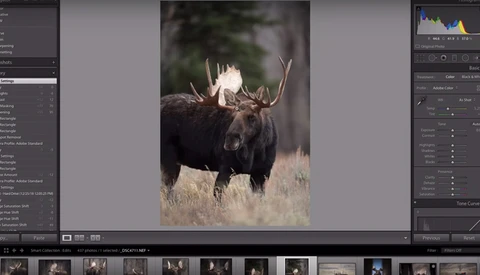
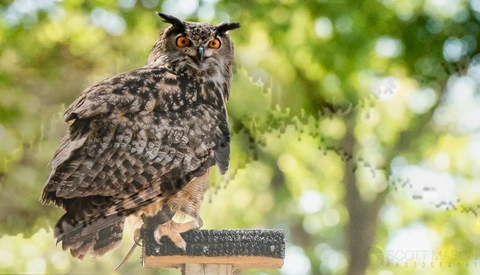
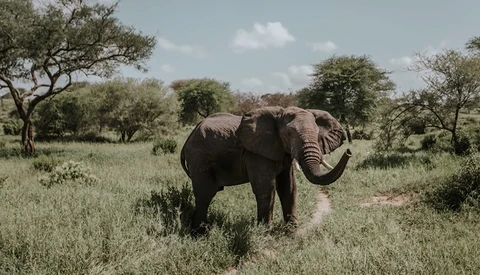
Learn how one photographer edits his wildlife photographs in Lightroom.
Adobe's Lightroom is a divisive piece of software. Proponents love the consistency and close compatibility with Photoshop, while others argue it is inefficient with resources and has inferior processing compared to competitors. I want to take a look at a much simpler, fundamental issue with Lightroom.