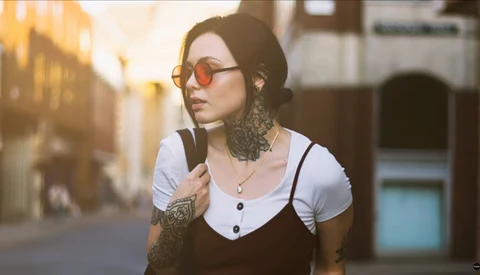
How to Use Portrait Enhance in Luminar 4.2
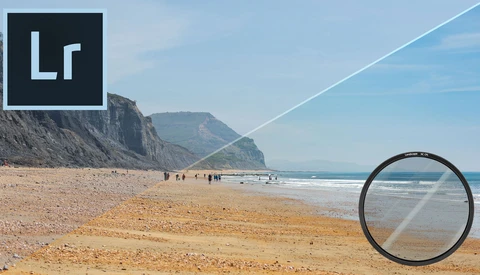
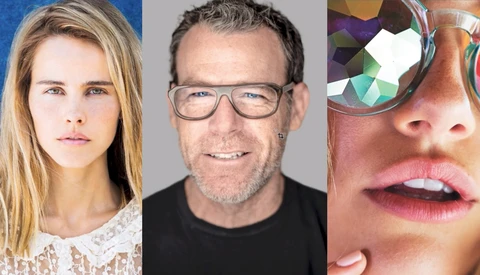
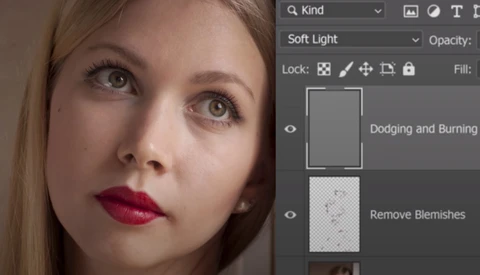
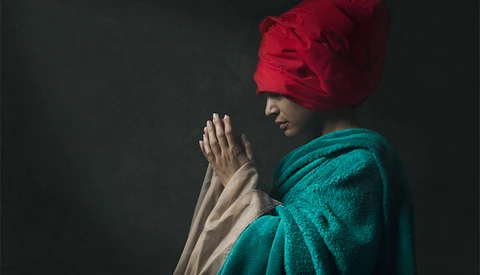
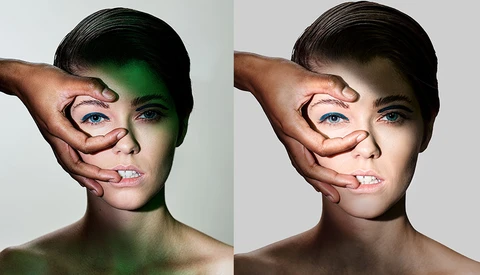
In this video walkthrough watch, as I show you how to use the Portrait Enhance features in Luminar 4.2.
ON1 has teased the launch of ON1 360°, a new software platform that blends in cloud functionality with its raw editing capabilities.
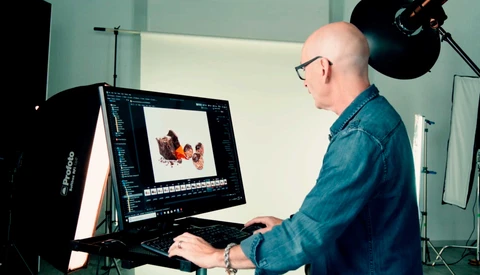
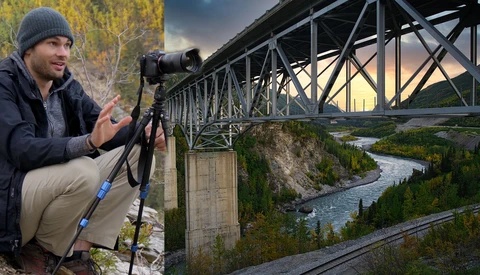
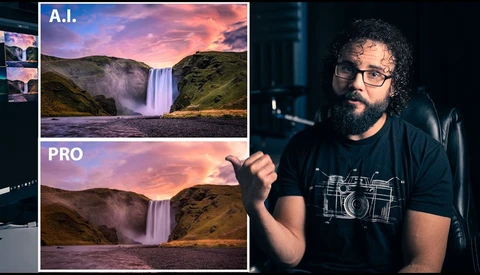
AI editing tools are one of the newest and most exciting features in post-processing. This fun video features a photographer challenging himself to a post-processing contest versus AI editing tools and retouchers from Fiverr.
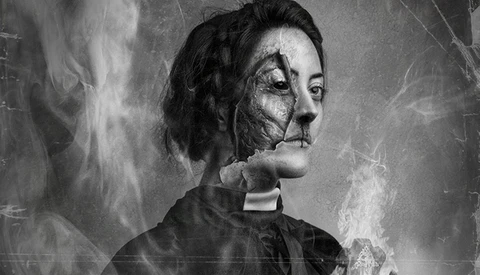
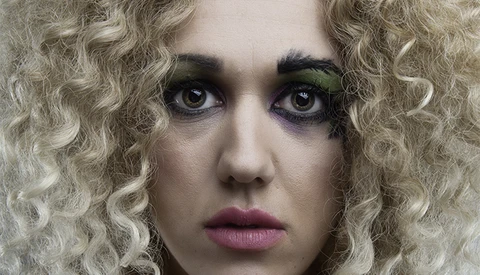
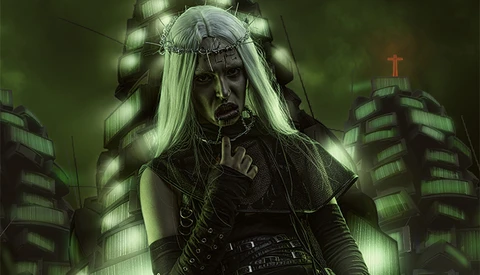
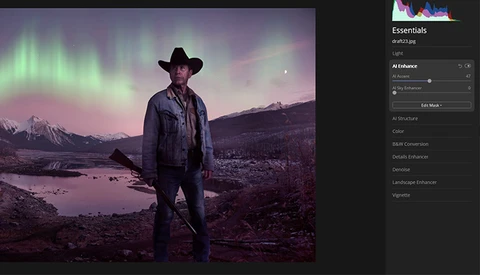
In this video walkthrough watch, as I show you how I created my "Neon God" cyberpunk image in Photoshop.
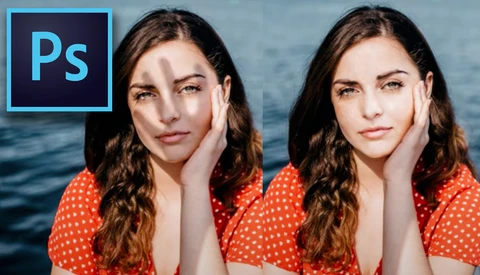
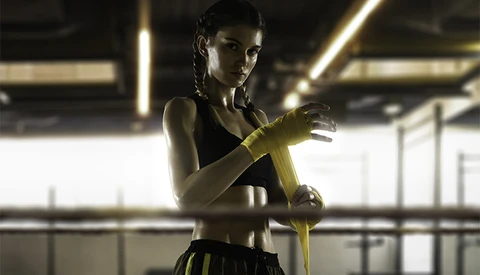
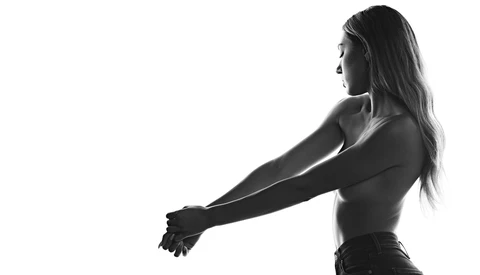
For boudoir photographers, getting skin to look perfect is incredibly important and there are various software options that offer automation and simplicity instead of spending endless hours in Photoshop. In this video, check out how Luminar 4 performs. (Models in the video are wearing lingerie — possibly NSFW!)
In this tutorial video watch how as I show you how to use the Luminar Sky Replacement tool in Photoshop.
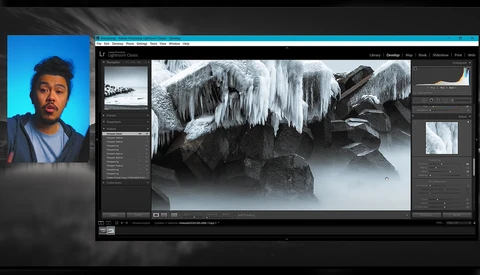
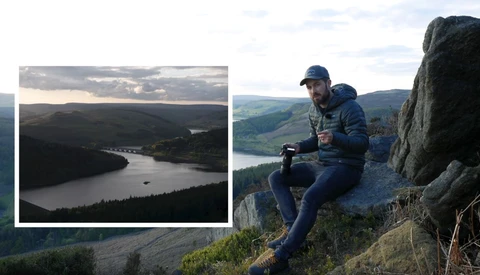
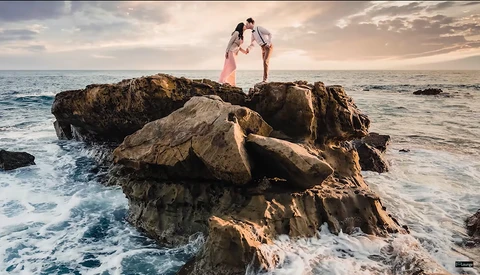
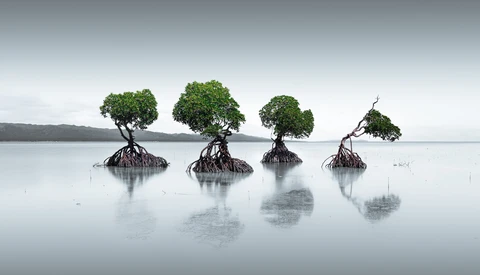
Here is a simple tutorial on how to turn your outdoor photos into minimalist landscapes.
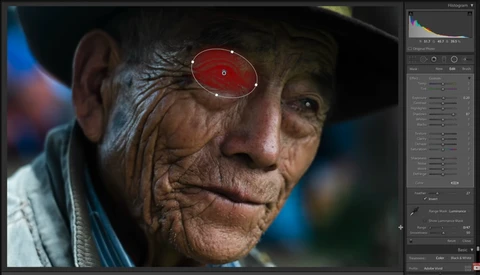
Adobe introduced the Range Mask to Lightroom Classic a few years ago, and it’s a useful means for targeting an adjustment when the local tools — Adjustment Brush, Gradient Filter, and Radial Filter — are simply too clumsy. If you want a deeper understanding of how it functions in relation to Luminance, read on.
We're certainly seeing an upsurge in behind the scenes tutorials. If you're looking for some great insight, look no further. I've talked about Nathan Elson's tutorials before, and I maintain that his series really stands out.
Before you finalize your images for posting or print, here are five general quality control steps in Adobe Lightroom that you should not miss.
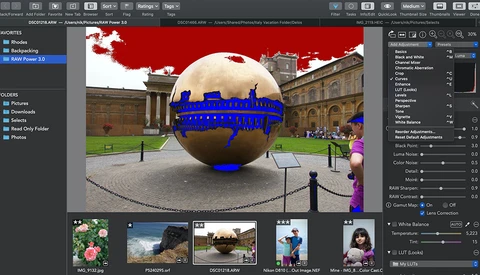
RAW Power 3.0 gives Mac-based photographers a solid way to handle raw file editing that nicely syncs up with a version that runs on iOS.
If you've taken photos in your past travels that may not have exactly pleased you, you should take some time after a while to revisit them.
Color theory is a broad subject, and the way you use it defines your style when filming or taking a photo. The technique of using color theory on your images and footage in post is called "color grading," and it is more than just using the cinematic teal and orange duo.
Stockpiling makes some people feel secure against unexpected disasters and crises. Which crisis justifies stockpiling photographs? Let’s take a look at how we can reduce our amount of unnecessary data.
Lightroom's color brush is an odd tool, but paired with a range mask, it can be a fantastic means of making water look far more appealing. Here's how I transformed the muddy brown of this lake into water so blue that you'll want to jump in and go for a swim.
In this tutorial video, watch as I show you how to use the Luminar AI Augmented Sky tool.
Late last year, Really Nice Images released their latest Lightroom preset pack, All Films 5. I've spent the last couple of months experimenting with it and will share my experience with it so far. I'll dig into the flagship features of creative profiles, native fading, and highlight protection to see if they are all they're cracked up to be.
Us photographers may be going a little stir crazy without new shoots to edit, so I propose an alternative.
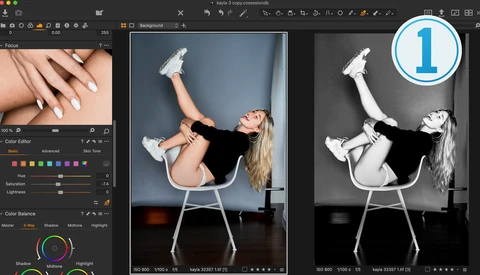
Capture One is multifaceted image processing and asset management software. As a raw processor, it is considered the gold standard, supporting over 500+ cameras, and with it comes a uniquely powerful tool-set for developing, color grading, and tethering. But that is just the tip of the technological iceberg that is Capture One. With a focus on user experience, its mountain of capability and complexity is hidden under a veneer of simplicity so as to make working with your images fast, focused, and easy. What we'll address today should help in understanding how the software works and how to bend it to your liking, hopefully resulting in an even better experience.
Sending off old negatives can be time-consuming and even a little costly. Here is how you can develop film using just your camera, tripod, and a light source.
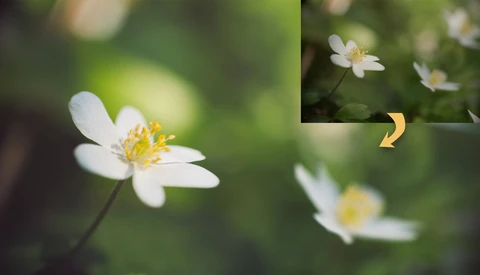
In this tutorial, we’re going to make some quick and simple adjustments to a close-up flower photograph using ACDSee Photo Studio Professional 2020 and its powerful Develop Mode.
Skylum Luminar 4's AI editing features have intrigued a lot of photographers, as they offer some impressive capabilities and creative edits with just a few quick clicks. This great video takes a look at the latest tool, the AI Augmented Sky tool.
The raw versus JPEG debate is one of my favorite topics. As a software developer and photo nerd, I tend to gravitate towards the technical side of things.
It's a very mixed feeling: you are happy they like the shot, but you are also disappointed that it's not sharp. I'm going to share my way of dealing with the situation, but I am also curious about your way of handling the problem.
Lightroom presets are a great way to create quick and effective edits, but if you’re relatively new to photo editing, it might be useful to know how to make the most of them and when they should be avoided.
For hardened Lightroom users such as myself, Capture One Pro can feel like a bit of a mystery. What are the advantages and why would you consider changing? Ignoring for a moment the pros and cons of payment models, here are some excellent reasons why Capture One Pro might be worth investigating.
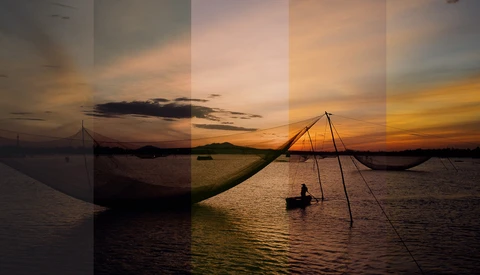
Shooting and editing sunsets and sunrises can be tricky with such a wide dynamic range. In this video, there are six tips on how to achieve those dramatic, attention grabbing shots.
If you've not used Adjustment Brushes with Range Masks to make subtle changes to colors in Lightroom, you're missing out. This is how I used both tools to finish my edit of this rock climbing photograph.
One area a lot of photographers can focus their quarantined free time is updating their portfolios. Unfortunately, taking new and fresh photos is probably not part of that process, but that doesn't mean you still can't find new images to add to your website or social media stream.
As far as I know, most photographers and videographers tend to edit their own content. This generally means that most of them spend a great deal of their time in front of a screen. Is all of that screen time causing damage to our eyes?
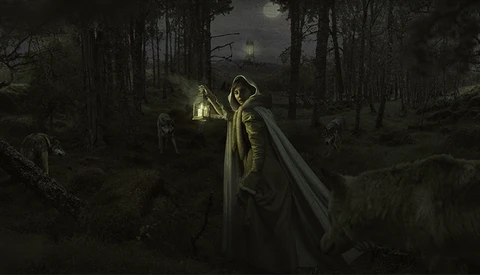
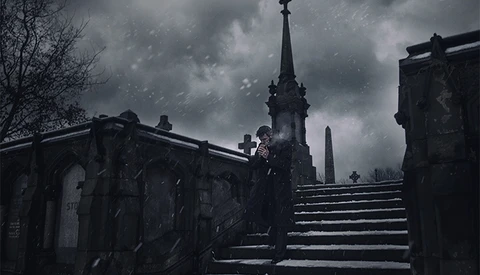
If you ever entered the dark depths of Deviant Art a few years back, you would have most likely stumbled upon the name Conzpiracy at some point in your journey. Like a modern-day urban legend, his complex manipulations of the macabre made waves through the DA community.
A long time ago, I got to visit a friend down in the south of England. We drank (quite a lot of beer), we ate (lots of chocolate brownies), and we set up to shoot a moody portrait.
Using Adobe Photoshop to composite images can seem like a dark art at first, and while there are a vast array of techniques to learn, this excellent video makes a great introduction, teaching you how to completely transform this photograph.
One of the best climbing photographs that I’ve ever taken came out of my recent trip to Switzerland. Here’s how I edited it using Lightroom, deploying a few subtle techniques using adjustment brushes to make the most of the colors and dramatic conditions.
If you still struggle with the skin colors of your images or your videos, there is a way to cope with that. Most importantly, it works with footage from any camera.
Skylum has announced its latest update for editing suite Luminar, introducing several improvements and a brand new feature: AI-Augmented Sky.
Paying a monthly fee to use Adobe products is still a hard pill for some photographers to swallow. For those that want to sweeten the deal and get your money's worth, these free bundles are for you.
Over years of teaching, I’ve gotten a chance to review photographs by all types of photographers. While there are lots of mistakes that can be made, there are a few consistent ones that stand out the most to me.
Lightroom has a lot of features. Every now and then, you come across a feature that you either have never used or haven't used recently.
Concerts and events can either be exciting and fun or quite challenging for us photographers due to the low-lit environment and having to share the space with other photographers, all while being crammed into a tight space. Luckily, a little bit of planning and preparation can go a long way to avoid any disasters while shooting.
You’ve heard of hand-painted backdrops, and you’ve probably heard of digital backdrops, but The Backdrop Studio is offering something different: backdrops that look like pieces of art all by themselves.
As 2019 came to a close and most people were heading home for the holidays the Jet Propulsion Laboratory (JPL) team at NASA were hard at work on the latest and greatest 1.8 billion pixel, 360 degree panorama of the Martian surface.
Ever wanted to correct a mistake with your exposure or try a cool post-processing technique, only to find that the results weren’t all that you’d hoped? Image data may have inadvertently been lost in your workflow. These five steps can help ensure you have the best chance for technical greatness!
If you’ve never dared to explore the Hue, Saturation, and Luminosity (HSL) panel in Adobe Lightroom, don’t worry, you’re probably not alone. This short video is an excellent introduction to help you learn where to start.
How many times do we have to shoot an epic project and start the post-processing knowing that there will be a considerable amount of time spent removing facial hair? Is this how it should be, or can it be changed?
All of your Lightroom development settings might be in your exported images. That's right, all of your adjustments, spot healings, tone curve adjustments, sharpening, etc. might all be in your exported files for all the world to see.
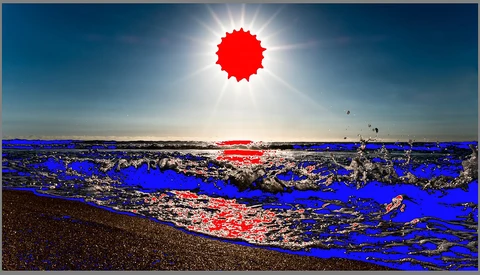
With this 30-second check, you can ensure your images have the exact right contrast and levels, with it being particularly effective for black and white imagery.
Sell the fake or add to the surrealism. As a creative retoucher and composite photographer, these are two aspects that in my opinion are very important: you either learn techniques to help blend realism into the piece or to make it stand out and add surrealism.
A YouTuber has undertaken the task of upscaling video clips taken in New York City back in 1911. Despite the footage being 109 years old, he managed to upscale the footage to 4K, while also colorizing it and increasing its frame rate to 60fps.
We've teamed up with 49ers photographer Terrell Lloyd and Datacolor to talk about Lloyd's prolific career as a sports photographer and the importance of accurate colors in sports and action images.